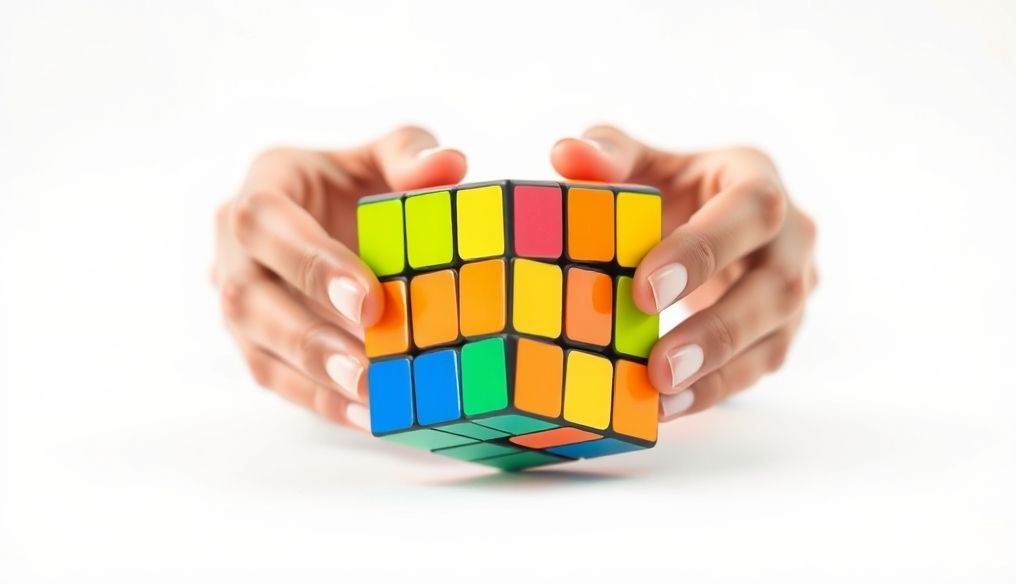
Introduction to the World of Rubik's Cube
The Rubik's Cube, also known as the Magic Cube by some, is a 3D mechanical puzzle invented by Hungarian Erno Rubik in 1974. Since then, the cube has become a symbol of intelligence and challenge, captivating the minds of millions around the world. Learning to solve a Rubik's Cube is not just a skill, but an exercise for the mind, enhancing logical thinking, and developing patience and perseverance.
Why Learn to Solve a Rubik's Cube?
- Improve Memory: Solving the cube requires remembering algorithms and executing them accurately.
- Enhance Focus: Helps develop the ability to concentrate and pay attention to details.
- Develop Logical Thinking: Requires understanding the relationships between different parts of the cube.
- Develop Patience and Perseverance: It may take some time and effort to learn the solution, but perseverance leads to success.
- Sense of Accomplishment: Solving the cube gives a great sense of accomplishment and self-confidence.
Step 1: Understanding the Basics of the Cube
Before starting the solution, it is essential to understand the parts of the cube and how they work.
Parts of the Cube:
- Center Cubes: Define the color of the face and do not move relative to each other.
- Edge Cubes: Contain two colors and move along the edges.
- Corner Cubes: Contain three colors and move in the corners.
Basic Moves:
Cube movements are represented by standard symbols:
- F: Front face
- B: Back face
- R: Right face
- L: Left face
- U: Up face
- D: Down face
The symbol alone indicates rotating the face 90 degrees clockwise. The symbol with ' (e.g., F') indicates rotating the face 90 degrees counterclockwise. The symbol with 2 (e.g., F2) indicates rotating the face 180 degrees.
Step 2: Forming the White Cross (+)
The goal of this step is to form a white cross on the top face (white), ensuring that the side colors match the surrounding center cubes.
- Choose a white edge cube.
- Orient the cube so that the white color is facing up.
- Rotate the face that holds the other color of the white edge cube until it matches the corresponding center cube.
- If the white edge cube is in the correct position, move on to the next cube.
- Repeat steps 1 to 4 until the white cross (+) is complete.
Step 3: Solving the Entire White Layer
Now that you have formed the white cross (+), it's time to solve the entire white layer, including the corner cubes.
- Find a white corner cube.
- Orient the white corner cube so that the white color is facing down.
- Rotate the bottom layer until the white corner cube is below the location where it should be.
- Execute the following algorithm (R U R' U') until the white corner cube is in the correct position. You may need to repeat the algorithm several times.
- Repeat steps 1 to 4 until the entire white layer is solved.
Step 4: Solving the Middle Layer
Now that the white layer is solved, we move on to solving the middle layer. This step requires some algorithms.
- Find an edge cube in the top layer that does not contain the color yellow.
- Orient the edge cube so that its front color matches the corresponding center cube.
- If the edge cube needs to move to the left, use the following algorithm: U L U' L' U' F' U F
- If the edge cube needs to move to the right, use the following algorithm: U' R' U R U F U' F'
- Repeat steps 1 to 4 until the middle layer is completely solved.
Step 5: Forming the Yellow Cross (+)
The goal of this step is to form a yellow cross on the top face (yellow).
- If there is no yellow cross (+), execute the following algorithm: F R U R' U' F'
- You may need to repeat the algorithm several times until the yellow cross (+) is formed.
Step 6: Orienting the Yellow Cubes
In this step, we orient the yellow cubes so that the yellow color is facing up.
- Find a yellow cube in the top layer.
- Orient the yellow cube so that it is in the upper right front corner.
- Execute the following algorithm: R U R' U' until the yellow cube is facing up.
- If there is no other yellow cube in the top layer, rotate the top layer until you find another cube.
- Repeat steps 1 to 4 until all the yellow cubes are oriented.
Step 7: Permuting the Corner Cubes
The last step is to permute the corner cubes so that they are in their correct positions.
- Find two adjacent corner cubes that are in their correct positions.
- If there are no two adjacent corner cubes in their correct positions, execute the following algorithm: R' F R' B2 R F' R' B2 R2
- Execute the following algorithm: U R U' L' U R' U' L until all the corner cubes are permuted and are in their correct positions.
Additional Tips
- Consistent Practice: The more you practice, the faster and more efficient you become.
- Use a Timer: Try to improve your time each time you solve the cube.
- Watch Tutorial Videos: There are many tutorial videos online that can help you learn new techniques.
- Join a Rubik's Cube Solving Community: Connect with other cube enthusiasts to exchange tips and experiences.
With practice and patience, you will be able to master solving the Rubik's Cube and enjoy the challenge and satisfaction that comes with it!


