Introduction: Why Should You Know How to Change a Car Tire?
Imagine the scenario: You're on your way to an important destination, and suddenly you hear a disturbing sound - it's your flat tire. At that moment, knowing how to change the tire yourself can be a lifesaver. It's not just about saving time and money, but also about your safety and the safety of others on the road.
Changing a car tire isn't as difficult as it seems, but it requires some basic knowledge and necessary precautions. In this article, we'll provide you with a comprehensive and detailed guide on how to change your car tire safely and quickly in an emergency.
Chapter 1: Essential Tools and Equipment
Before starting the tire changing process, make sure you have the following tools and equipment:
- Spare Tire: Make sure it is properly inflated.
- Car Jack: Used to lift the car off the ground.
- Lug Wrench: To loosen and tighten the wheel nuts.
- Wheel Chocks: To prevent the car from rolling.
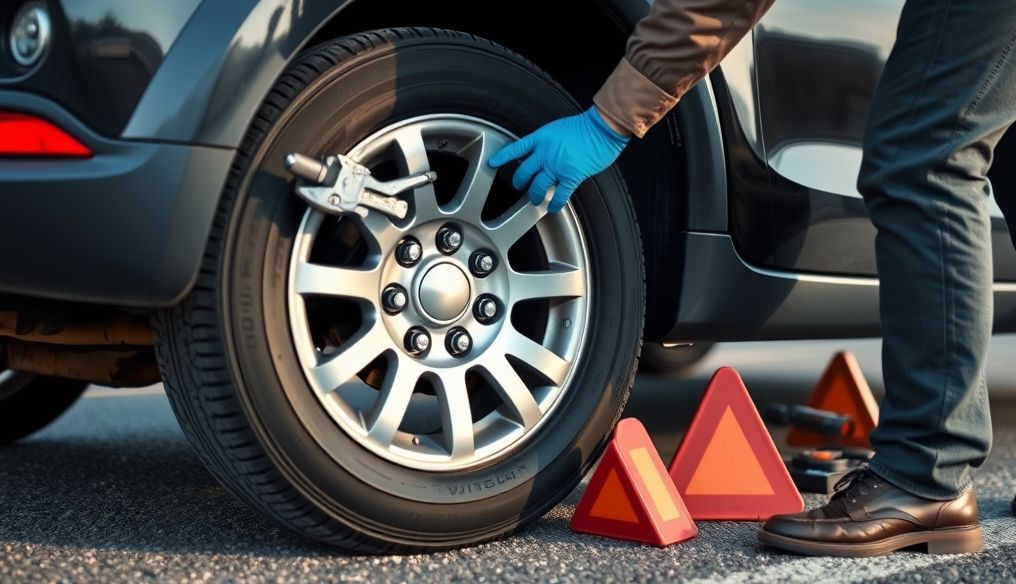
- Work Gloves: To protect your hands.
- Reflective Warning Triangles: To alert other traffic.
- Owner's Manual: May contain specific information for your car.
Important Tip: Regularly check the condition of the spare tire and make sure it is properly inflated. You can use a tire pressure gauge to check it.
Chapter 2: Safety First - Necessary Steps Before Starting
Safety is the top priority when changing a car tire. Follow these steps to ensure your safety and the safety of others:
- Park the car in a safe place: Stay away from traffic as much as possible. Preferably in a level and solid place.
- Turn on the Hazard Lights: To alert other drivers.
- Place Reflective Warning Triangles: At a safe distance behind the car.
- Use Wheel Chocks: Place them behind the wheels opposite the flat tire to prevent the car from rolling.
- Wear Work Gloves: To protect your hands from dirt and injuries.
Warning: Do not change the tire on a highway or in an unsafe place. If you are not sure you can do it safely, call roadside assistance.
Chapter 3: Loosening the Wheel Nuts
Before lifting the car, loosen the wheel nuts using the lug wrench. Follow these steps:
- Place the lug wrench on the wheel nut: Make sure it is securely attached.
- Turn the lug wrench counterclockwise: To loosen the nut. You may need some effort, especially if the nuts are tightened tightly.
- Repeat the process for all nuts: But do not remove them completely at this stage. Just loosen them slightly.
Important Tip: If the nuts are difficult to loosen, you can use your body weight to press on the lug wrench. Make sure you stand firmly and avoid slipping.
Chapter 4: Lifting the Car with the Jack
After loosening the wheel nuts, you can now lift the car with the jack. Follow these steps:
- Find the appropriate lifting point: It is usually located near the flat tire. You can refer to the owner's manual to locate it.
- Place the jack under the lifting point: Make sure it is stable and securely attached.
- Lift the car slowly and steadily: Until the flat tire is high enough off the ground to remove it and install the spare tire.
Warning: Do not put any part of your body under the car while lifting it. The jack is designed to lift the car only, not to support it permanently.
Chapter 5: Removing the Flat Tire
After lifting the car, you can now remove the flat tire. Follow these steps:
- Remove the wheel nuts completely: Put them in a safe place so they don't get lost.
- Pull the flat tire out: You may need some effort if the tire is stuck.
Important Tip: Before removing the tire, note how it was installed. This will help you install the spare tire correctly.
Chapter 6: Installing the Spare Tire
After removing the flat tire, you can now install the spare tire. Follow these steps:
- Place the spare tire in place: Make sure the bolt holes match the wheel bolts.
- Reinstall the wheel nuts: Tighten them by hand at first.
Important Tip: Make sure the spare tire is securely attached before lowering the car.
Chapter 7: Lowering the Car and Tightening the Wheel Nuts
After installing the spare tire, you can now lower the car and tighten the wheel nuts. Follow these steps:
- Lower the car slowly and steadily: Using the jack.
- Remove the jack: After the wheel touches the ground.
- Tighten the wheel nuts tightly: Using the lug wrench. Make sure you tighten them evenly and in a crisscross pattern (for example, tighten the top nut first, then the bottom nut, then the right nut, then the left nut).
Warning: Do not tighten the nuts too tightly. This may damage the bolts or nuts.
Chapter 8: Final Inspection and Cleanup
After tightening the wheel nuts, perform a final inspection and make sure everything is safe. Follow these steps:
- Check the spare tire pressure: Using a tire pressure gauge.
- Clean the tools and equipment: Put them in their designated place in the car.
- Place the flat tire in the car: Or contact a tire repair service to repair or replace it.
Important Tip: Check the spare tire and tighten the wheel nuts again after driving a short distance (about 50-100 kilometers).
Conclusion: You Are Now Ready to Face Emergencies
Congratulations! You have now learned how to change your car tire yourself in an emergency. Remember that safety is the top priority, and follow the steps carefully. With practice, this skill will become part of your basic knowledge as a responsible driver.
Feel free to review this guide again if you need a reminder of the steps. Safe driving!