Introduction: Why Build Your Own Gaming PC?
Building your own gaming PC isn't just a hobby; it's a smart investment that offers numerous advantages. Here are some reasons why you should consider building your own:
- Complete Control: You can choose every component of your machine, ensuring it aligns with your needs and budget.
- Customization: You can tailor your PC to suit your preferred gaming style, whether you favor graphically intensive games or competitive games that demand high responsiveness.
- Cost Savings: Often, building your own PC is cheaper than buying a pre-built one with the same specifications.
- Fun and Learning: The process of building a PC is enjoyable and gives you a deeper understanding of how computers work.
Chapter 1: Defining Budget and Needs
Before you start selecting components, it's important to define your budget and identify your needs from the machine. What games do you want to play? What level of performance do you expect? Do you need a high-resolution screen or a high refresh rate?
Defining the Budget: Set the amount you want to spend on the entire machine. This will help you determine which components you can afford. Remember that the budget should include all components, including the operating system and accessories (keyboard, mouse, headset).
Identifying Needs:
- Type of Games: Do you play graphically demanding games (like Cyberpunk 2077) or competitive games (like Valorant)?
- Resolution and Refresh Rate: Do you want to play at 1080p, 1440p, or 4K? What refresh rate do you want (60Hz, 144Hz, or higher)?
- Additional Features: Do you need to stream games or edit videos? These activities require a powerful processor and large RAM.
Chapter 2: Choosing the Essential Components
Now that you've defined your budget and needs, it's time to choose the essential components for your machine:
1. Central Processing Unit (CPU)
The CPU is the brain of the computer. Choose a CPU that is powerful enough to run the games you want to play. Intel Core i5, i7, and i9 and AMD Ryzen 5, 7, and 9 processors are popular choices for gaming.
Tip: Look for processors with a high number of cores and threads, especially if you plan to stream games or edit videos.
2. Graphics Card (GPU)
The graphics card is responsible for displaying images and graphics on the screen. The graphics card is the most important component of a gaming PC. NVIDIA GeForce RTX and AMD Radeon RX cards are popular choices.
Tip: Choose a graphics card that matches the resolution and refresh rate you want to play at. If you want to play at 4K, you'll need a very powerful graphics card.
3. Random Access Memory (RAM)
RAM is used to store data that the computer needs to access quickly. 16 GB of RAM is the minimum recommended for modern games. 32 GB or more may be necessary if you plan to stream games or edit videos.
Tip: Choose RAM with a high speed (MHz) for best performance.
4. Storage (SSD and HDD)
It is recommended to use a solid-state drive (SSD) to install the operating system and the games you play frequently. This will significantly reduce loading times. You can also use a hard disk drive (HDD) to store other files.
Tip: Choose an SSD with a capacity of at least 256 GB. If you have a limited budget, you can start with a small SSD and add an HDD later.
5. Motherboard
The motherboard is the foundation that connects all the other components. Make sure to choose a motherboard that is compatible with the CPU and RAM you have chosen. Look for a motherboard with additional features such as USB 3.0 and M.2 support.
Tip: Read motherboard reviews before buying to make sure it's reliable and has the features you need.
6. Power Supply Unit (PSU)
The power supply provides power to all the other components. Choose a power supply with enough wattage to run all the components safely. It is recommended to choose a power supply with high efficiency (80+ Bronze or better).
Tip: Use an online power supply calculator to estimate how much power your machine needs. Add some extra power to ensure stable operation.
7. Computer Case
The computer case protects the internal components and keeps them cool. Choose a computer case that provides good airflow and has enough space for all the components.
Tip: Look for a computer case with removable dust filters for easy cleaning.
8. Cooling System
Keeping the components cool is essential to prevent overheating and improve performance. You can use an air cooler for the CPU or a liquid cooling system. For the graphics card, it usually has its own cooling system.
Tip: If you plan to overclock, you'll need a more powerful cooling system.
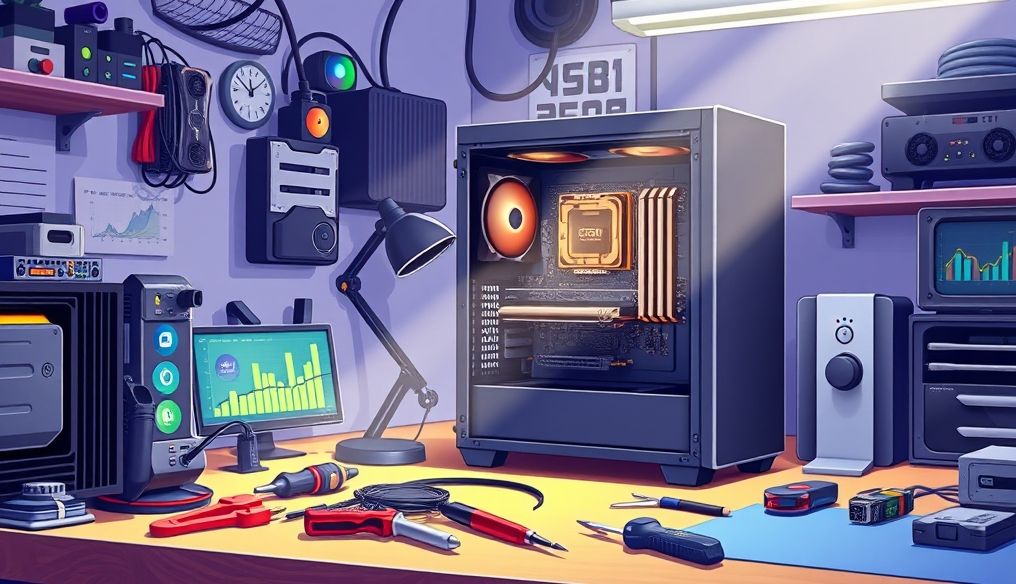
Chapter 3: Assembling the Components
Now that you've gathered all the components, it's time to assemble your machine. This process requires some patience and precision.
- Preparation: Prepare a clean and well-lit workspace. Gather the tools you need (screwdriver, cable ties, thermal paste).
- Installing the CPU: Carefully install the CPU on the motherboard. Make sure the arrows are aligned correctly.
- Installing the CPU Cooler: Apply thermal paste to the CPU and install the cooler.
- Installing the RAM: Install the RAM in the DIMM slots on the motherboard.
- Installing the Motherboard in the Case: Install the motherboard in the case using the appropriate screws.
- Installing the Graphics Card: Install the graphics card in the PCIe slot.
- Installing Storage Drives: Install the SSD and HDD in the case.
- Installing the Power Supply: Install the power supply in the case and connect the cables to the other components.
- Cable Management: Organize the cables inside the case to improve airflow.
Tip: Watch tutorial videos on YouTube before you start assembling. This will help you understand the process better.
Chapter 4: Installing the Operating System and Software
After assembling the machine, it's time to install the operating system and necessary software.
- Installing the Operating System: Install the operating system (Windows or Linux) from a DVD or USB drive.
- Installing Drivers: Install the drivers for the motherboard, graphics card, and the rest of the components.
- Installing Games: Install the games you want to play.
- Updating the Operating System and Software: Make sure to update the operating system and software to the latest versions.
Chapter 5: Performance Testing and Optimization
After installing the operating system and software, it's important to test the performance of the machine and optimize it.
- Performance Testing: Use performance testing software (such as 3DMark and Cinebench) to evaluate the performance of the CPU and graphics card.
- Performance Optimization: Adjust the graphics settings in the games to get the best balance between quality and performance.
- Temperature Monitoring: Use temperature monitoring software (such as HWMonitor) to monitor the temperature of the CPU and graphics card.
Chapter 6: Maintenance and Updates
To keep your machine in top condition, it is important to perform regular maintenance and update components when needed.
- Dust Cleaning: Clean the dust from inside the case regularly using a can of compressed air.
- Driver Updates: Update the drivers for the components regularly.
- Component Upgrades: Upgrade the components (such as the graphics card or RAM) when needed to improve performance.
Chapter 7: Additional Tips for Improving the Gaming Experience
- Use a High-Quality Monitor: Choose a monitor with high resolution and high refresh rate for the best visual experience.
- Use a Gaming Keyboard and Mouse: Gaming keyboards and mice provide additional features such as programmable keys and faster response.
- Use a Gaming Headset: Gaming headsets provide immersive surround sound and help you hear the smallest details in the game.
- Optimize Internet Connection: Make sure you have a fast and stable internet connection to avoid lag in online games.
Chapter 8: Troubleshooting Common Problems
You may encounter some problems while building or using your computer. Here are some common problems and their solutions:
- The Machine Doesn't Turn On: Make sure all the cables are connected correctly and the power supply is working.
- No Image on the Screen: Make sure the monitor is connected to the graphics card and the graphics card is installed correctly.
- The Machine is Overheating: Make sure the cooling system is working correctly and the case provides good airflow.
- Games Run Slowly: Adjust the graphics settings in the games or upgrade the components.
Tip: Search for solutions to problems online or ask for help from computer communities.
Conclusion
Building your own gaming PC is a rewarding project that gives you complete control over performance and cost. By following this guide, you can build the machine of your dreams and enjoy an unparalleled gaming experience.