Can I Paint My Room Walls Myself? What are the Necessary Steps?
Painting your room walls yourself is a popular and rewarding project, giving you the ability to refresh your personal space affordably. Whether you're looking to change the color of the room or simply update its appearance, painting the walls yourself can be a fun and cost-effective experience. However, it requires careful planning and knowledge of the basic steps to ensure a professional result that lasts.
1. Assessing the Walls and Determining Needs
Before starting anything, it's essential to carefully inspect the walls to determine their condition. Are there cracks? Is there peeling paint? Are the walls clean or do they need cleaning? This step will help you determine the materials and tools you need.
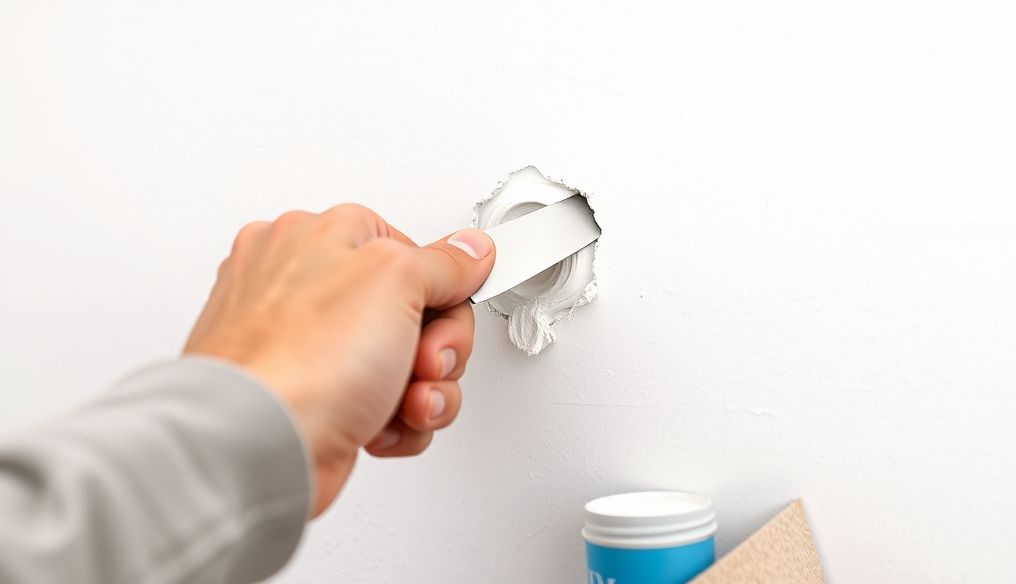
- Cracks and Holes: Cracks and holes should be filled with wall filler and allowed to dry completely before sanding.
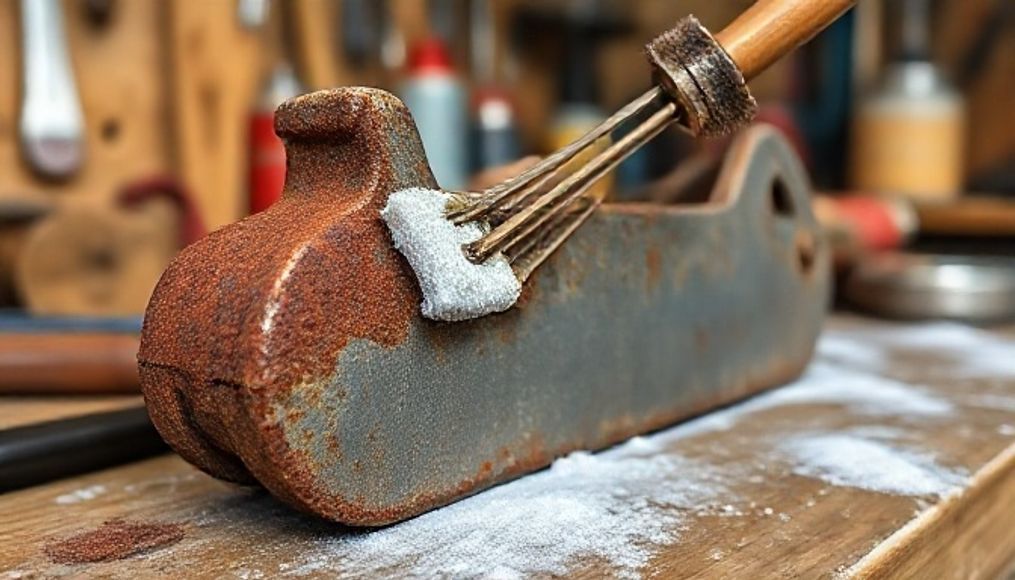
- Peeling Paint: Remove peeling paint with a paint scraper or coarse sandpaper.
- Dirt and Stains: Clean the walls with a damp cloth and mild detergent to remove dirt and stains.
2. Gathering the Necessary Tools and Materials
To successfully carry out the painting process, you need a set of basic tools and materials. Here's a comprehensive list:
- Paint: Choose the right type of paint for your room. Latex paint is the most common due to its ease of use and cleaning.
- Primer: Primer helps improve paint adhesion and even out the color of the walls, especially if the walls are painted a dark color or have stains.
- Paint Brushes: Use brushes of different sizes for corners, edges, and small areas.
- Rollers: Use rollers of different sizes for large areas.
- Paint Tray: To pour paint and distribute it on the roller.
- Painter's Tape: To protect edges and surfaces you don't want to paint.
- Wall Filler: To fill cracks and holes.
- Paint Scraper: To remove peeling paint.
- Sandpaper: To smooth the walls after filling cracks and holes.
- Damp Cloth: To clean walls and tools.
- Drop Cloth: To protect the floor from paint.
- Ladder: To reach high places.
- Gloves and Safety Glasses: To protect your hands and eyes.
3. Preparing the Room
Before starting painting, prepare the room to protect furniture and flooring. This step is important to avoid mess and facilitate cleaning after completion.
- Remove Furniture: Remove all furniture from the room or cover it with plastic or cloth.
- Cover the Floor: Place a drop cloth to protect the floor from paint drips.
- Protect Edges: Use painter's tape to cover the edges around windows, doors, and trim to define areas you don't want to paint.
- Remove Socket and Switch Covers: Remove socket and switch covers to facilitate painting around them.
4. Cleaning and Repairing the Walls
After preparing the room, clean the walls and repair any cracks or holes. This step ensures a smooth and clean surface for painting.
- Cleaning the Walls: Use a damp cloth and mild detergent to remove dirt and stains from the walls.
- Repairing Cracks and Holes: Fill cracks and holes with wall filler and allow it to dry completely.
- Sanding: After the filler dries, use sandpaper to smooth the surface and make it level.
- Removing Dust: Remove dust from sanding with a clean cloth or vacuum cleaner.
5. Applying Primer
Applying primer is an important step to improve paint adhesion and even out the color of the walls. Choose a primer suitable for the type of paint you are using.
- Preparation: Shake the primer can well before use.
- Application: Use a brush or roller to apply a thin, even coat of primer to the walls.
- Drying: Allow the primer to dry completely according to the manufacturer's instructions. This usually takes a few hours.
6. Painting the Walls
Now, you are ready to paint the walls. This is the most fun and satisfying step in the process.
- Preparation: Shake the paint can well before use.
- Initial Painting: Start by painting the corners and edges with a small brush.
- Main Painting: Use a roller to apply a thin, even coat of paint to large areas.
- Overlap: Make sure to overlap the roller strokes to avoid uneven lines or spots.
- Drying: Allow the paint to dry completely according to the manufacturer's instructions. This usually takes a few hours.
- Second Coat (If Necessary): If you want a more intense color or better coverage, apply a second coat of paint after the first coat has dried.
7. Final Touches and Cleaning
After finishing painting, remove the painter's tape and clean the tools and surrounding areas.
- Removing Painter's Tape: Carefully remove the painter's tape before the paint dries completely to avoid peeling the paint.
- Cleaning Tools: Clean brushes, rollers, and paint tray with soap and water immediately after use.
- General Cleaning: Clean any paint drips or stains on the floor or furniture.
- Rearranging the Room: After the paint is completely dry, rearrange the furniture and other items in the room.
8. Additional Tips for a Professional Result
- Choosing Colors: Choose colors that match your taste and home decor. You can use online applications or tools to experiment with different colors before buying.
- Lighting: Consider the lighting in the room when choosing colors. Dark colors make the room look smaller, while light colors make it look larger and brighter.
- Ventilation: Make sure the room is well ventilated while painting to avoid the accumulation of fumes.
- Patience: Don't rush the painting process. Take your time to apply the paint evenly and accurately.
- Hire a Professional: If you are unsure of your ability to do the job yourself, don't hesitate to hire a professional.
By following these steps and tips, you can successfully paint your room walls yourself and get a professional result that lasts. Enjoy refreshing your personal space and adding a touch of creativity to your home!