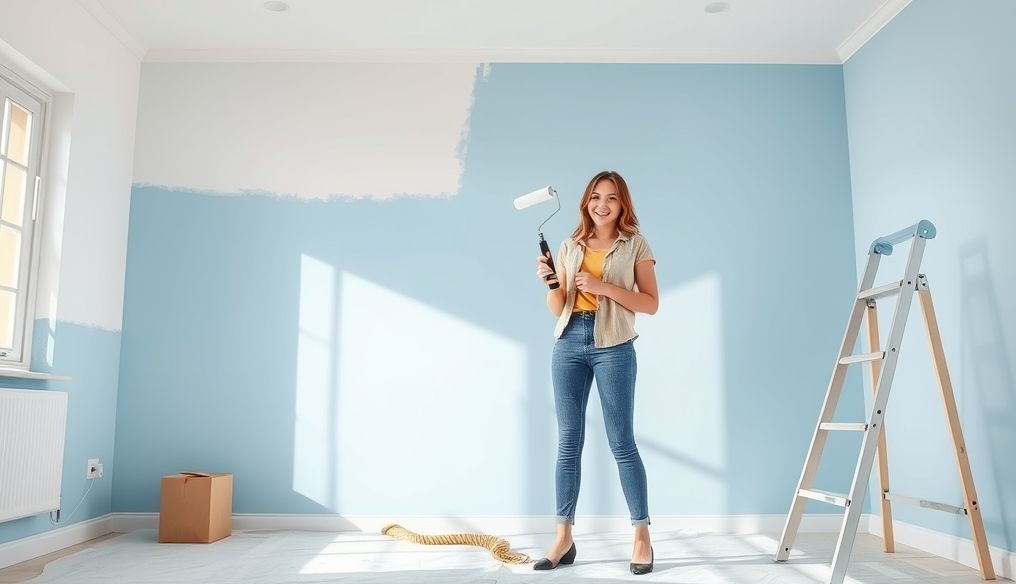
Can I Paint My Room Walls Myself? What Are the Necessary Steps?
Painting your home walls yourself is a common and rewarding project that can save you money and give you a sense of accomplishment. It doesn't require extensive experience, but it does require careful planning, the right tools, and following the correct steps. In this article, we'll explore everything you need to know to paint your room successfully, from preparation to cleanup.
Chapter 1: Assessing the Walls and Determining Needs
1.1 Inspecting the Condition of the Walls
Before you start anything, carefully inspect the walls of your room. Look for:
- Cracks and Fissures: Even small cracks can affect the appearance of the final paint.
- Humidity: Signs of moisture may indicate a larger problem that needs to be addressed before painting.
- Peeling or Chipped Paint: Any old, peeling paint must be removed before starting.
- Stains: Stains from oil, water, or smoke must be cleaned or treated.
1.2 Determining the Appropriate Type of Paint
Choosing the right paint is a crucial step. There are different types of paint for different uses:
- Latex Paint: Easy to clean, low odor, and suitable for most rooms.
- Alkyd Paint (Oil-Based): More durable and stain-resistant, but requires solvents for cleaning and has a strong odor.
- Acrylic Paint: Flexible and resistant to cracking, suitable for both exterior and interior use.
In addition, there are different types of sheen:
- Matte: Hides imperfections well but is less resistant to stains.
- Gloss: Easy to clean but shows imperfections more.
- Semi-Gloss: A good option for kitchens and bathrooms because it is moisture-resistant and easy to clean.
- Satin: Gives a slight sheen and a smooth appearance.
1.3 Calculating the Amount of Paint Needed
To avoid buying too much or too little paint, calculate the area of the walls you want to paint. Measure the length and width of each wall, then multiply the length by the width to get the wall area. Add up the areas of all the walls. Typically, one gallon of paint covers about 350-400 square feet (32-37 square meters). Keep in mind that you may need two coats of paint.
Chapter 2: Necessary Tools and Materials
2.1 List of Essential Tools
Make sure you have all the necessary tools and materials before starting:
- Paint: In the appropriate quantity and type.
- Primer: To prepare the walls and improve paint adhesion.
- Paint Brush: In different sizes for corners and edges.
- Paint Roller: To cover large areas.
- Paint Tray: To hold the paint and facilitate its use with the roller.
- Painter's Tape: To protect edges and areas you don't want to paint.
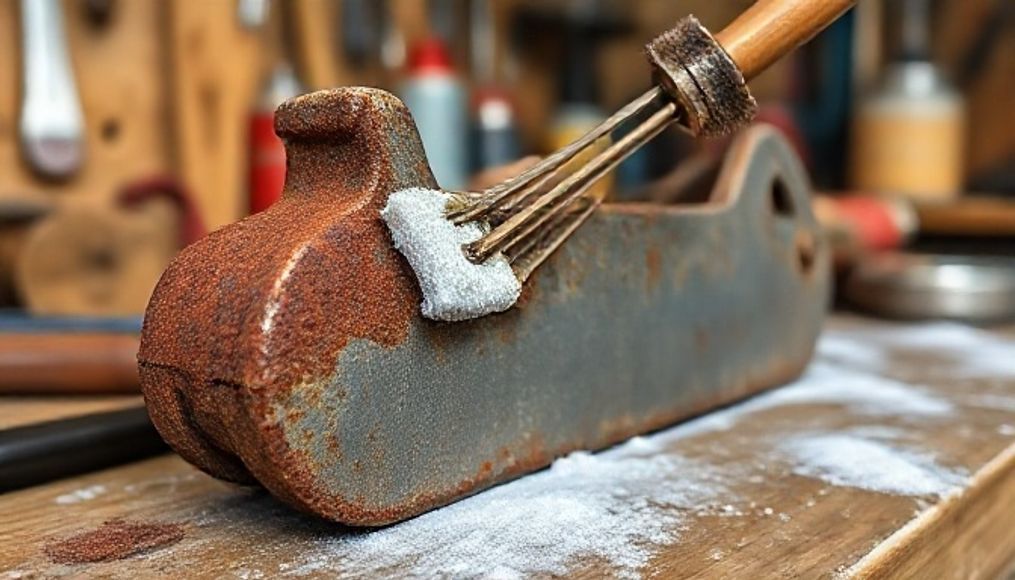
- Sandpaper: To smooth the walls and remove peeling paint.
- Spackle (Wall Putty): To fill cracks and holes.
- Putty Knife: To apply the putty.
- Drop Cloth or Plastic Cover: To protect the floor and furniture.
- Ladder: To reach high places.
- Gloves and Protective Glasses: To protect your hands and eyes.
- Cleaner and Towel: To clean the walls.
2.2 Choosing the Right Brush and Paint Roller
Choose a high-quality brush and paint roller for best results. A brush with synthetic bristles is suitable for latex paint, while a brush with natural bristles is suitable for oil-based paint. Choose a roller with a short nap for smooth surfaces and a long nap for rough surfaces.
Chapter 3: Preparing the Room and Walls
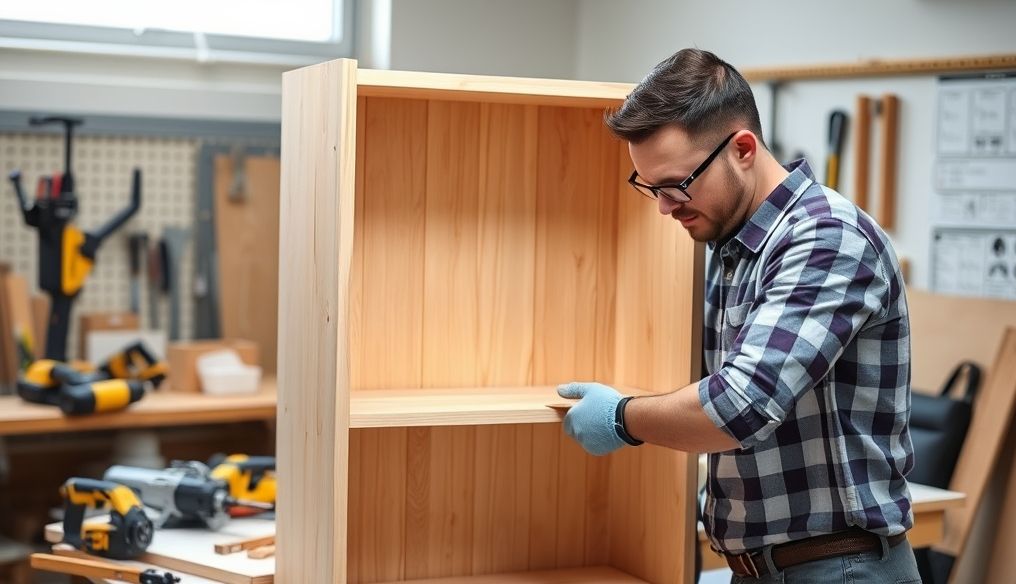
3.1 Emptying the Room and Protecting Furniture
Remove all furniture from the room if possible. If that's not possible, cover the remaining furniture with plastic or cloth covers to protect it from paint.
3.2 Covering the Floor
Place a cloth or plastic cover on the floor to protect it from paint drips.
3.3 Cleaning the Walls
Clean the walls with a damp cloth to remove dust and dirt. If there are oily stains, use a special cleaner to remove them.
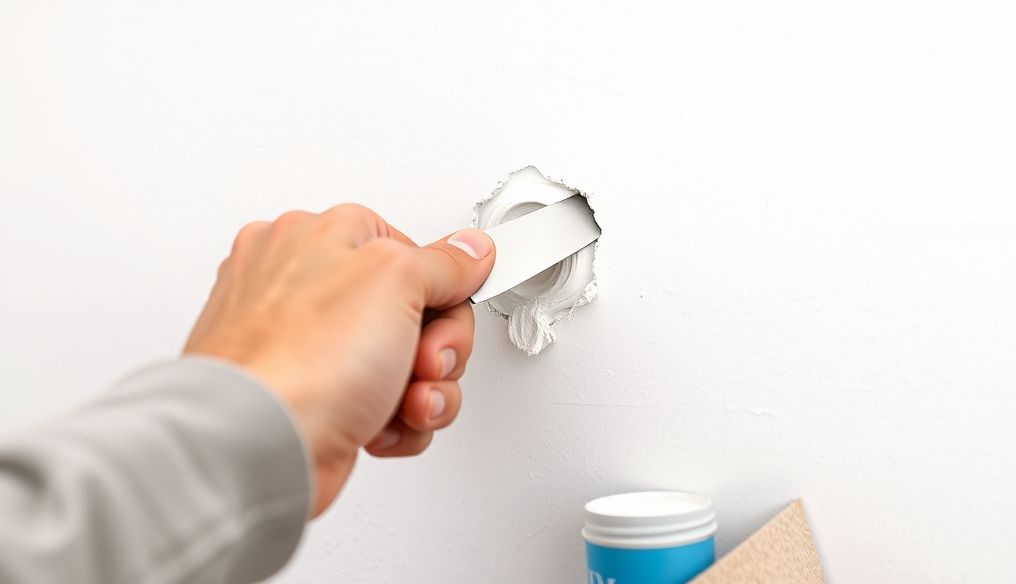
3.4 Repairing Cracks and Holes
Use a putty knife to apply wall putty to cracks and holes. Let it dry completely, then sand it with sandpaper to smooth the surface.
3.5 Applying Painter's Tape
Apply painter's tape along the edges, around windows and doors, and along the ceiling to protect these areas from paint.
Chapter 4: Applying Primer
4.1 Importance of Primer
Primer is a base coat that helps improve paint adhesion to the walls, cover stains, and unify the surface color. It is always recommended, especially on new or repaired walls.
4.2 How to Apply Primer
Use a paint brush to apply primer to the edges and corners, then use a paint roller to cover large areas. Let the primer dry completely according to the manufacturer's instructions.
Chapter 5: Painting the Walls
5.1 Correct Painting Techniques
Start by painting the edges and corners using a paint brush. Then use a paint roller to cover large areas. Paint the walls in one direction to get a uniform look. Avoid paint buildup or leaving streaks.
5.2 Number of Coats Required
Usually, two coats of paint are needed to get full coverage and a uniform color. Let the first coat dry completely before applying the second coat.
Chapter 6: Final Touches
6.1 Removing Painter's Tape
Carefully remove the painter's tape after the paint has dried completely. If the paint is still wet, the tape may cause the paint to peel.
6.2 Fixing Any Mistakes
Carefully inspect the walls and look for any mistakes or areas that have not been covered correctly. Fix these areas with a small brush or roller.
Chapter 7: Cleaning and Storage
7.1 Cleaning the Tools
Clean paint brushes and rollers with soap and water if you are using latex paint, or with solvents if you are using oil-based paint. Let the tools dry completely before storing them.
7.2 Storing Leftover Paint
Close the paint can tightly and store it in a cool, dry place. You can use the leftover paint in other projects or to make later adjustments.
Chapter 8: Additional Tips for Professional Results
- Ventilation: Make sure the room is well-ventilated while painting to avoid the buildup of fumes.
- Lighting: Paint the room in natural daylight to ensure you see all imperfections.
- Patience: Don't rush the painting process. Take your time and paint carefully to get the best results.
- Consultation: If you are unsure about any step, don't hesitate to seek help from a professional.
By following these steps and tips, you can paint your room walls yourself successfully and achieve professional results. Enjoy the renovation process and create a space that reflects your personality and taste!