Introduction: The Magic of Freezing Moments in Clear Photos
Photographing moving objects is both an art and a science. It requires an understanding of the basics of photography, as well as specific techniques to deal with the challenges posed by motion. Whether you are an amateur or a professional photographer, mastering these skills will open up a new world of creativity.
Chapter 1: Understanding the Basics of Photography
1.1. The Exposure Triangle: Aperture, Shutter Speed, and ISO
The exposure triangle is the foundation upon which any photograph is built. Understanding the relationship between aperture, shutter speed, and ISO is crucial to achieving proper exposure.
- Aperture: Controls the amount of light entering the lens. A wide aperture (small f-number like f/1.8) lets in more light and creates a shallow depth of field (blurred background). A narrow aperture (large f-number like f/16) lets in less light and creates a wide depth of field (everything in the image is sharp).
- Shutter Speed: Determines the length of time the camera sensor is exposed to light. A fast shutter speed (like 1/1000 second) freezes motion, while a slow shutter speed (like 1/30 second) lets in more light and creates a motion blur effect.
- ISO: Determines the sensitivity of the camera sensor to light. A low ISO (like ISO 100) produces images with less noise, while a high ISO (like ISO 3200) allows you to shoot in low light conditions but increases the noise in the image.
1.2. The Impact of Lighting on Photos of Moving Objects
Lighting is the key to any great photograph. When photographing moving objects, consider the following:
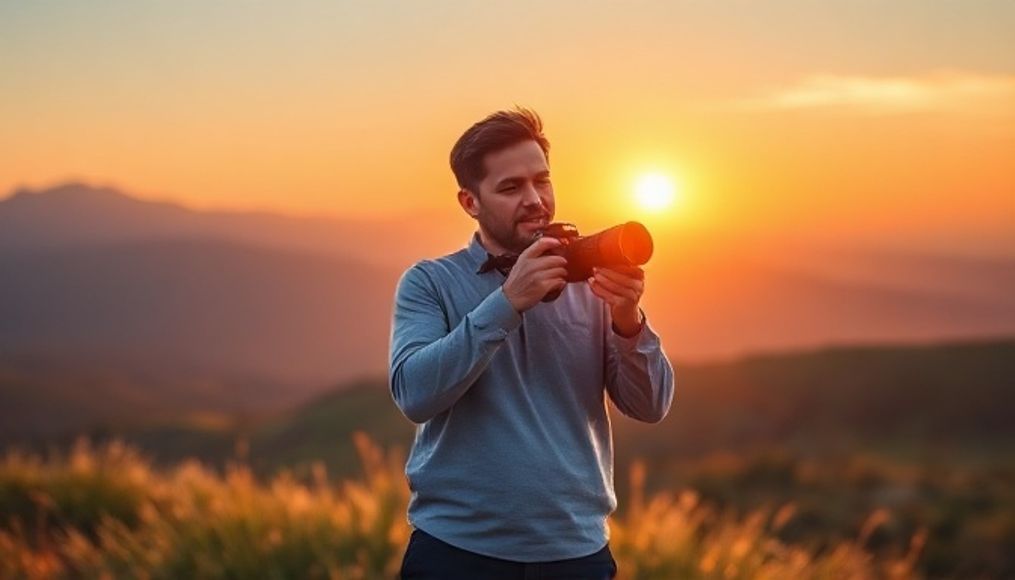
- Natural Lighting: The best time to shoot is during the "Golden Hour," the short period after sunrise and just before sunset, when the light is warm and soft.
- Artificial Lighting: If you are shooting indoors, use additional light sources to increase the amount of light and reduce harsh shadows.
- Direction of Light: The direction of light can affect the appearance of the moving object. Front lighting reduces shadows, while side lighting creates depth and texture.
Chapter 2: Choosing the Right Equipment for Motion Photography
2.1. Suitable Cameras and Lenses
Not all cameras and lenses are created equal when it comes to photographing moving objects. Look for a camera with:
- Fast and Accurate Autofocus System: Cameras with multiple focus points and object tracking systems are best.
- High Frame Rate (FPS): Allows you to capture a series of images quickly, increasing your chances of getting the perfect moment.
For lenses, consider:
- Lens with a Wide Aperture: Allows more light to enter and creates a shallow depth of field, helping to isolate the moving object from the background.
- Lens with an Appropriate Focal Length: The ideal focal length depends on the distance between you and the moving object. Telephoto lenses (like 70-200mm) are ideal for shooting distant moving objects.
2.2. Using a Tripod for Stability
Although photographing moving objects often requires movement, using a tripod can be helpful in some situations, especially when using slow shutter speeds to create a motion blur effect.
Chapter 3: Ideal Camera Settings for Photographing Moving Objects
3.1. Determining the Appropriate Shutter Speed to Freeze Motion
Shutter speed is the most important setting when photographing moving objects. The faster the object is moving, the faster the shutter speed you need to freeze the motion. Here are some general guidelines:
- Walking: 1/125 second
- Running: 1/250 second
- Cars: 1/500 second or faster
- Birds in Flight: 1/1000 second or faster
3.2. Adjusting the Aperture to Achieve the Desired Depth of Field
If you want to isolate the moving object from the background, use a wide aperture (small f-number). If you want everything in the image to be sharp, use a narrow aperture (large f-number).
3.3. Using Continuous Shooting Mode (Burst Mode) to Capture the Perfect Moment
Continuous shooting mode allows you to capture a series of images quickly. This is especially useful when photographing moving objects, as you may miss the perfect moment if you rely on just one image.
3.4. Continuous Autofocus to Track Moving Objects
Continuous autofocus (also known as AI Servo or AF-C) allows the camera to track the moving object and keep it in focus continuously.
Chapter 4: Advanced Focusing Techniques
4.1. Using Multiple Focus Points
Instead of relying on a single focus point, use multiple focus points to cover a larger area of the frame. This increases your chances of getting accurate focus on the moving object.
4.2. Pre-focusing Technique
If you know where the moving object will pass, you can pre-focus on that point and wait for the object to reach it. This can be helpful in situations where autofocus is slow or inaccurate.
4.3. Manual Focus in Difficult Conditions
In some cases, manual focus may be the best option, especially in conditions where autofocus is ineffective, such as low light or when photographing very small objects.
Chapter 5: Creative Photography Techniques for Moving Objects
5.1. Freezing Motion
To completely freeze motion, use a very fast shutter speed. This will make the moving object appear stationary in the image.
5.2. Motion Blur
To create a motion blur effect, use a slow shutter speed. This will make the moving object appear blurred, giving the impression of movement.
5.3. Panning Technique
Panning involves moving the camera at the same speed as the moving object while taking the picture. This will make the moving object appear relatively sharp, while the background will be blurred.
Chapter 6: Image Processing to Improve Clarity and Sharpness
6.1. Using Photo Editing Software (Lightroom, Photoshop)
Photo editing software like Lightroom and Photoshop provides powerful tools to improve the clarity and sharpness of images.
6.2. Adjusting Sharpness and Contrast
Increasing sharpness and contrast can make the image appear clearer and sharper. Be careful not to over-adjust, as this can lead to unwanted noise.
6.3. Noise Reduction
If the image contains noise, use noise reduction tools in the photo editing software to reduce it.
Chapter 7: Additional Tips for Masterful Motion Photography
- Continuous Practice: The best way to improve your skills in photographing moving objects is to practice continuously.
- Pre-planning: Before you start shooting, plan what you want to shoot and how you want to shoot it.
- Patience: Photographing moving objects requires patience. Don't give up if you don't get the perfect shot the first time.
- Enjoy: Most importantly, enjoy the photography process.
Chapter 8: Practical Examples and Diverse Applications
8.1. Photographing Pets at Home
To photograph your pets at home, use natural light as much as possible. If possible, open curtains or doors to allow more light to enter. Use a fast shutter speed to freeze their movement.
8.2. Photographing Children While Playing
Photographing children while playing requires patience and flexibility. Be prepared to move with them and take pictures from different angles. Use continuous shooting mode to capture as many moments as possible.
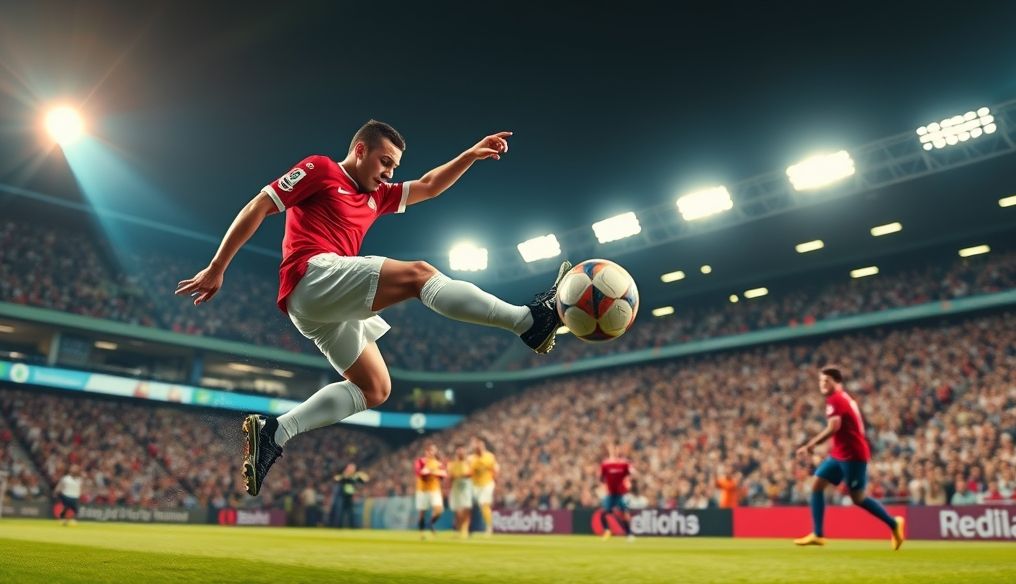
8.3. Photographing Athletes at Sporting Events
To photograph athletes at sporting events, use a telephoto lens to capture close-up shots. Use a fast shutter speed to freeze their movement. Try to capture images that show the strength and skill of the athletes.
Conclusion: A Continuous Journey Towards Mastery
Photographing moving objects is a continuous journey towards mastery. With practice and patience, you can develop your skills and capture stunning images that freeze precious moments in life.