What are the essential basics of landscape photography for capturing professional photos?
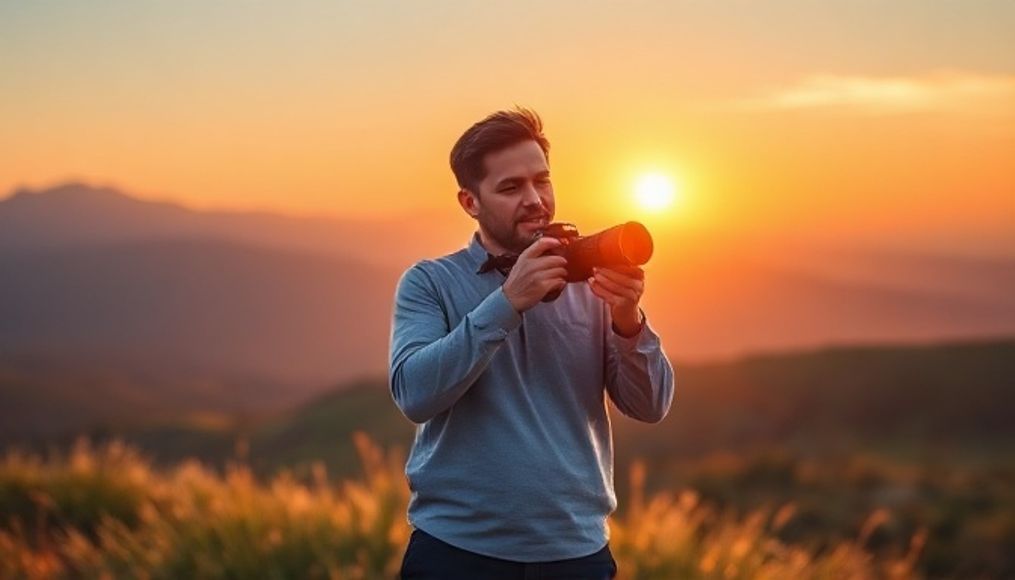
Landscape photography is a genre of photography that aims to capture the beauty of nature, whether it's towering mountains, sandy beaches, dense forests, or even a starry sky. This type of photography requires a deep understanding of lighting, composition, and the technical settings of the camera. In this article, we will cover the basics of landscape photography to help you capture professional-looking photos.
1. Understanding Lighting and its Impact
Lighting is the most important element in any photograph, and in landscape photography, it plays a crucial role in determining the overall mood of the image. Here are some points to consider:
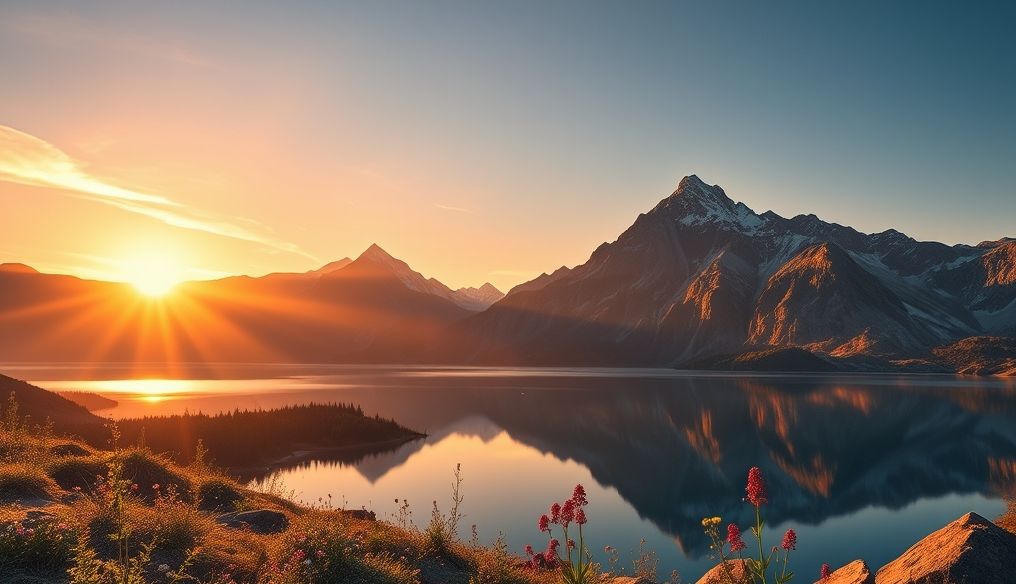
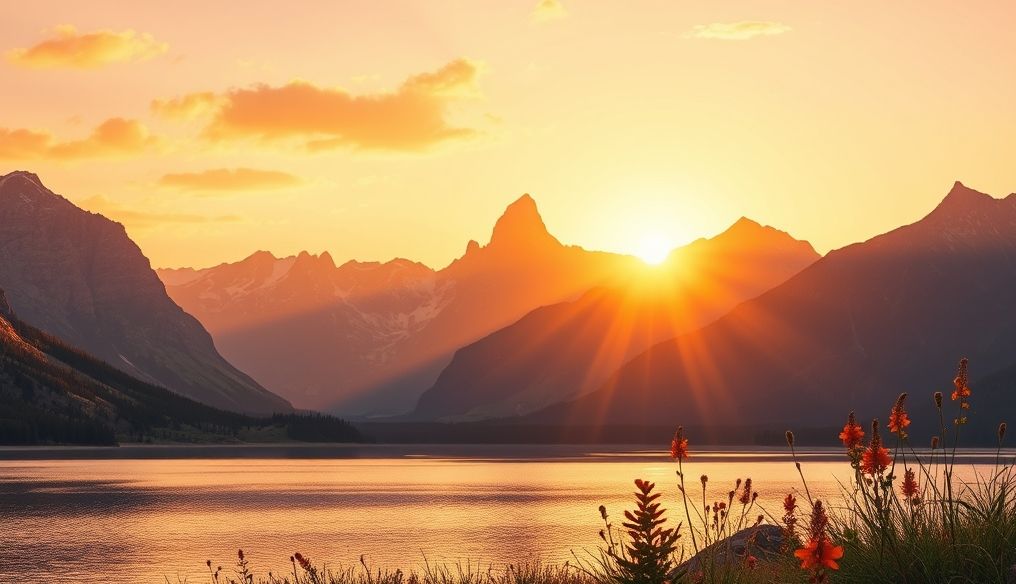
- Golden Hour: This is the period immediately after sunrise and just before sunset. During this time, the light is warm and soft, creating long shadows and enhancing colors.
- Blue Hour: This is the period immediately before sunrise and just after sunset. During this time, the light is cool and calm, creating a dreamy atmosphere.
- Daylight: Strong daylight can be challenging, but it can be used to create sharp and clear images. Use a polarizing filter to reduce glare and increase color saturation.
- Weather: Weather can significantly affect the lighting. Clouds can create diffused and soft light, while storms can create dramatic and exciting images.
Tips for Improving Lighting in Your Photos:
- Plan to take photos during the golden hour or blue hour.
- Use a polarizing filter to reduce glare and increase color saturation.
- Experiment with different angles to find the best lighting.
- Be prepared to adapt to changing weather conditions.
2. Composition: The Art of Arranging Elements
Composition is the art of arranging elements within the frame to create a visually appealing image. Here are some basic rules of composition:
- Rule of Thirds: Imagine the frame divided into nine equal parts by two horizontal lines and two vertical lines. Place important elements along these lines or at the points of intersection.
- Leading Lines: Use lines in the scene, such as roads, rivers, or fences, to guide the viewer's eye towards the main element in the photo.
- Frame within a Frame: Use elements such as trees, rocks, or arches to frame the scene and create depth.
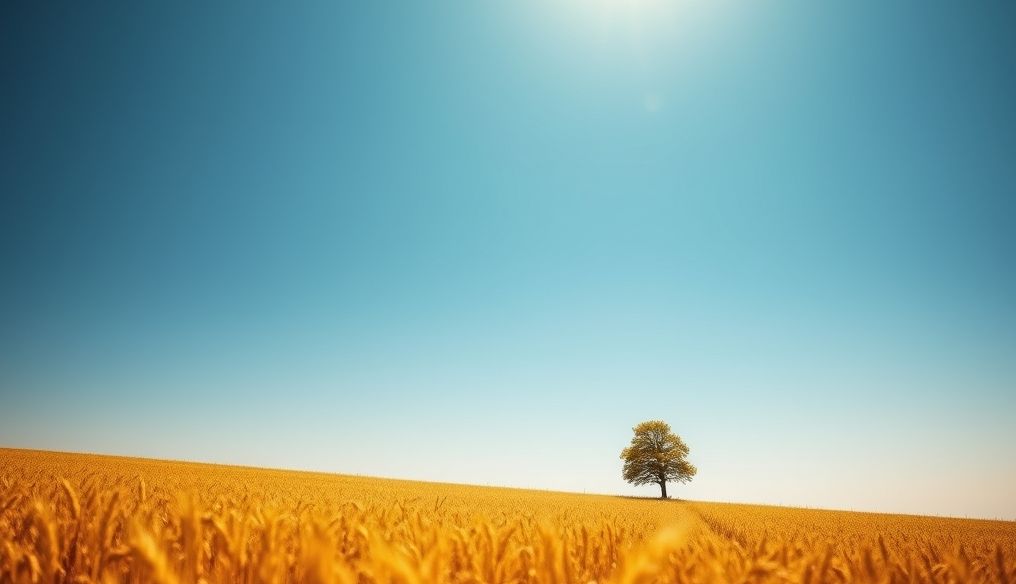
- Negative Space: Use empty spaces to create balance and draw attention to the main element in the photo.
- Depth: Use elements such as overlapping layers or atmospheric perspective to create a sense of depth in the photo.
Examples of Composition in Landscapes:
- A photo of a towering mountain with a river flowing in the foreground (leading lines).
- A photo of a sandy beach with palm trees framing the scene (frame within a frame).
- A photo of a dense forest with sunlight filtering through the trees (depth).
3. Basic Camera Settings
Understanding the basic camera settings is essential for taking good photos. Here are some settings you should be aware of:
- Aperture: Controls the amount of light entering the camera and affects the depth of field. A wide aperture (small f-number) creates a shallow depth of field, making the background blurry. A narrow aperture (large f-number) creates a wide depth of field, making everything in the photo sharp.
- Shutter Speed: Controls the length of time the camera's sensor is exposed to light. A fast shutter speed freezes motion, while a slow shutter speed creates a blurry effect.
- ISO Sensitivity: Determines the sensitivity of the camera's sensor to light. Low ISO sensitivity produces high-quality images, while high ISO sensitivity can lead to noise in the image.
- White Balance: Adjusts the colors in the image to look natural.
- Focus Mode: Determines how the camera focuses on the element to be photographed.
Tips for Camera Settings in Landscapes:
- Use a narrow aperture (f/8 or higher) to get a wide depth of field.
- Use a shutter speed fast enough to avoid camera shake.
- Use the lowest ISO sensitivity possible to get the best image quality.
- Adjust the white balance to match the lighting conditions.
- Use manual focus mode for precise focusing.
4. Using Filters
Filters are useful tools that can help you improve landscape photos. Here are some common types:
- Polarizing Filter: Reduces glare and reflections, increases color saturation, and makes the sky bluer.
- Neutral Density Filter: Reduces the amount of light entering the camera, allowing you to use slower shutter speeds or wider apertures in bright lighting conditions.
- Graduated Neutral Density Filter: Reduces the amount of light in the upper part of the image, helping to balance the exposure between the sky and the ground.
Tips for Using Filters:
- Use a polarizing filter on sunny days to reduce glare and increase color saturation.
- Use a neutral density filter to capture long exposure photos of water or clouds.
- Use a graduated neutral density filter to balance the exposure between the sky and the ground.
5. Essential Equipment for Landscape Photography
In addition to the camera, there are some essential pieces of equipment that can help you take better photos:
- Tripod: Essential for keeping the camera steady, especially in low light conditions or when using slow shutter speeds.
- Lenses: A wide-angle lens is ideal for capturing wide landscapes, while a telephoto lens is useful for capturing distant details.
- Remote Shutter Release: Prevents camera shake when pressing the shutter button.
- Camera Bag: To protect your equipment while on the move.
6. Planning and Research
Planning ahead and researching suitable locations can make a big difference in your results. Look for beautiful and interesting locations, check the weather forecast, and plan your trip in advance.
Tips for Planning and Research:
- Use map applications to find potential photography locations.
- Check the weather forecast to find the best time to photograph.
- Look for photos of the locations you plan to visit for inspiration.
- Plan your trip in advance to make sure you have enough time to photograph.
7. Post-Processing
Post-processing is an important part of the photography process. Programs like Adobe Lightroom or Capture One can help you improve the colors, exposure, and sharpness in your photos.
Tips for Post-Processing:
- Correct the exposure and white balance.
- Adjust the colors and contrast.
- Increase sharpness and reduce noise.
- Save your photos in RAW format for maximum processing flexibility.
8. Patience and Practice
Landscape photography requires patience and practice. Don't be discouraged if you don't get the results you want right away. Keep experimenting and learning, and your skills will gradually improve.
Tips for Practice:
- Go out to photograph regularly.
- Experiment with different techniques.
- Seek help from other photographers.
- Analyze your photos and try to identify strengths and weaknesses.
By following these basics, you can start capturing stunning landscape photos. Remember that photography is a continuous learning journey, so enjoy the process and keep developing your skills.