The Art of Portrait Photography: The Enchanting Blurred Background
A blurred background, also known as "Bokeh," is a key element in professional portrait photos. It helps isolate the subject (the person) from the background, drawing the viewer's attention directly to the face and its expressions. But how do we achieve this captivating blurred background? This article will cover everything you need to know, from equipment to techniques, to transform your portrait photos into works of art.
Chapter 1: Understanding the Basics of Bokeh
Bokeh isn't just random blurriness; it's a visual effect produced by the way the lens renders out-of-focus areas. To understand Bokeh better, we need to look at some basic concepts:
- Aperture: This is the amount of light that is allowed to enter the camera. It's measured in f-numbers, and the smaller the number (e.g., f/1.8 or f/2.8), the wider the aperture, and the blurrier the background.
- Focal Length: This is the distance between the lens and the camera sensor. Lenses with longer focal lengths (e.g., 85mm or 135mm) produce a blurrier background than lenses with shorter focal lengths (e.g., 35mm or 50mm).
- Distance Between Subject and Background: The greater the distance between the subject and the background, the blurrier the background becomes.
- Distance Between Camera and Subject: The closer the camera is to the subject, the less sharp the background will be.
Illustrative Example: Imagine you're photographing a person standing in front of a tree. If the tree is very close to the person, the background will be less blurry. But if the tree is far away, the background will be noticeably blurrier.
Chapter 2: Equipment Needed for Professional Bokeh
Although skill plays a big role, the right equipment can make a significant difference in the quality of your portrait photos. Here's some essential equipment you'll need:
- Interchangeable Lens Camera (DSLR or Mirrorless): These cameras give you full control over the settings and allow you to use different lenses to achieve various effects.
- Fast Aperture Lens: Look for a lens with an aperture of f/2.8 or wider (e.g., f/1.8 or f/1.4). These lenses allow more light in and produce a beautiful blurred background. Popular portrait lenses include 50mm f/1.8, 85mm f/1.8, and 35mm f/1.4.
- Tripod: Not always necessary, but helpful in low-light conditions where you need a slower shutter speed.
- Reflector: Helps direct light onto the subject's face, reducing harsh shadows.
Important Note: You can achieve a good blurred background using modern smartphones with "Portrait" mode, but the results are often less precise than with professional cameras.
Chapter 3: Ideal Camera Settings for Portrait Photography
After choosing the right equipment, it's time to adjust the camera settings. Here are some guidelines to follow:
- Shooting Mode: Use Aperture Priority mode or Manual Mode. In Aperture Priority mode, you can set the aperture, and the camera will automatically adjust the shutter speed. In Manual mode, you can control both the aperture and shutter speed.
- Aperture: Start with the widest possible aperture (e.g., f/1.8 or f/2.8), then narrow it down if necessary.
- Shutter Speed: The shutter speed should be fast enough to avoid camera shake. The general rule is that the shutter speed should be equal to or faster than the focal length of the lens (e.g., if you're using a 50mm lens, the shutter speed should be 1/50 second or faster).
- ISO: Keep the ISO as low as possible to avoid noise in the image. Start with ISO 100 or 200, then increase it if necessary.
- White Balance: Choose the appropriate white balance for the lighting conditions. You can use Auto mode or choose a preset such as "Sunlight" or "Cloudy."
- Focus Mode: Use Continuous Autofocus or Single Autofocus.
Chapter 4: Focusing Techniques for Sharp Images
Accurate focus is key to getting sharp portrait photos. Here are some tips to improve your focusing techniques:
- Focus on the Eye: The most important part of a portrait photo is the eye. Make sure the eyes are in sharp focus.
- Use Focus Points: Use the focus points in the camera to precisely select the focus point.
- Manual Focus: In some cases, manual focus may be better than autofocus, especially in difficult lighting conditions.
- Focus and Recompose: Focus on the eye, then recompose the image to get the desired composition.
Chapter 5: Choosing the Right Background
The background plays a crucial role in the success of a portrait photo. Here are some tips for choosing the right background:
- Look for Simple and Uncluttered Backgrounds: Avoid busy backgrounds or those with too much detail.
- Use Harmonious Colors: Choose a background that complements the colors of the subject's clothing.
- Use Natural Light: Natural light is often better than artificial light.
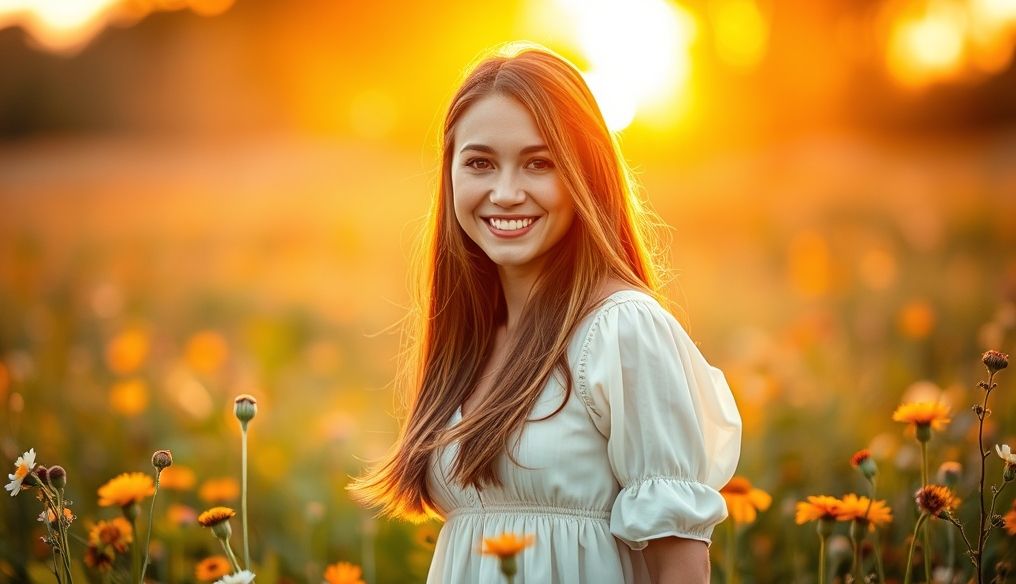
- Natural Backgrounds: Gardens, forests, and beaches are great places to shoot portraits.
- Artificial Backgrounds: Paper or fabric backgrounds can be used in the studio.
Chapter 6: Lighting: The Key to Great Portrait Photos
Lighting is the most important element in photography. Here are some tips for using light effectively in portrait photos:
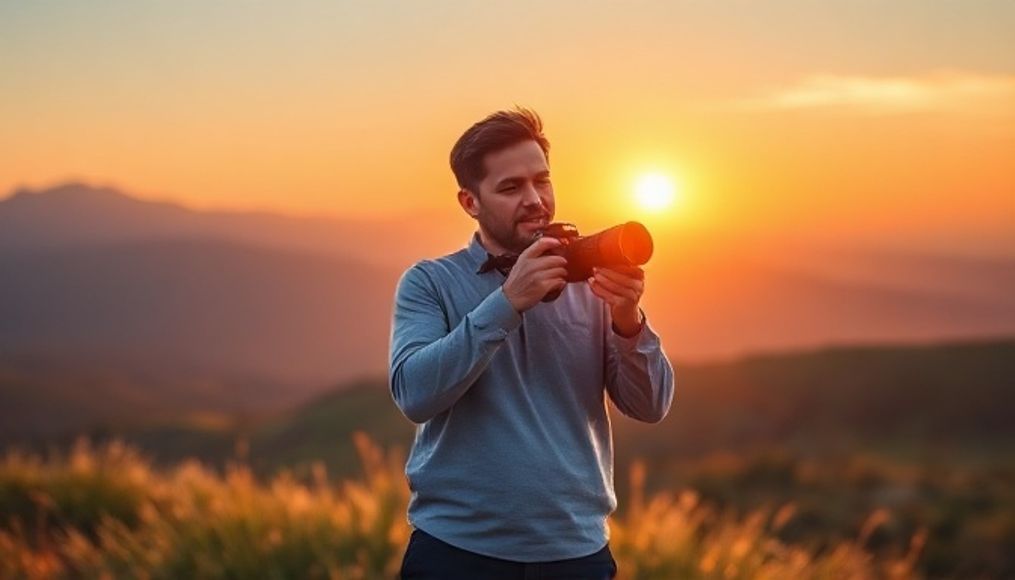
- Natural Light: The best time to shoot portraits outdoors is during the golden hours (the first hour after sunrise and the last hour before sunset).
- Artificial Light: Flash or continuous lighting can be used in the studio.
- Avoid Direct Light: Direct light can create harsh shadows on the face.
- Use a Reflector: A reflector can help fill in shadows and soften the light.
- Distribute the Light: Make sure the light is evenly distributed on the subject's face.
Chapter 7: Composition: The Art of Arranging Elements in the Image
Composition is the art of arranging elements in the image to create a visually appealing photo. Here are some basic rules of composition:
- Rule of Thirds: Divide the image into nine equal parts using two horizontal lines and two vertical lines. Place important elements along these lines or at the points of intersection.
- Negative Space: Leave empty space around the subject to create a sense of calm and balance.
- Leading Lines: Use lines in the image to guide the viewer's eye towards the subject.
- Symmetry: Use symmetry to create a balanced and beautiful image.
- Patterns: Look for repeating patterns in the environment and use them in the composition.
Chapter 8: Photo Editing: The Final Touches
Photo editing is the last step in the portrait photography process. Here are some tools and techniques you can use to improve your photos:
- Editing Software: Adobe Photoshop and Lightroom are two of the most popular photo editing programs.
- Adjusting Brightness and Contrast: Adjust the brightness and contrast to get a balanced image.
- Adjusting Colors: Adjust the colors to get a natural image or to add an artistic effect.
- Removing Blemishes: Use blemish removal tools to remove imperfections and blemishes from the face.
- Image Sharpness: Adjust the sharpness of the image to make it clearer.
- Adding Bokeh Effect: If you couldn't get enough blurred background while shooting, you can add a Bokeh effect using editing software.
Final Tip: Don't overdo the photo editing. The goal is to improve the image, not to completely change it.
Chapter 9: Additional Tips to Improve Portrait Photos
- Communicate with the Subject: Talk to the subject and make them feel comfortable.
- Take Multiple Photos: Take many photos, then choose the best one.
- Experiment: Don't be afraid to experiment and try new techniques.
- Learn from Others: Watch the work of other photographers and learn from them.
- Practice: Practice is the key to improving your photography skills.
By following these tips and techniques, you'll be able to capture professional portrait photos with a beautiful blurred background. Remember that practice is key, so don't hesitate to experiment and learn from your mistakes.