How do I achieve professional portrait photos with a beautiful blurred background?
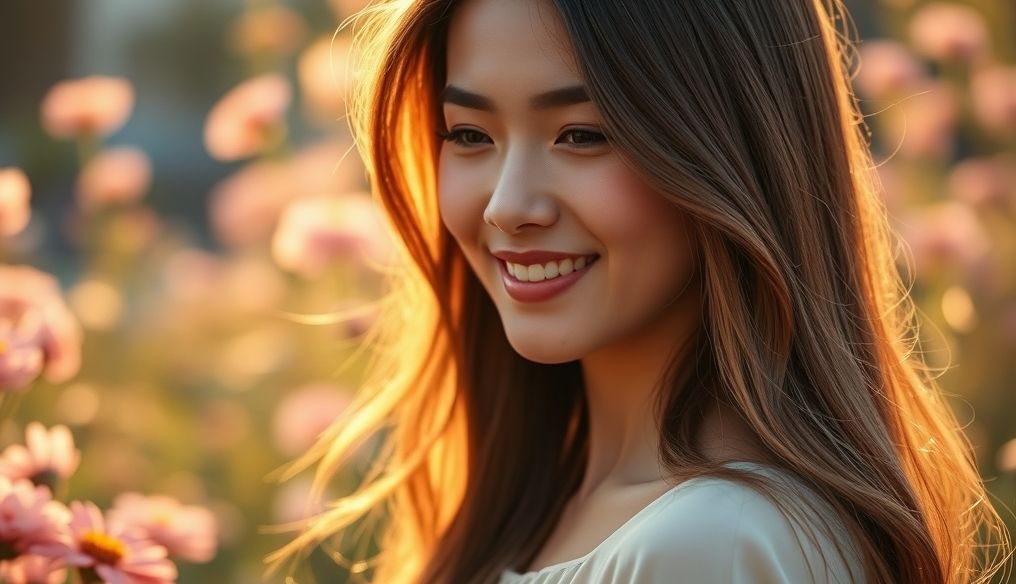
A blurred background, also known as "Bokeh," is a fundamental element in professional portrait photography. It creates depth in the image and makes the subject stand out more prominently. Fortunately, you don't have to be a professional photographer to achieve this result. With some techniques and the right settings, you can capture stunning portrait photos with a beautiful blurred background.
Chapter 1: Understanding the Basics of Bokeh
Bokeh is a Japanese term meaning "blur" or "haze." In photography, it refers to the quality of the blur in the out-of-focus areas of an image, especially in the background. Bokeh can be circular, oval, or even irregularly shaped, depending on the design of the camera lens.
- Aperture: The most important factor affecting bokeh. A wider aperture (lower f-number) creates a larger blur.
- Focal Length: Lenses with longer focal lengths (such as 50mm, 85mm, or 135mm) produce more pronounced bokeh.
- Distance between Camera, Subject, and Background: The greater the distance between the subject and the background, the blurrier the background will be.
Chapter 2: Choosing the Right Lens
The lens is your window to the world, and choosing the right lens is the first step to getting beautiful bokeh.
- Prime Lenses: Such as 50mm f/1.8 or 85mm f/1.8, are ideal for portrait photography because of their ability to produce excellent bokeh at a reasonable cost.
- Zoom Lenses: Some zoom lenses, such as 70-200mm f/2.8, can also produce great bokeh, but they are often more expensive than prime lenses.
- Specialty Lenses: There are lenses specifically designed to produce unique bokeh, but they can be very expensive.
Chapter 3: Camera Settings for Perfect Bokeh
After choosing the right lens, it's time to adjust the camera settings.
- Aperture Priority Mode: In this mode, you can control the aperture, while the camera automatically adjusts the shutter speed and ISO to achieve the appropriate exposure.
- Widest Aperture: Use the widest possible aperture (lowest f-number) to get the maximum background blur.
- Focus: Make sure the focus is sharp on the person's eyes in the photo. Use Autofocus or Manual Focus mode depending on your preference.
- ISO: Keep the ISO as low as possible to avoid noise in the image.
Chapter 4: Choosing the Right Location
Location plays a crucial role in getting beautiful bokeh. Look for an interesting but non-distracting background.
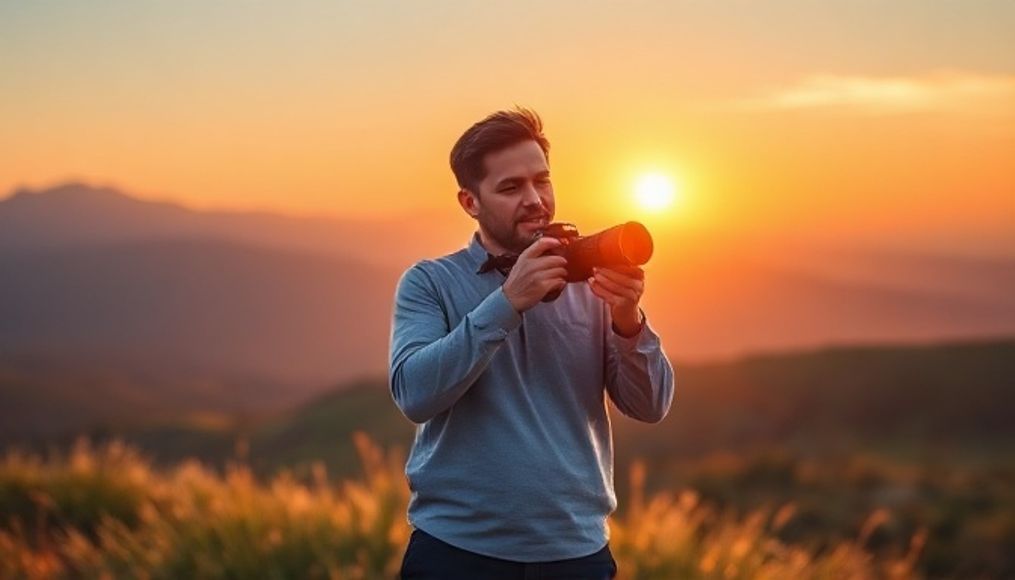
- Backlighting: Backlighting, such as sunlight filtering through trees, can create beautiful circular bokeh.
- Small Lights: Small lights, such as Christmas lights or streetlights, can turn into shimmering bokeh in the background.
- Distance: Place the person in the photo far away from the background to increase the blur.
Chapter 5: Composition Techniques
Good composition is key to an attractive portrait photo.
- Rule of Thirds: Place the person in the photo on one of the lines or intersections of the thirds grid to create a balanced image.
- Negative Space: Leave empty space around the person in the photo to highlight them even more.
- Angles: Try different angles to find the best angle that highlights the beauty of the person in the photo.
Chapter 6: Using Natural Lighting
Natural lighting is a photographer's best friend. Look for soft, even lighting to avoid harsh shadows.
- Golden Hour: The few hours after sunrise and the few hours before sunset provide warm, soft lighting ideal for portrait photos.
- Overcast Days: Overcast days provide even and well-distributed lighting, reducing harsh shadows.
- Avoid Direct Sunlight: Direct sunlight can create harsh shadows and make the person in the photo look tired.
Chapter 7: Post-Processing
Post-processing can greatly improve the quality of portrait photos.
- Editing Software: Use software such as Adobe Lightroom or Photoshop to improve exposure, contrast, and colors.
- Skin Smoothing: Use skin smoothing tools to remove small imperfections and make the skin look clearer.
- Adding Bokeh: If the blur is not sufficient in the original image, you can add more blur using editing software.
Chapter 8: Additional Tips for Stunning Portrait Photos
Here are some additional tips to help you capture unforgettable portrait photos:
- Connect with the Subject: Talk to the person in the photo and make them feel comfortable and relaxed.
- Take Multiple Shots: Take multiple shots at different angles and settings to increase your chances of getting a perfect photo.
- Experiment and Innovate: Don't be afraid to experiment with new techniques and styles to find your own style.
- Practice Regularly: The more you practice photography, the better your skills will become.
Using these tips and techniques, you can capture professional portrait photos with a beautiful blurred background. Remember that practice is key, so don't hesitate to experiment and enjoy the photography process.