Introduction: Freezing the Moment in a Clear Picture
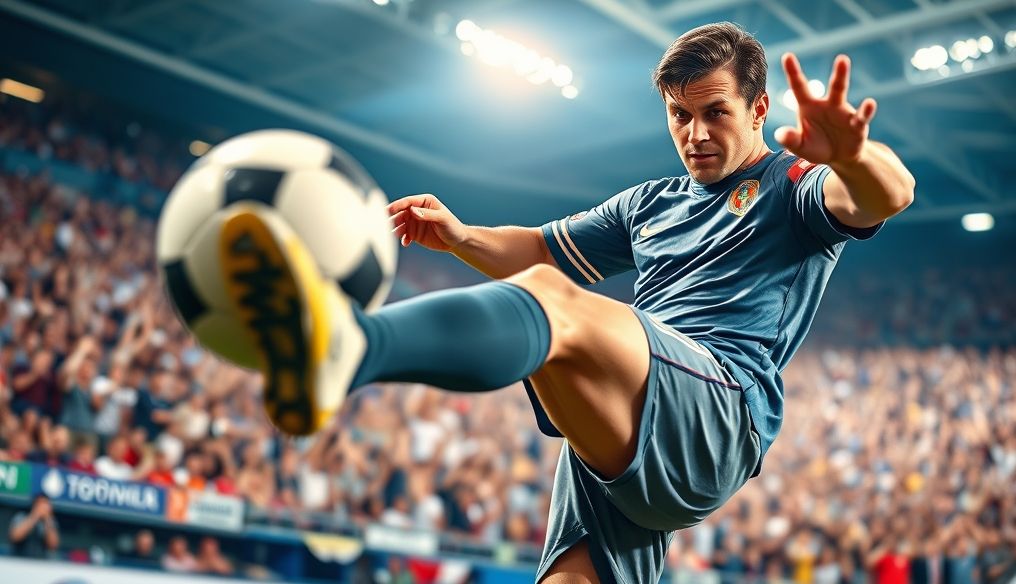
Photographing moving objects presents an enjoyable and rewarding challenge in the world of photography. Whether you're trying to capture the motion of a soccer player scoring a goal, a bird flapping its wings, or even a kitten chasing a string, the ability to freeze these moments in a clear image is a valuable skill. This type of photography requires a good understanding of camera settings, shooting techniques, and patience and practice.
Chapter 1: Understanding the Basics of Photography
1.1. The Exposure Triangle: Aperture, Shutter Speed, and ISO
Aperture: Controls the amount of light entering the camera. A wide aperture (small f-number like f/2.8) lets in more light and creates a shallow depth of field, blurring the background. A narrow aperture (large f-number like f/16) lets in less light and creates a wide depth of field, making everything in the image sharp.
Shutter Speed: Is the amount of time the camera's sensor is exposed to light. A fast shutter speed (like 1/1000 second) freezes motion, while a slow shutter speed (like 1/30 second) lets in more light and may create motion blur.
ISO: Determines the camera's sensor's sensitivity to light. A low ISO (like ISO 100) produces clean images with minimal noise, while a high ISO (like ISO 3200) allows shooting in low-light conditions but may increase noise in the image.
1.2. Shooting Modes: Manual Mode (M), Shutter Priority Mode (Tv or S), Aperture Priority Mode (Av or A)
Manual Mode (M): Gives you complete control over aperture, shutter speed, and ISO. This mode is ideal when you want complete control over the look of the image.
Shutter Priority Mode (Tv or S): Allows you to set the shutter speed while the camera automatically selects the appropriate aperture. This mode is ideal for photographing moving objects because it allows you to freeze motion by choosing a fast shutter speed.
Aperture Priority Mode (Av or A): Allows you to set the aperture while the camera automatically selects the appropriate shutter speed. This mode is ideal when you want to control the depth of field.
Chapter 2: Ideal Camera Settings for Photographing Moving Objects
2.1. Choosing the Right Shutter Speed to Freeze Motion
Choosing the right shutter speed depends on the speed of the moving object. For very fast-moving objects (like cars or birds), you may need a shutter speed of 1/1000 second or faster. For slowly moving objects (like pedestrians), a shutter speed of 1/250 second may be sufficient.
Tip: Start with a high shutter speed and gradually reduce it until you get the desired image. Watch the camera screen to make sure the image is not too dark.
2.2. Adjusting the Aperture for a Suitable Depth of Field
If you want the moving object and the background to be in sharp focus, use a narrow aperture (like f/8 or f/11). If you want the moving object to be in sharp focus and the background blurred, use a wide aperture (like f/2.8 or f/4).
Tip: When using a wide aperture, make sure you focus on the moving object accurately.
2.3. Adjusting ISO Sensitivity for Different Lighting Conditions
In bright lighting conditions, you can use a low ISO (like ISO 100 or ISO 200). In low lighting conditions, you may need to increase the ISO (like ISO 800 or ISO 1600). However, be careful about increasing the ISO too much, as this may cause noise to appear in the image.
Tip: Try to keep the ISO as low as possible for the best image quality. If you need to increase the ISO, do so gradually until you get the desired image.
Chapter 3: Autofocus Techniques for Photographing Moving Objects
3.1. Using Continuous Autofocus Mode (AI Servo or AF-C)
Continuous autofocus mode (AI Servo in Canon cameras or AF-C in Nikon cameras) is designed to track moving objects. In this mode, the camera will constantly adjust the focus to keep the moving object in sharp focus.
3.2. Choosing the Right Focus Points
Usually, the best option is to use a single focus point located on the moving object. You can also use a group of focus points to track the moving object, but this may be less accurate.
Tip: Try to keep the focus point on the most important part of the moving object, such as the eyes or face.
3.3. "Pre-Focus" Technique to Anticipate Object Movement
This technique involves focusing on a specific point in advance where you expect the moving object to pass. When the object reaches that point, press the shutter button to take the picture.
Chapter 4: Advanced Photography Techniques for Photographing Moving Objects
4.1. Panning Technique
Panning involves tracking the moving object with the camera while taking the picture. This creates an effect where the moving object is in sharp focus and the background is blurred. This technique requires a slower shutter speed than usual (like 1/60 second or 1/30 second).
Tip: Practice panning regularly to improve your skills. Try to keep the camera movement as smooth as possible.
4.2. Using Continuous Shooting Mode (Burst Mode)
Continuous shooting mode allows you to take a series of pictures quickly. This is useful when you are trying to capture a specific moment, such as when a person jumps or when a player scores a goal.
4.3. Shooting in RAW Mode
Shooting in RAW mode gives you more flexibility in post-processing. You can adjust exposure, lighting, contrast, and colors without losing image quality.
Chapter 5: Additional Equipment You May Need
5.1. Suitable Lenses for Photographing Moving Objects
Lenses with long focal lengths (like 70-200mm or 100-400mm) are ideal for photographing moving objects from a distance. Lenses with a wide aperture (like f/2.8 or f/4) let in more light and create a shallow depth of field.
5.2. Tripod for Stability
A tripod can help stabilize the camera, especially when using slow shutter speeds. However, a tripod may not always be practical for photographing moving objects, especially if you need to move quickly.
5.3. External Flash to Improve Lighting
An external flash can help improve lighting, especially in low-light conditions. However, be careful about using the flash excessively, as it may create harsh shadows.
Chapter 6: Tips for Photographing Different Types of Moving Objects
6.1. Photographing Athletes: Focusing on Critical Moments
When photographing athletes, try to focus on critical moments, such as when a basketball player jumps to score a goal or when a runner runs fast. Use a fast shutter speed to freeze motion.
6.2. Photographing Pets: Patience and Perseverance
Photographing pets can be difficult, as they are often unpredictable. Be patient and persevering, and try to capture pictures of them doing funny or cute things. Use continuous shooting mode to take a series of pictures quickly.
6.3. Photographing Children: Capturing Spontaneous Moments
When photographing children, try to capture spontaneous moments, such as when they laugh or play. Don't try to force them to stand and smile, as this may make the pictures look artificial. Use a wide aperture to create a shallow depth of field and blur the background.
Chapter 7: Post-Processing of Images After Shooting
7.1. Using Photo Editing Software (Lightroom, Photoshop)
Photo editing software allows you to adjust exposure, lighting, contrast, colors, and sharpness. You can also remove noise and correct distortions.
7.2. Adjusting Exposure, Lighting, and Contrast
Make sure the exposure, lighting, and contrast are appropriate for the image. You can increase the exposure to make the image brighter, and decrease the exposure to make the image darker. You can increase the contrast to make the image sharper, and decrease the contrast to make the image softer.
7.3. Increasing Sharpness and Reducing Noise
You can increase the sharpness to make the image sharper, but be careful about increasing the sharpness too much, as this may cause halos to appear around the edges. You can reduce the noise to make the image cleaner, but be careful about reducing the noise too much, as this may cause loss of detail.
Chapter 8: Common Mistakes to Avoid
8.1. Using Too Slow a Shutter Speed
If the shutter speed is too slow, you will get blurry images. Make sure to use a shutter speed fast enough to freeze motion.
8.2. Not Focusing on the Moving Object
If you are not focusing on the moving object, you will get blurred images. Make sure to use continuous autofocus mode and choose the right focus points.
8.3. Not Paying Attention to the Lighting
If you are not paying attention to the lighting, you may get images that are too dark or too bright. Make sure to adjust the exposure, lighting, and contrast.
Conclusion: Practice Makes Perfect
Photographing moving objects requires practice and patience. Don't be discouraged if you don't get good results at first. Keep experimenting and learning, and your skills will improve over time. Remember that the goal is to freeze the moment and capture stunning images that remain in memory.
