Introduction: Why Install Curtains Yourself?
Installing window curtains is not just an aesthetic improvement to your home, but also an opportunity to save money and gain a new skill. Instead of hiring a professional, you can do it yourself by following simple steps and saving on labor costs. In addition, you will have complete freedom to choose the design and materials that suit your taste and budget.
Chapter 1: Necessary Tools and Materials
Before you start installing the curtains, make sure you have the following tools and materials:
- Measuring tape: To accurately measure the width and height of the window.
- Pencil: To mark the locations of the holes.
- Spirit level: To ensure the curtain is installed straight.
- Electric drill: To make holes in the wall or frame.
- Screwdriver: To tighten the screws.
- Appropriate screws and bolts: Choose screws and bolts suitable for the type of wall or frame.
- Appropriate drill bit: Choose the drill bit suitable for the type of wall (concrete, gypsum, wood).
- Ladder: To reach high places.
- Curtain and curtain rod: Make sure to choose the curtain and rod that are appropriate for the size of the window and the design of the room.
- Rod mounting brackets: To attach the rod to the wall or frame.
Tip: Gather all the tools and materials before starting to avoid wasting time and effort.
Chapter 2: Measuring the Window and Determining the Location
Accurate measurement is the first step to a successful curtain installation. Follow these steps:
- Measure the width of the window: Measure the width of the window from the outer edge of the frame to the other outer edge. Add a few extra centimeters (usually 10-15 cm on each side) to ensure complete coverage and prevent light leakage.
- Measure the height of the window: Measure the height of the window from the top of the frame to the bottom. If you want the curtain to be longer than the window, measure the required distance from the top of the frame to the point you want the curtain to reach.
- Determine the location of the brackets: Using a measuring tape and pencil, mark the location of the brackets on the wall or frame. Make sure the brackets are at the same height using a spirit level. The brackets must be strong enough to support the weight of the curtain and rod.
Note: If the window is located near the corner of the room, make sure to leave enough space between the bracket and the corner to avoid any installation difficulties.
Chapter 3: Installing the Brackets
After determining the location, it's time to install the brackets. Follow these steps:
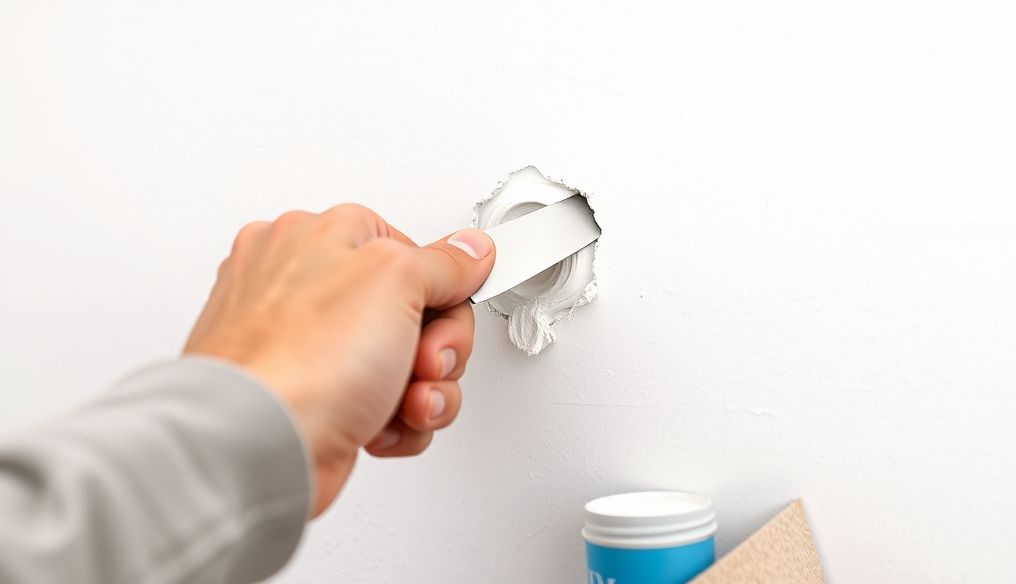
- Drill the holes: Using an electric drill, make holes in the wall or frame in the locations you marked earlier. Make sure to use the appropriate drill bit for the type of wall.
- Insert the screws or bolts: Insert the screws or bolts into the holes and tighten them securely with a screwdriver. Make sure the brackets are securely and evenly mounted.
- Check the level: Use a spirit level to check that the brackets are level. If not, adjust them until they are perfectly level.
Warning: When using an electric drill, wear safety glasses to protect your eyes from dust and debris.
Chapter 4: Installing the Curtain Rod
After installing the brackets, you can now install the curtain rod. Follow these steps:
- Insert the rod into the brackets: Place the curtain rod in the brackets and make sure it is securely fastened.
- Secure the rod: Sometimes, you may need to secure the rod in the brackets with small screws. Be sure to tighten the screws to prevent the rod from slipping.
Tip: If the rod is too long, you can cut it with a hacksaw. Make sure to measure the required length before cutting.
Chapter 5: Hanging the Curtain
Now, you can hang the curtain on the rod. Follow these steps:
- Install curtain rings: If the curtain requires rings, install them on the rod before hanging the curtain.
- Hang the curtain: Hang the curtain on the rod using the attached rings or hooks. Make sure the curtain is evenly distributed along the rod.
Note: If the curtain is too heavy, you may need someone else's help to hang it.
Chapter 6: Adjusting the Curtain
After hanging the curtain, adjust it to get the desired look. Follow these steps:
- Distribute the folds: Distribute the folds of the curtain evenly along the rod for a neat and tidy appearance.
- Adjust the length: If the curtain is too long, you can adjust the length by folding or cutting it.
- Check the overall appearance: Make sure the curtain looks straight and consistent with the design of the room.
Tip: Use a steam iron to remove any wrinkles in the curtain.
Chapter 7: Different Types of Curtains and Installation Requirements
Curtain types vary, and therefore their installation requirements vary. Here are some common types:
- Roman blinds: Require the installation of a special mechanism to raise and lower the curtain.
- Roller blinds: Require the installation of a rotating mechanism to collect the curtain.
- Slatted curtains: Require the installation of a mechanism to move the slats.
- Blackout curtains: May be heavier than regular curtains, so strong mounting brackets should be used.
Note: Before buying curtains, be sure to read the included installation instructions.
Chapter 8: Tips and Tricks for a Perfect Installation
Here are some tips and tricks that will help you install a perfect curtain:
- Use a laser level: To accurately and easily locate the brackets.
- Use drywall anchors: If the wall is made of drywall, use drywall anchors to ensure a strong hold.
- Use sandpaper: To smooth the edges of the holes before inserting screws or bolts.
- Ask for help: If the curtain is heavy or the installation is difficult, ask for help from a friend or family member.
Chapter 9: Common Mistakes and How to Avoid Them
Avoid these common mistakes to ensure a successful installation:
- Inaccurate measurement: Make sure to measure the window accurately before buying curtains and brackets.
- Using inappropriate tools: Use the appropriate tools for the type of wall and curtain.
- Failure to check the level: Make sure the brackets are level before installing the rod.
- Not reading the instructions: Read the included installation instructions before starting.
Chapter 10: Enjoying the Result
After finishing the installation of the curtain, enjoy the result! The curtain will add an aesthetic touch to your home and provide you with privacy and control over the lighting. Congratulations on your accomplishment!