Introduction: Why Build Your Own Gaming PC?
In the ever-evolving world of gaming, every gamer aspires to own a computer capable of running the latest games at the highest settings without any lag. While pre-built PCs are available in the market, building your own offers several advantages:
- Customization: You can choose each component to suit your budget and specific needs.
- Performance: You can get better performance for the money compared to pre-built machines.
- Upgradability: You can easily upgrade your PC in the future.
- Knowledge: You learn a lot about how a computer works and its components.
Chapter 1: Planning and Design - Defining Budget and Needs
Before you start buying components, it's essential to define your budget and what you need from the PC. Do you want to play games at 1080p or 4K resolution? Do you need a machine for gaming only, or also for live streaming or video editing?
Defining the Budget:
Start by determining how much you want to spend. Divide the budget between the different components based on their importance for gaming. For example, allocate the largest portion of the budget to the graphics processing unit (GPU) and the processor (CPU).
Defining Needs:
Think about the games you want to play and the settings you aspire to. Look up the recommended system requirements for these games. Do you need a monitor with a high refresh rate (144Hz or higher)? Do you need fast storage (SSD)?
Chapter 2: Choosing the Essential Components
After defining the budget and needs, it's time to choose the essential components:
1. Central Processing Unit (CPU):
The CPU is the "brain" of the computer. Choose a powerful processor from Intel (Core i5, i7, or i9) or AMD (Ryzen 5, Ryzen 7, or Ryzen 9) based on your budget and needs. Make sure the processor is compatible with the motherboard.
2. Motherboard:
The motherboard is the foundation that connects all the other components. Choose a motherboard that is compatible with the processor and memory (RAM) you have chosen. Make sure it has all the ports and features you need.
3. Graphics Processing Unit (GPU):
The GPU is the most important component for gaming. Choose a powerful graphics card from NVIDIA (GeForce RTX) or AMD (Radeon RX) based on your budget and the games you want to play. RTX 3060 or RX 6600 are good budget options, while RTX 3080 or RX 6800 XT are excellent high-performance options.
4. Random Access Memory (RAM):
RAM is essential for running games and programs smoothly. 16GB is recommended at a minimum, and 32GB if you plan to stream or edit videos.
5. Storage:
Choose a solid-state drive (SSD) as the primary operating system to speed up the boot process and load games. You can also add a hard disk drive (HDD) for storing large files.
6. Power Supply Unit (PSU):
Choose a power supply with enough power to run all the components. A 650-watt power supply is recommended at a minimum, and 750 watts or higher if you plan to overclock.
7. CPU Cooler:
The CPU cooler keeps the processor temperature low. Choose an air or liquid cooler based on your budget and needs.
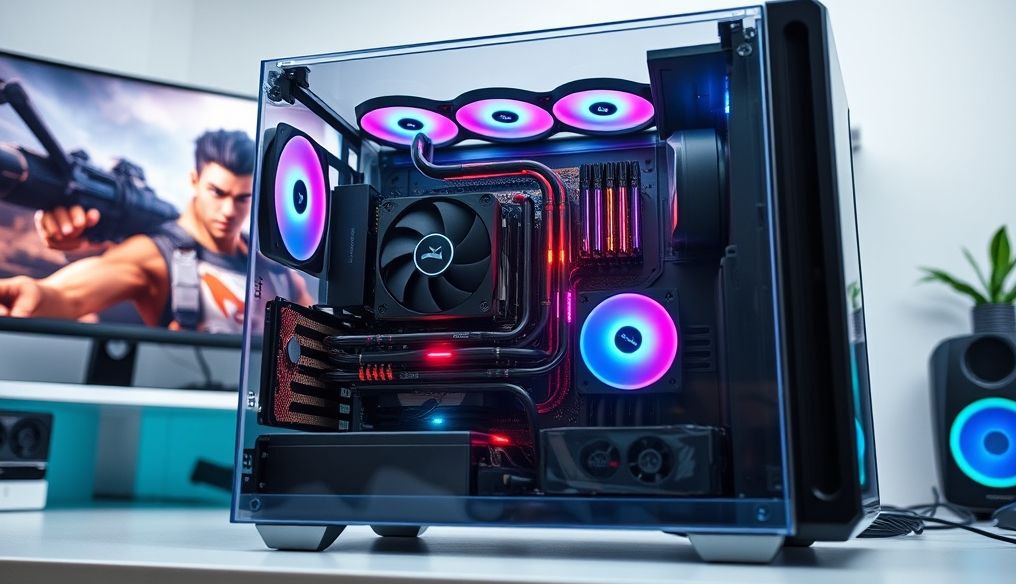
8. PC Case:
Choose a case that provides good ventilation and enough space for the components. Make sure it has front USB ports and audio ports.
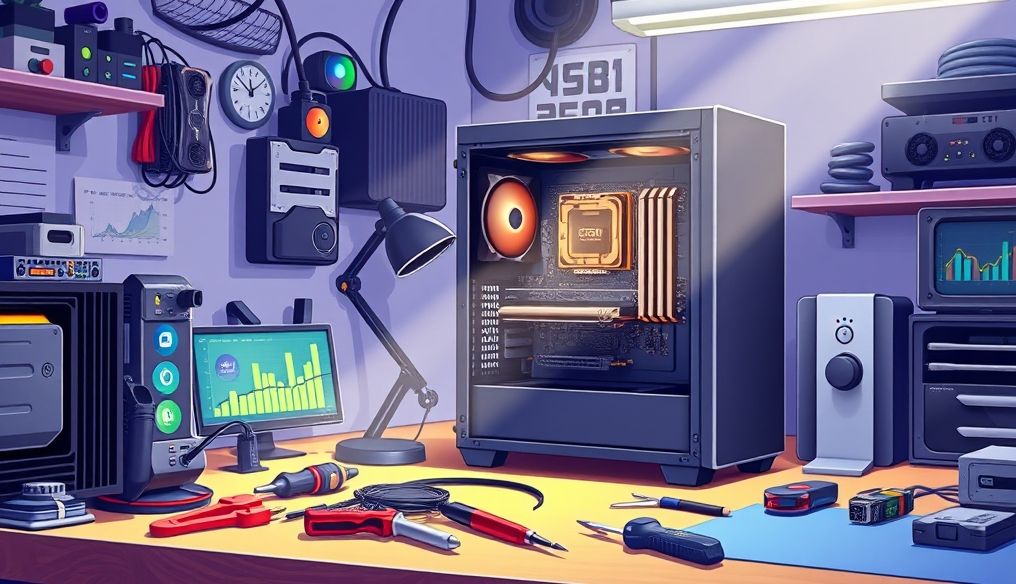
Chapter 3: Necessary Tools and Equipment
Before you start assembling, make sure you have the following tools and equipment:
- Phillips head screwdriver
- Cable ties
- Thermal paste
- Anti-static mat
- Flashlight
Chapter 4: Steps to Assemble the Computer
Now, it's time to assemble your computer. Follow these steps carefully:
- Install the CPU on the motherboard: Open the socket arm and carefully install the CPU, making sure to align the marks. Close the arm to secure the CPU.
- Install the CPU cooler: Apply a small amount of thermal paste to the top of the CPU. Install the cooler and make sure it is securely attached.
- Install RAM: Open the clips on both sides of the memory slots. Install the RAM and make sure it clicks into place.
- Install the motherboard in the PC case: Place the motherboard in the PC case and secure it with screws.
- Install the GPU: Open the clip on the PCI-e slot. Install the GPU and make sure it clicks into place.
- Install storage drives (SSD/HDD): Install the storage drives in their designated slots and secure them with screws.
- Install the PSU: Install the power supply in the bottom of the PC case and secure it with screws.
- Connect the cables: Connect all the cables from the power supply to the motherboard, GPU, and storage drives.
- Cable Management: Use cable ties to organize the cables inside the PC case.
Chapter 5: Installing the Operating System and Software
After assembling the computer, it's time to install the operating system and software:
- Install the operating system: Turn on the computer and enter the BIOS. Change the boot order so that the drive containing the operating system is first. Follow the instructions to install the operating system.
- Install drivers: Install drivers for all components, including the motherboard, GPU, and sound card.
- Install games and software: Install the games and software you want to use.
Chapter 6: Performance Testing and Optimization
After installing the operating system and software, it's important to test performance and optimize:
- Run Benchmarks: Run benchmarks to evaluate the performance of your PC.
- Monitor Temperatures: Monitor the temperatures of the CPU and GPU while gaming.
- Overclocking: If you want to get better performance, you can overclock the CPU and GPU.
Chapter 7: Tips and Tricks to Improve the Gaming Experience
Here are some tips and tricks to improve the gaming experience:
- Update drivers regularly: Keep drivers updated for all components for best performance.
- Optimize graphics settings: Adjust graphics settings in games to get the best balance between performance and quality.
- Close unnecessary programs: Close all unnecessary programs while gaming to free up resources.
- Clean the computer regularly: Keep the computer clean from dust to keep its temperature low.
Chapter 8: Troubleshooting
If you encounter any problems, here are some tips for troubleshooting:
- Check all connections: Make sure all cables are connected correctly.
- Search for errors online: Search for errors online to find potential solutions.
- Consult experts: If you can't solve the problem yourself, consult an expert.
Conclusion: Enjoy Your Gaming PC!
Congratulations! You have now built your own gaming PC. Enjoy an unparalleled gaming experience!