Introduction to the World of Rubik's Cube
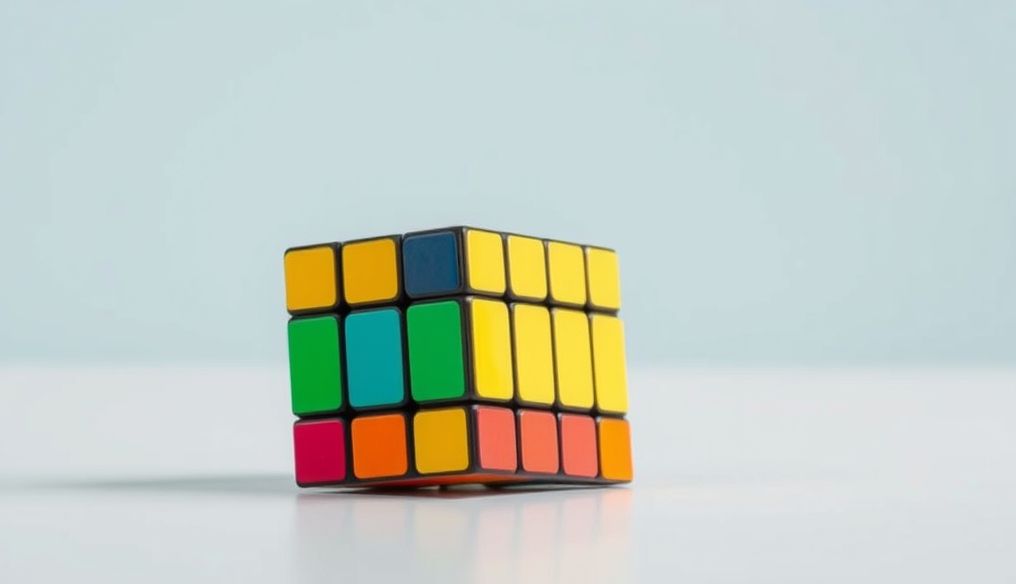
The Rubik's Cube, this colorful puzzle that has captivated millions around the world, is not just a game, but a challenge for the mind and a window into the world of algorithms and logic. Whether you are a beginner or have some experience, this comprehensive guide will take you on a step-by-step journey to master solving the 3x3 Rubik's Cube.
Why Learn to Solve a Rubik's Cube?
- Improve Memory: Memorizing and applying algorithms strengthens working memory.
- Enhance Focus: Solving requires high concentration, which improves your ability to focus on other tasks.
- Develop Problem-Solving Skills: Learn how to analyze a problem and break it down into smaller steps.
- Increase Self-Confidence: Achieving the solution of the cube gives a sense of accomplishment and self-confidence.
- Fun and Challenging: It is a fun and mentally stimulating activity that keeps you busy and gives you a sense of satisfaction.
Chapter 1: Basics of the Rubik's Cube
Before starting the solution, it is essential to understand the basics of the cube and its parts.
Parts of the Cube
- Center Pieces: Located in the middle of each face, their color is fixed and does not change. They determine the color of the entire face.
- Edge Pieces: Contain two colors and are located between the corner pieces.
- Corner Pieces: Contain three colors and are located at the corners of the cube.
Basic Movements
Cube movements are represented by standard symbols:
- R (Right): Rotate the right face clockwise.
- L (Left): Rotate the left face clockwise.
- U (Up): Rotate the upper face clockwise.
- D (Down): Rotate the lower face clockwise.
- F (Front): Rotate the front face clockwise.
- B (Back): Rotate the back face clockwise.
The symbol ' means rotating the face counterclockwise. The symbol 2 means rotating the face 180 degrees.
Example: R' means rotating the right face counterclockwise.
Chapter 2: Stage 1 - The White Cross
The goal of this stage is to form a white cross on the upper face of the cube, matching the colors of the white edges with the adjacent center pieces.
Step 1: Search for White Edges
Look for all the edge pieces that contain the color white. These pieces may be anywhere on the cube.
Step 2: Place White Edges Next to the Correct Centers
Rotate the cube so that the white face is facing up. Then, rotate the different layers until the colors of the white edges match the colors of the adjacent centers.
Step 3: Flip White Edges to the Upper Face
If the white edge is in the bottom layer, use the following algorithms to flip it up:
- If the white edge is on the front face: F2 (rotate the front face 180 degrees).
- If the white edge is on the right face: R U R'
Chapter 3: Stage 2 - The White Corners
After forming the white cross, the white corner pieces must be placed in their correct positions.
Step 1: Search for White Corners
Look for all the corner pieces that contain the color white in the bottom layer.
Step 2: Place White Corners Below Their Correct Positions
Rotate the bottom layer until the white corner is below the place it should be. The side colors of the corner should match the colors of the adjacent centers.
Step 3: Insert White Corners
Use the following algorithms to insert the white corners:
- If the white color is on the right face: R U R'
- If the white color is on the left face: L' U' L
Chapter 4: Stage 3 - The Middle Layer
In this stage, the middle layer of the cube is solved.
Step 1: Search for Middle Layer Edges
Look for the edge pieces that do not contain the color yellow in the top layer.
Step 2: Place Edges in Their Correct Positions
Rotate the top layer until the front face color of the edge matches the color of the center below it.
Step 3: Insert Edges into the Middle Layer
Use the following algorithms to insert the edges:
- If the edge should move to the left: U' L' U L U F U' F'
- If the edge should move to the right: U R U' R' U' F' U F
Chapter 5: Stage 4 - The Yellow Cross
The goal of this stage is to form a yellow cross on the upper face of the cube.
Step 1: Identify the State
There are three possible states:
- The Dot: There are no yellow edges on the upper face.
- The Line: There is a horizontal or vertical line of yellow edges.
- The Angle: There is an angle of yellow edges.
Step 2: Apply the Algorithm
Use the following algorithm to form the yellow cross: F R U R' U' F'
Repeat the algorithm until the yellow cross is formed.
Chapter 6: Stage 5 - Orienting the Yellow Edges
In this stage, the yellow edges are oriented to match the adjacent centers.
Step 1: Search for Correct Edges
Look for at least one edge that matches the adjacent center.
Step 2: Apply the Algorithm
If there are no matching edges, apply the following algorithm: R U R' U R U2 R'
Repeat the algorithm until all edges match the adjacent centers.
Chapter 7: Stage 6 - Permuting the Yellow Corners
In this stage, the yellow corners are permuted so that they are in their correct positions.
Step 1: Search for Correct Corners
Look for at least one corner in its correct position.
Step 2: Apply the Algorithm
If there are no corners in their correct position, apply the following algorithm: L' U R U' L U R' U'
Repeat the algorithm until all corners are in their correct positions.
Chapter 8: Stage 7 - Orienting the Yellow Corners
The final stage! In this stage, the yellow corners are oriented so that the entire upper face is yellow.
Step 1: Orient the Corners
Use the following algorithm to orient the corners: R' D' R D
Repeat the algorithm on each corner until it is oriented correctly. Remember to keep the cube in the same position while repeating the algorithm on different corners.
Step 2: Restore the Bottom Layer
After orienting all the corners, rotate the bottom layer to restore the cube to its original state.
Additional Tips and Tricks
- Consistent Practice: The more you practice, the faster and more efficient you become.
- Using a Timer: Try to improve your time each time you solve the cube.
- Watching Tutorials: There are many tutorials available online that can help you understand the algorithms better.
- Joining a Rubik's Cube Community: Connect with other Rubik's Cube enthusiasts to exchange tips and tricks.
Congratulations! You have now learned how to solve a Rubik's Cube. Keep practicing and enjoy the challenge!


