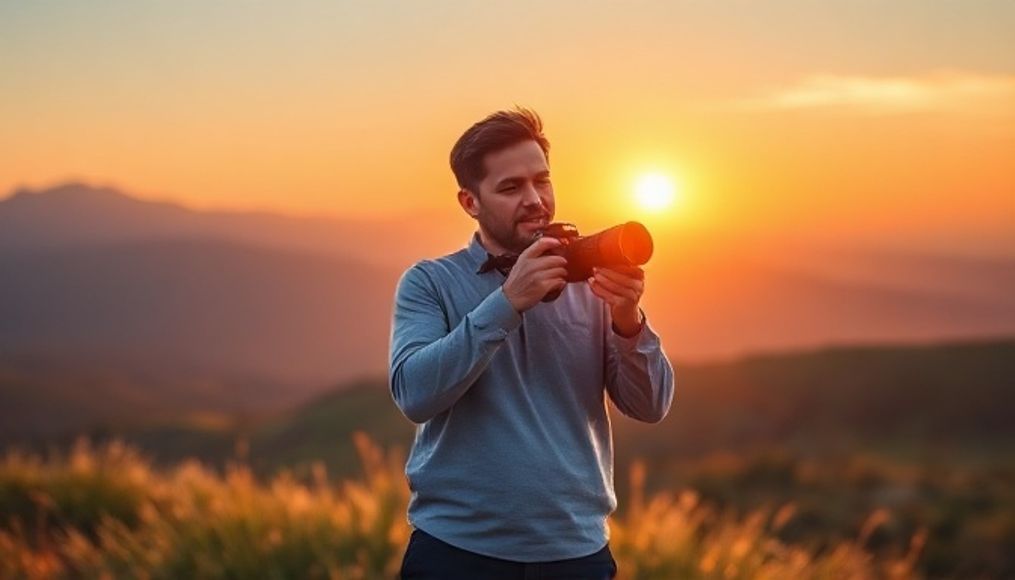
Is Manual Mode on a Camera Really That Difficult to Use?
Manual mode on a camera allows the photographer complete control over all camera settings, such as aperture, shutter speed, and ISO. Unlike automatic modes, which rely on the camera to make decisions, manual mode puts the photographer in the driver's seat, giving them the ability to achieve their creative vision with precision.
What is Manual Mode and Why Should You Care?
Manual mode isn't just another camera setting; it's a powerful tool that enables you to:
- Complete Control: Determine the appropriate settings for each scene, regardless of lighting conditions.
- Absolute Creativity: Achieve unique artistic effects, such as shallow depth of field or freezing motion.
- Deeper Understanding of Photography: Learn the relationship between different settings and how they affect the final image.
Why Are Beginner Photographers Afraid of Manual Mode?
The main reason is the belief that it's complicated. Initially, it may seem confusing, especially with so many technical terms. However, with a little patience and practice, anyone can master manual mode.
Breaking the Fear Barrier: A Simplified Guide to Manual Mode
To simplify things, let's break down manual mode into three essential elements:
1. Aperture:
Aperture controls the amount of light entering the camera. It's measured in f/stops (such as f/2.8, f/8, f/16). The smaller the number, the wider the aperture, and the more light enters. Aperture also affects the depth of field, which is the part of the image that appears sharp.
- Wide Aperture (Small f/stop numbers): Allows more light in, and creates a shallow depth of field (blurred background). Ideal for portraits and isolation.
- Narrow Aperture (Large f/stop numbers): Allows less light in, and creates a wide depth of field (everything in the image is sharp). Ideal for landscapes and scenes requiring fine details.
Example: If you're shooting a portrait in low light, use a wide aperture (like f/2.8) to let in more light and isolate the background.
2. Shutter Speed:
Shutter speed is the length of time the camera's shutter remains open, allowing light to reach the sensor. It's measured in seconds or fractions of a second (such as 1/60 second, 1/250 second, 1 second). Shutter speed affects the clarity of motion in the image.
- Fast Shutter Speed: Freezes motion. Ideal for photographing fast-moving objects, such as athletes or birds.
- Slow Shutter Speed: Allows motion to appear blurred. Ideal for creating artistic effects, such as tracing light trails or making water look silky smooth.
Example: If you're photographing a speeding car, use a fast shutter speed (like 1/500 second) to freeze the motion.
3. ISO:
ISO determines how sensitive the camera's sensor is to light. The higher the ISO value, the more sensitive the sensor is to light. However, increasing ISO significantly may lead to "noise" or grain in the image.
- Low ISO (like 100 or 200): Used in good lighting conditions. Produces clean, noise-free images.
- High ISO (like 800 or 1600): Used in low lighting conditions. Allows you to take pictures in the dark, but may lead to noise.
Example: If you're shooting in a dark room, increase the ISO to compensate for the lack of light, but be careful of noise.
The Relationship Between Aperture, Shutter Speed, and ISO
The three elements work together to achieve proper exposure. Exposure is the amount of light that reaches the camera sensor. To get a good image, the exposure must be correct. If the image is too dark (Under-exposed), it means there's too little light. And if the image is too bright (Over-exposed), it means there's too much light.
Imagine you're filling a bucket with water. The aperture is the size of the faucet, the shutter speed is how long you leave the faucet open, and ISO is how sensitive you are to seeing the water in the bucket. If the faucet is small (narrow aperture) and you leave it open for a short time (fast shutter speed), the bucket won't fill (dark image). You can increase your sensitivity to seeing the water (ISO) to see the water better, but you may also see some impurities (noise).
Practical Tips for Mastering Manual Mode
- Start Slowly: Don't try to master everything at once. Start by understanding each element individually, then try combining them.
- Use the Light Meter: The light meter in the camera helps you determine the proper exposure. Try to keep the indicator in the middle.
- Practice Regularly: The more you practice, the more comfortable you'll become using manual mode.
- Don't Be Afraid to Experiment: Try different settings and see how they affect the final image.
- Learn from Your Mistakes: Don't get discouraged if you don't succeed at first. Learn from your mistakes and try again.
When is Manual Mode the Best Option?
Although automatic modes can be helpful in some cases, manual mode is the best option in the following situations:
- Challenging Lighting Conditions: When the lighting is uneven or constantly changing.
- Achieving Artistic Effects: When you want to control the depth of field, freeze motion, or create blur effects.
- Landscape Photography: When you want to ensure that everything in the image is sharp.
- Astrophotography: When you need to use very slow shutter speeds to capture the faint light from stars.
Conclusion: Manual Mode Isn't Difficult, It's Your Key to Creativity
Manual mode on a camera isn't as difficult as it seems. It's just a set of tools that allow you to have complete control over your photos. With a little patience and practice, you can master manual mode and unlock your creativity.
Don't be afraid to experiment and enjoy the process. Remember that photography is an art, and manual mode is your brush.