Is Manual Mode on a Camera Really That Difficult to Use?
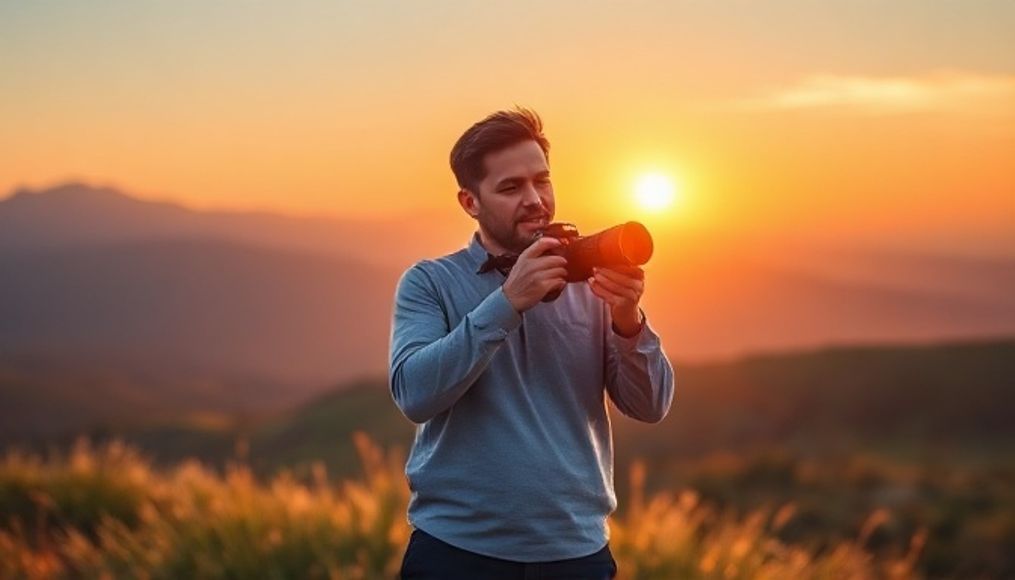
Manual mode on a camera, often referred to as "M" mode, is frequently seen as a significant challenge for beginner photographers. It's often believed to be exclusive to professionals with years of experience and deep technical knowledge. But is this perception accurate? Is using manual mode really that difficult? In this article, we will explore this mode in detail, explain its benefits, provide a step-by-step practical guide to make it easier to use, and dispel some common misconceptions about it.
What is Manual Mode on a Camera?
Manual mode gives you complete control over all camera settings. Unlike automatic or semi-automatic modes (such as aperture priority or shutter priority), where the camera determines some settings for you, in manual mode, you are solely responsible for setting:
- Aperture: Determines the amount of light entering the camera and affects the depth of field.
- Shutter Speed: Determines the length of time the camera's sensor is exposed to light and affects freezing motion or showing it blurred.
- ISO Sensitivity: Determines how sensitive the camera's sensor is to light.
- White Balance: Ensures that colors in the image appear natural regardless of the light source.
- Focus: Determines the part of the image that will be clear and sharp.
Why Should You Use Manual Mode?
Although automatic modes may be easier and faster to use, manual mode offers several important advantages:
- Complete Control: Gives you the ability to achieve your creative vision exactly as you imagine it.
- Deep Learning: Helps you understand how the camera works and how different settings affect the final image.
- Overcoming Limitations: Allows you to shoot in challenging conditions where automatic modes may fail (such as low light or situations requiring a specific depth of field).
- Artistic Expression: Allows you to use settings creatively to achieve unique artistic effects.
Debunking Misconceptions About Manual Mode
There are many misconceptions that prevent beginner photographers from trying manual mode. Let's address some of them:
- "Manual mode is too complicated": While it requires some learning and practice, it's not as complicated as it seems. Once you understand the basics, using it becomes intuitive.
- "It takes too long": Initially, it may take some time to adjust the settings, but with practice, you will become faster and more efficient.
- "The photos will be bad": Not necessarily. With a proper understanding of the settings and their effects, you can take stunning photos in manual mode.
- "It's only for professionals": This is incorrect. Anyone with a desire to learn can use manual mode.
Step-by-Step Guide to Using Manual Mode
Here's a simple guide to help you get started using manual mode:
- Set the Camera to "M" Mode: Find the mode dial on your camera and rotate it to the "M" mode.
- Set ISO Sensitivity: Start with a low ISO sensitivity (such as 100 or 200) in good lighting conditions. If the light is low, you may need to increase the ISO sensitivity.
- Adjust Aperture: Choose an appropriate aperture depending on the depth of field you want. A wide aperture (small f-number) will produce a shallow depth of field, while a narrow aperture (large f-number) will produce a wide depth of field.
- Adjust Shutter Speed: Use the camera's built-in light meter to determine the appropriate shutter speed. Adjust the shutter speed until the light meter reaches zero (or close to it).
- Take the Picture: After adjusting all the settings, take the picture.
- Review the Picture: Look at the picture on the camera screen and evaluate it. Is it too bright or too dark? Is it sharp or blurry?
- Adjust the Settings: Based on your evaluation, adjust the settings (aperture, shutter speed, ISO sensitivity) and take another picture. Repeat this process until you get the desired image.
Tips for Improving Your Manual Mode Skills
- Continuous Practice: The more you practice, the better you will become.
- Understand the Relationship Between Settings: Learn how aperture, shutter speed, and ISO sensitivity affect each other.
- Use the Light Meter: Learn how to read the camera's built-in light meter and use it to determine the appropriate settings.
- Experiment: Don't be afraid to experiment with different settings to see how they affect the final image.
- Study the Work of Other Photographers: Look at photos you like and try to analyze the settings the photographer used.
- Read Books and Articles and Watch Tutorials: There are many resources available to help you learn more about shooting in manual mode.
When Should You Use Automatic Modes?
Although manual mode offers many advantages, there are some situations where automatic modes may be more appropriate:
- Fast-Paced Situations: When you need to take a picture quickly and don't have time to adjust the settings.
- Changing Lighting Conditions: When the lighting is changing rapidly, it may be easier to use an automatic mode that allows the camera to adjust the settings automatically.
- When You Are a Complete Beginner: If you are still learning the basics of photography, it may be best to start with automatic modes and then gradually transition to manual mode.
Practical Examples
Example 1: Shooting a Portrait with a Blurred Background
To achieve this result, use a wide aperture (such as f/2.8 or f/1.8) to reduce the depth of field and blur the background. Adjust the shutter speed and ISO sensitivity to get a proper exposure.
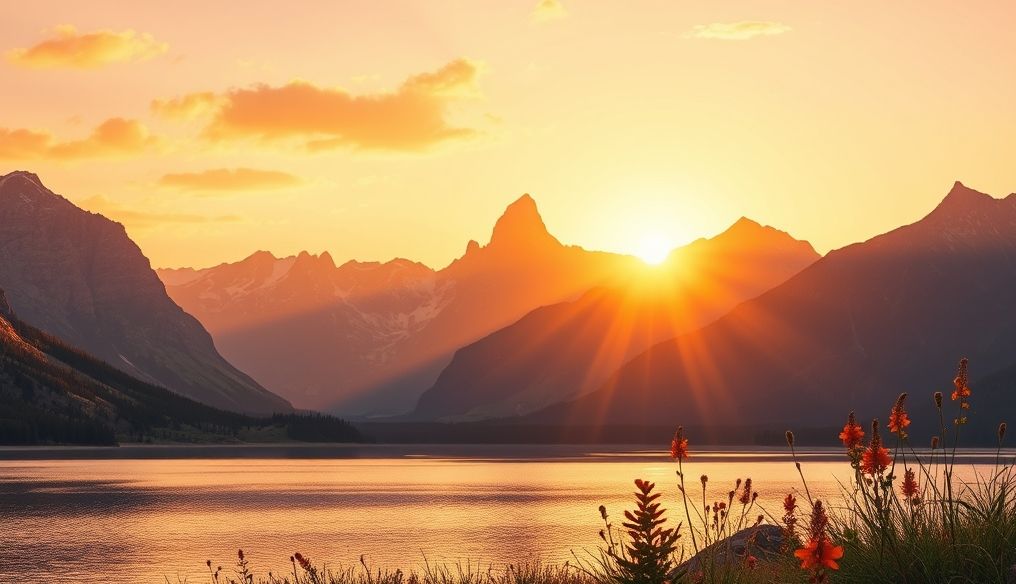
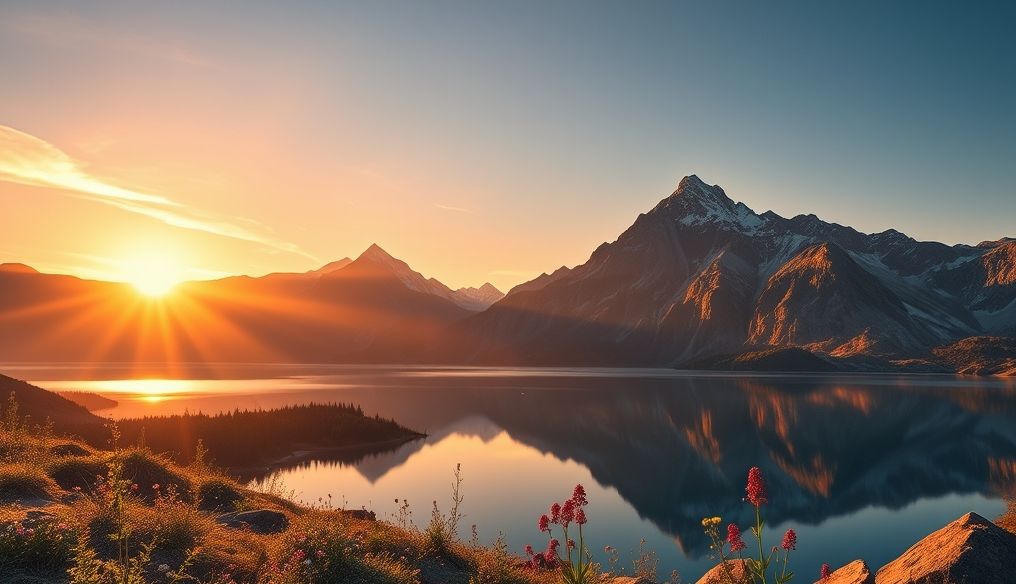
Example 2: Shooting a Landscape with a Wide Depth of Field
To achieve this result, use a narrow aperture (such as f/8 or f/11) to increase the depth of field and keep everything in the picture clear. Adjust the shutter speed and ISO sensitivity to get a proper exposure.
Example 3: Freezing Fast Motion
To freeze fast motion, use a fast shutter speed (such as 1/500 second or faster). Adjust the aperture and ISO sensitivity to get a proper exposure.
Conclusion
Manual mode on a camera is not as difficult as it seems. It requires some learning and practice, but it gives you complete control over your photos and helps you develop your skills as a photographer. Don't be afraid to try it and explore it, and you'll be amazed at the results you can achieve.
Do you have any other questions about using manual mode on a camera? Share them in the comments below!