What are the best times of day to photograph in natural light for professional-looking photos?
Natural light is the foundation of good photography. Understanding how natural light works and how to use it can transform your photos from ordinary to extraordinary. This article will explore the best times of day to capture images in natural light, providing practical tips to make the most of each time period.
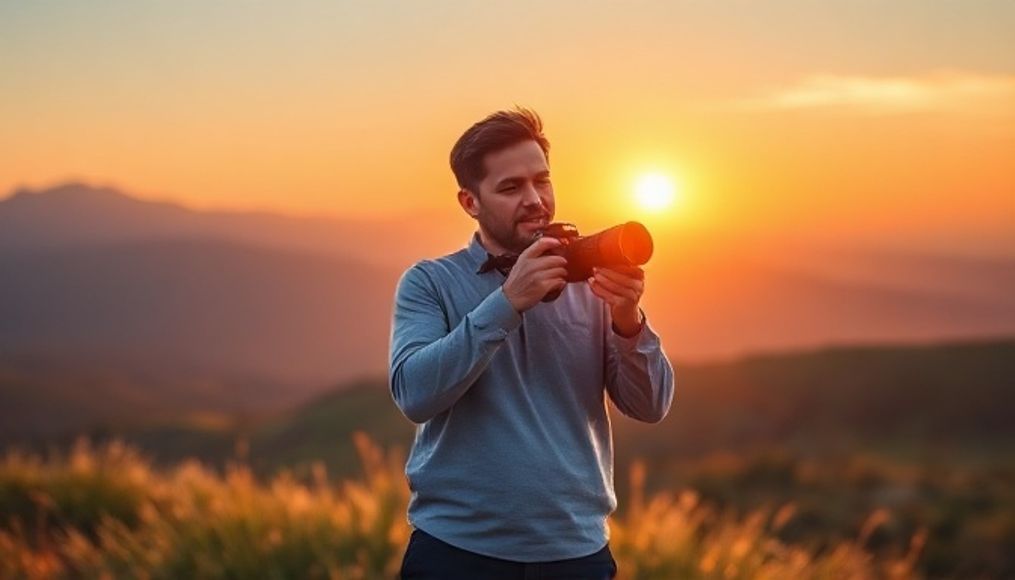
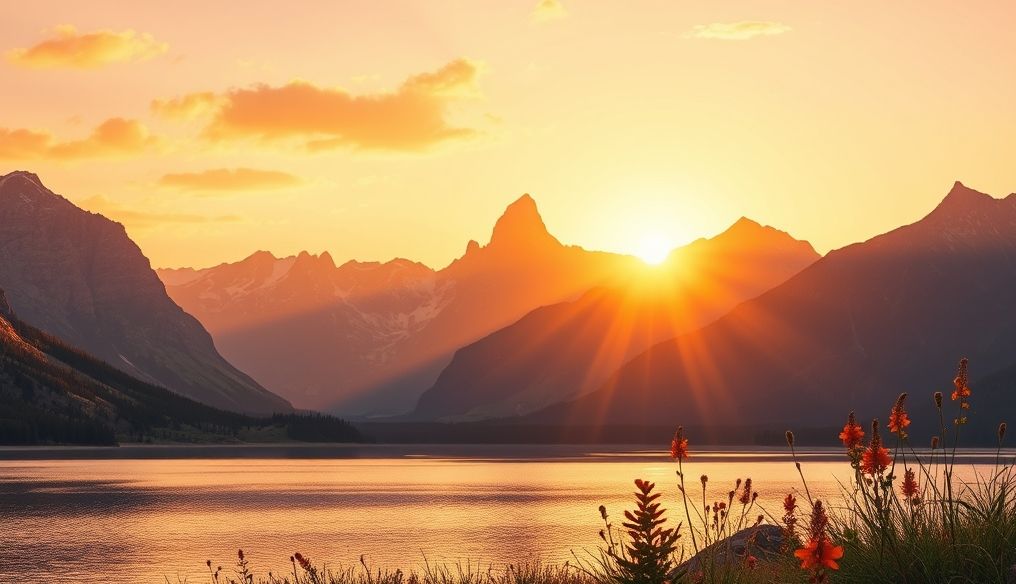
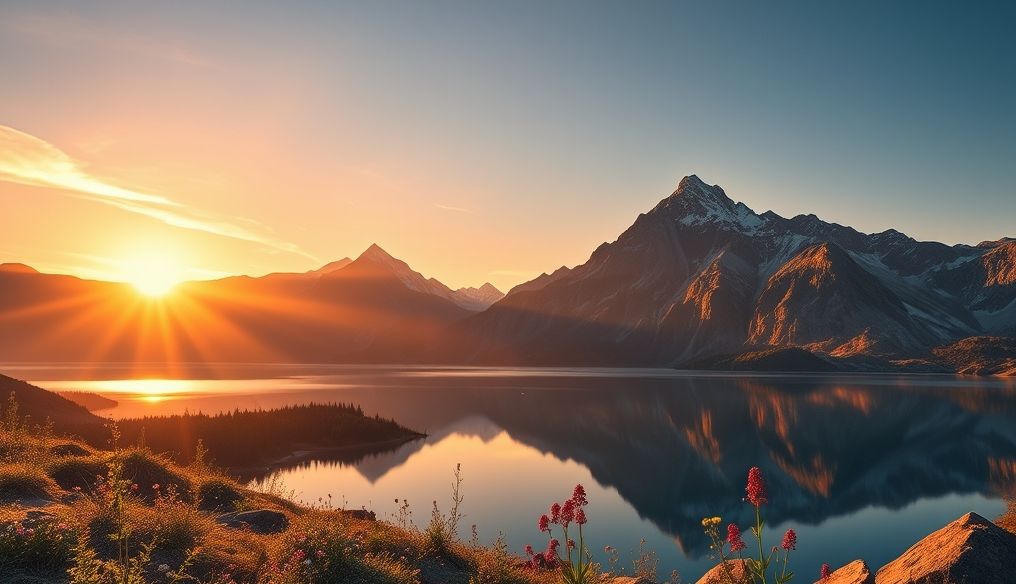
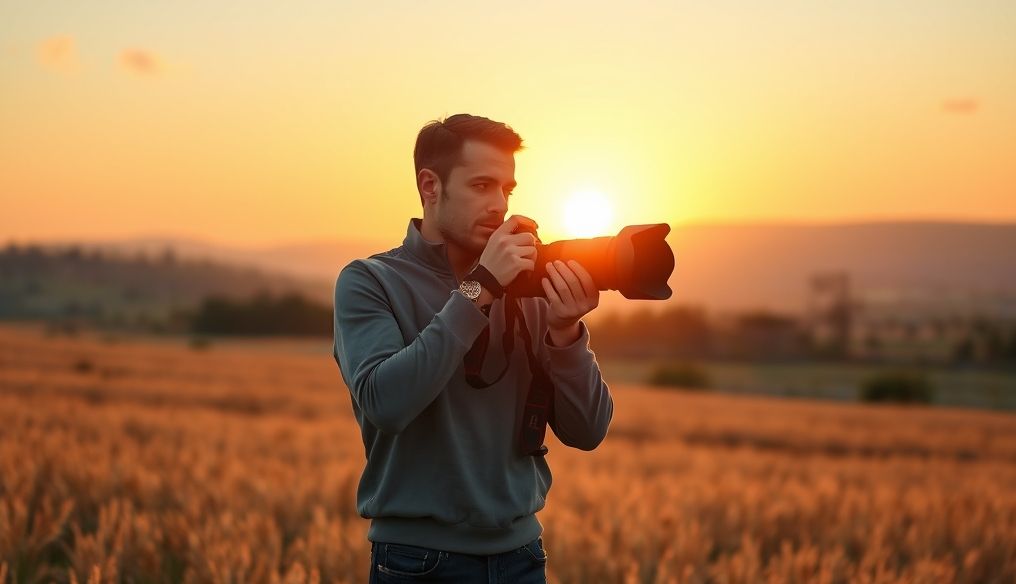
1. The Golden Hour: The Magic of Warm Light
The golden hour, or golden hours, is the short period of time shortly after sunrise and shortly before sunset. During this time, the light is softer and warmer, creating magical and romantic images.
1.1. Characteristics of the Golden Hour
- Warm Color: The light tends to be golden or orange, adding warmth to the photos.
- Soft Shadows: Shadows are long and soft, reducing harsh contrast.
- Diffused Light: The light is evenly distributed, reducing the need for significant lighting adjustments.
1.2. Tips for Shooting in the Golden Hour
- Arrive Early: Make sure to arrive at the shooting location before the golden hour begins to prepare equipment and discover the best angles.
- Use Reflectors: Reflectors can be used to fill in dark shadows and add more light to the subject.
- Experiment with Different Angles: Try shooting from different angles to make the most of the changing light.
2. The Blue Hour: The Beauty of Dusk and Dawn
The blue hour is the short period of time shortly before sunrise and shortly after sunset. During this time, the light is blue and soft, creating peaceful and mysterious images.
2.1. Characteristics of the Blue Hour
- Blue Color: The light tends to be blue or purple, adding coolness and tranquility to the photos.
- Very Soft Shadows: Shadows are almost non-existent, creating images with low contrast.
- Very Diffused Light: The light is very evenly distributed, making it ideal for landscape photography.
2.2. Tips for Shooting in the Blue Hour
- Use a Tripod: Due to the low light, it is essential to use a tripod to avoid camera shake.
- Increase ISO: You may need to increase the ISO to increase the camera's sensitivity to light, but be careful of digital noise.
- Focus on Details: Focus on the fine details in the scene, such as city lights or stars in the sky.
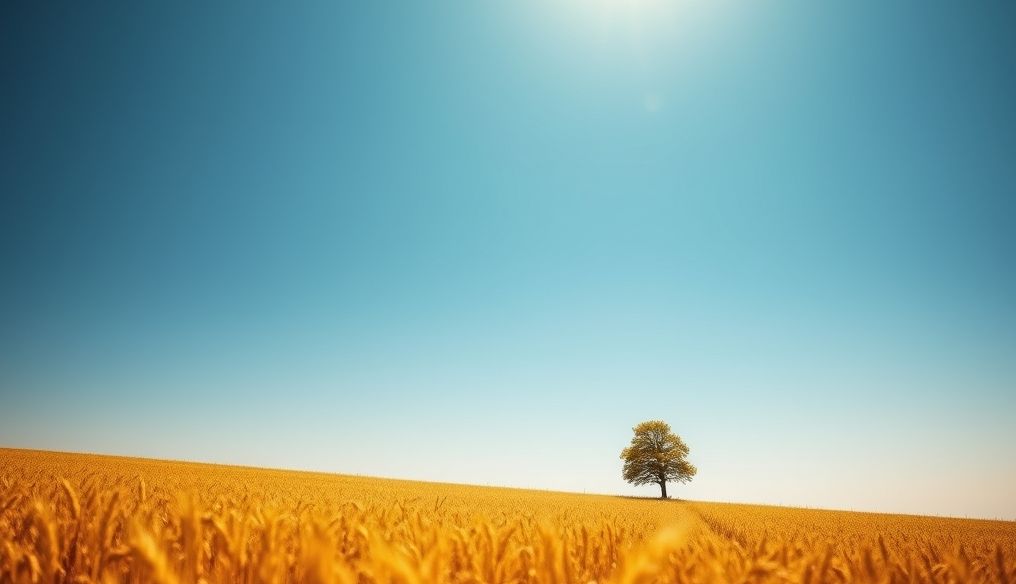
3. Midday Light: The Challenge of Harsh Lighting
Midday light, between 10 AM and 2 PM, is often considered the worst time to shoot due to the harsh lighting and sharp shadows. However, these challenges can be overcome with some techniques.
3.1. Characteristics of Midday Light
- Harsh Lighting: The light comes directly from above, creating sharp and unattractive shadows.
- High Contrast: The difference between the bright and dark areas is too great, making it difficult to capture details in both.
- Faded Colors: Colors may appear faded due to the strong lighting.
3.2. Tips for Shooting in Midday Light
- Look for Shade: Try shooting in the shade provided by buildings or trees to reduce harsh lighting.
- Use a Light Diffuser: A light diffuser can be used to soften the light and reduce shadows.
- Shoot in Black and White: Shooting in black and white can be a good option for dealing with high contrast.
- Use Flash: Flash can be used to fill in dark shadows and improve lighting.
4. Shooting on Cloudy Days: Soft, Uniform Light
Cloudy days provide soft, uniform lighting, making them ideal for portrait and landscape photography. Clouds act as a natural light diffuser, reducing harsh shadows.
4.1. Characteristics of Lighting on Cloudy Days
- Soft Light: The light is evenly distributed, reducing harsh shadows.
- Low Contrast: The difference between the bright and dark areas is small, making it easy to capture details in both.
- Vibrant Colors: Colors appear more vibrant and lively due to the soft lighting.
4.2. Tips for Shooting on Cloudy Days
- Focus on Colors: Take advantage of the vibrant colors in the scene to capture attractive photos.
- Use Telephoto Lenses: Telephoto lenses can be used to focus on the fine details in the scene.
- Experiment with Different Compositions: Experiment with different compositions to make the most of the uniform lighting.
5. Indoor Shooting Near Windows: A Window to a World of Light
Shooting indoors near windows can provide beautiful and soft lighting, especially if the windows are large and allow a lot of light to enter. This technique is ideal for portrait and product photography.
5.1. Characteristics of Indoor Lighting Near Windows
- Soft Light: The light coming from the windows is soft and diffused, reducing harsh shadows.
- Lighting Control: The amount of incoming light can be controlled by using curtains or sheer drapes.
- Directional Lighting: The light comes from one direction, creating light and defined shadows.
5.2. Tips for Shooting Indoors Near Windows
- Determine the Direction of Light: Determine the direction of light coming from the window and use it to create attractive photos.
- Use Reflectors: Reflectors can be used to fill in dark shadows and add more light to the subject.
- Experiment with Different Distances: Experiment with shooting from different distances to achieve various lighting effects.
6. The Impact of Seasons on Natural Light
Seasons significantly affect the quality and quantity of natural light. Understanding these differences can help you plan your photo shoots better.
6.1. Lighting in Summer
In summer, the days are longer and the lighting is more intense. This means that the golden hour is longer, but the midday light is harsher. Try to take advantage of the early and late hours of the day and avoid shooting in the middle of the day.
6.2. Lighting in Autumn
Autumn provides warm and beautiful lighting due to the low sun angle. Autumn colors add extra beauty to the photos. This is the perfect time for shooting landscapes and portraits.
6.3. Lighting in Winter
In winter, the days are shorter and the lighting is less intense. However, the light can be soft and beautiful, especially on cloudy days. Snow can reflect light and create even lighting.
6.4. Lighting in Spring
Spring provides refreshing and vibrant lighting. The bright colors of flowers and plants add extra beauty to the photos. This is the perfect time for shooting nature and outdoor portraits.
7. Using Natural Light Modification Tools
In addition to understanding different times of day, natural light modification tools can be used to improve the quality of photos. These tools include reflectors, diffusers, and scrims.
7.1. Reflectors
Reflectors are used to reflect light onto the subject, filling in dark shadows and adding more light. Reflectors are available in different sizes, shapes, and colors. White reflectors reflect light softly, while silver reflectors reflect light more strongly.
7.2. Diffusers
Diffusers are used to soften the light and reduce harsh shadows. They can be used on sunny days to create softer lighting. Diffusers can be a piece of white fabric or a translucent umbrella.
7.3. Scrims
Scrims are used to block light and prevent it from reaching the subject. They can be used on sunny days to reduce strong lighting or to create defined shadows.
8. Additional Tips for Improving Photography in Natural Light
Here are some additional tips for improving photography in natural light:
- Monitor the Weather: Check the weather forecast before planning a photo shoot.
- Prepare for Variables: Be prepared to change your plans if lighting conditions change.
- Continuous Experimentation: Experiment with different techniques and times of day to find what works for you.
- Photo Editing: Use photo editing software to improve the lighting and colors in your photos.
- Enjoy the Process: Photography should be fun. Enjoy the process and learn from your mistakes.
In conclusion, understanding natural light and using it effectively is key to capturing professional photos. By knowing the best times of day to photograph and using the right tools, you can transform your photos into works of art.