What Are the Best Times of Day to Shoot in Natural Light?
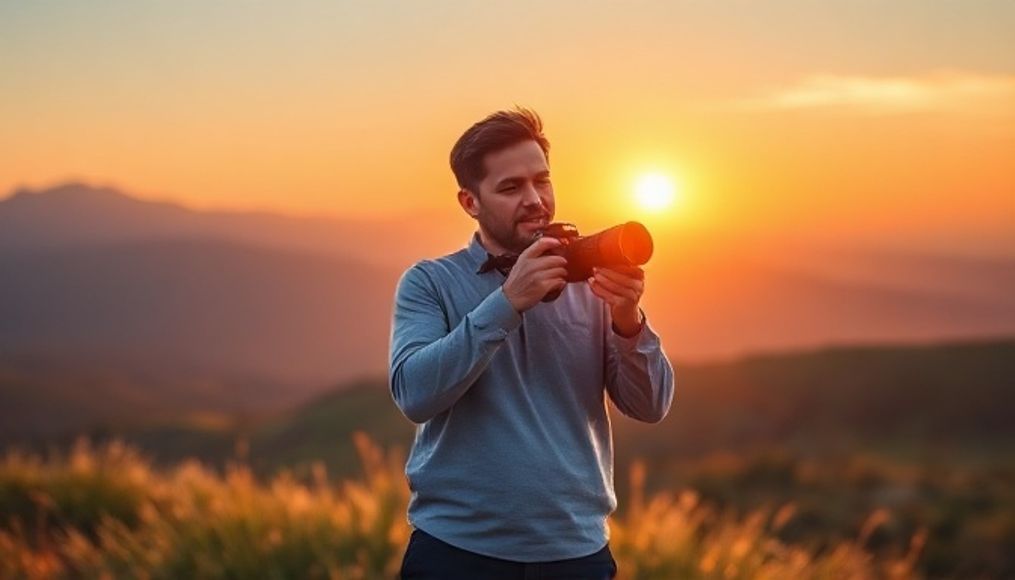
Natural light is the cornerstone of photography. It imparts a unique beauty to photos that artificial light simply cannot replicate. However, to achieve the best results, it's essential to understand how natural light changes throughout the day and how to harness these changes to your advantage.
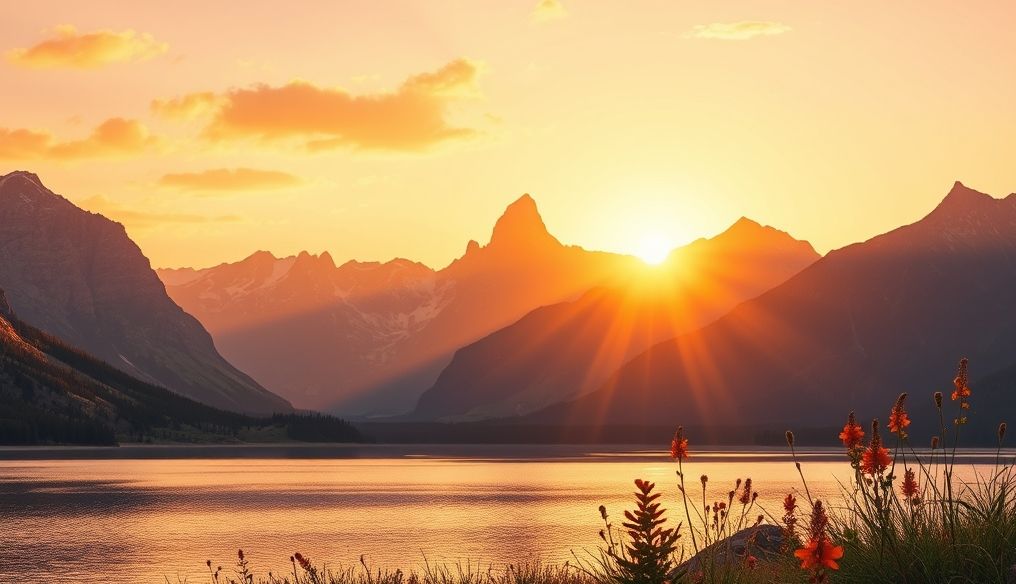
1. The Golden Hour: Magic of Sunrise and Sunset
The golden hour, or golden hours, is the short period of time just after sunrise and just before sunset. During this time, the light is warm and soft, creating long, romantic shadows. This time is ideal for shooting portraits, landscapes, and even products.
- Warm Light: Gives skin a healthy and attractive glow.
- Long Shadows: Add depth and dimension to photos.
- Diffused Light: Reduces contrast and hides imperfections.
Tip: Use an app to calculate the exact sunrise and sunset times in your location, and plan your photo shoots accordingly.
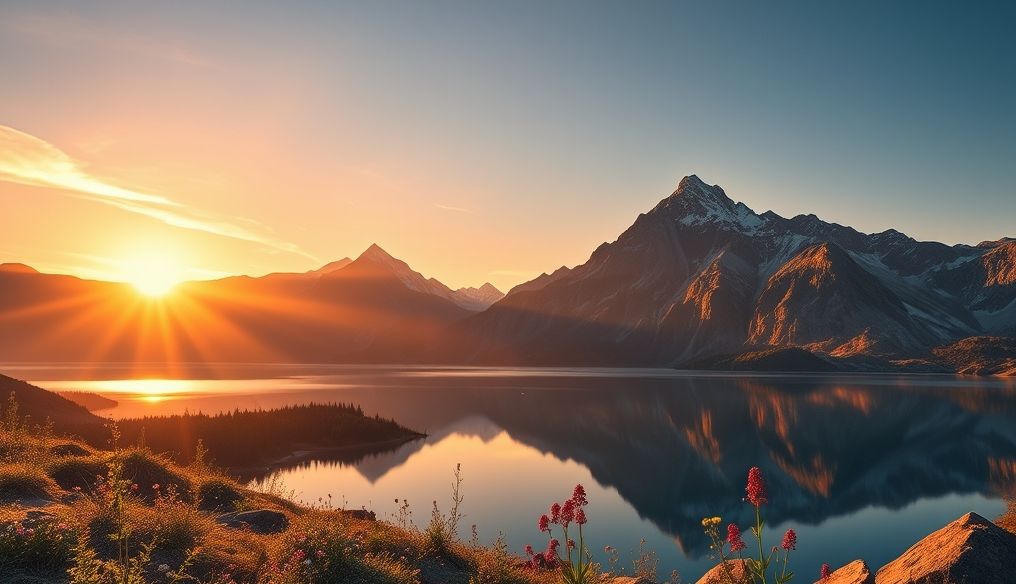
2. The Blue Hour: Tranquility Before Dawn and After Dusk
The blue hour is the period of time just before sunrise and just after sunset. During this time, the light is soft and diffused blue, creating a calm and mysterious atmosphere. This time is ideal for shooting urban landscapes, buildings, and the sky.
- Blue Light: Gives photos a sense of calm and serenity.
- Diffused Light: Reduces harsh shadows and unifies colors.
- Color Balance: Creates an ideal color balance between the sky and the earth.
Tip: Use a tripod to avoid camera shake, as the light is low during the blue hour.
3. Midday Light: The Challenge of Shooting at High Noon
Midday light, when the sun is at its highest point in the sky, is often considered the worst time to shoot. The light is strong and direct, creating harsh and unattractive shadows. However, these challenges can be overcome using some techniques:
- Find Shade: Shoot in the shade provided by buildings or trees.
- Use a Reflector: Use a reflector to fill in shadows and reduce contrast.
- Use a Diffuser: Use a diffuser to soften the light and reduce shadows.
- Shoot in Black and White: Black and white photos can hide the flaws of harsh lighting.
Tip: If you have to shoot in midday light, try shooting indoors near a large window.
4. Cloudy Light: A Perfect Day for Photography
A cloudy day may seem unattractive, but it is actually ideal for photography. The clouds act as a natural diffuser of light, creating soft and even lighting. This time is ideal for shooting portraits, products, and landscapes.
- Soft Light: Reduces harsh shadows and hides imperfections.
- Even Light: Ensures an even distribution of light on the subject.
- Vibrant Colors: Colors appear more vibrant and realistic.
Tip: Take advantage of cloudy days to experiment with new techniques, such as macro photography.
5. Weather Impact: Utilizing Different Weather Conditions
Different weather conditions can create unique visual effects. For example:
- Rain: Rain can create beautiful reflections and add a dramatic atmosphere to photos.
- Fog: Fog can create a mysterious and dreamy atmosphere.
- Snow: Snow can reflect light and create bright and magical photos.
Tip: Be prepared to change your plans and adapt to changing weather conditions.
6. Understanding Light Direction: Positioning Yourself Relative to the Sun
The direction of light plays a crucial role in the shape of the final image. There are three main directions of light:
- Front Light: Lights the subject directly from the front, reducing shadows and creating a flat image.
- Side Light: Lights the subject from the side, creating dramatic shadows and highlighting texture.
- Back Light: Lights the subject from behind, creating a silhouette or halo effect.
Tip: Experiment with different light directions to find the angle that suits you.
7. Using the Right Equipment: Lenses, Filters, and Reflectors
The right equipment can help you control natural light and improve the quality of your photos. Some essential equipment includes:
- Lenses: Choose the right lens for the type of photography you are doing. For example, a wide-angle lens is ideal for landscapes, while a telephoto lens is ideal for portraits.
- Filters: Filters can help you reduce glare, increase color saturation, and protect the lens.
- Reflectors: Reflectors can help you fill in shadows and reduce contrast.
Tip: Invest in the equipment that suits your needs and budget.
8. Photo Processing: Improving Lighting in Post-Production
Photo processing can help you improve the lighting in your photos and make them look more professional. Some popular photo processing tools include:
- Adobe Lightroom: A powerful program for processing photos and adjusting colors.
- Adobe Photoshop: An advanced program for processing photos and creating special effects.
- Snapseed: A free application for processing photos on smartphones.
Tip: Learn how to use photo processing tools to improve the quality of your photos.
9. Experimentation and Practice: The Key to Mastering Natural Light Photography
The best way to master natural light photography is through experimentation and practice. Don't be afraid to make mistakes, and learn from your experiences. The more you practice, the better you will become at understanding natural light and how to use it to your advantage.
Tip: Set aside time to shoot in different lighting conditions, and try to apply the techniques you have learned.
In conclusion, understanding natural light is the key to getting stunning photos. By knowing the best times of day to shoot, and how to control the light, you can capture unique and beautiful photos that reflect your artistic vision.