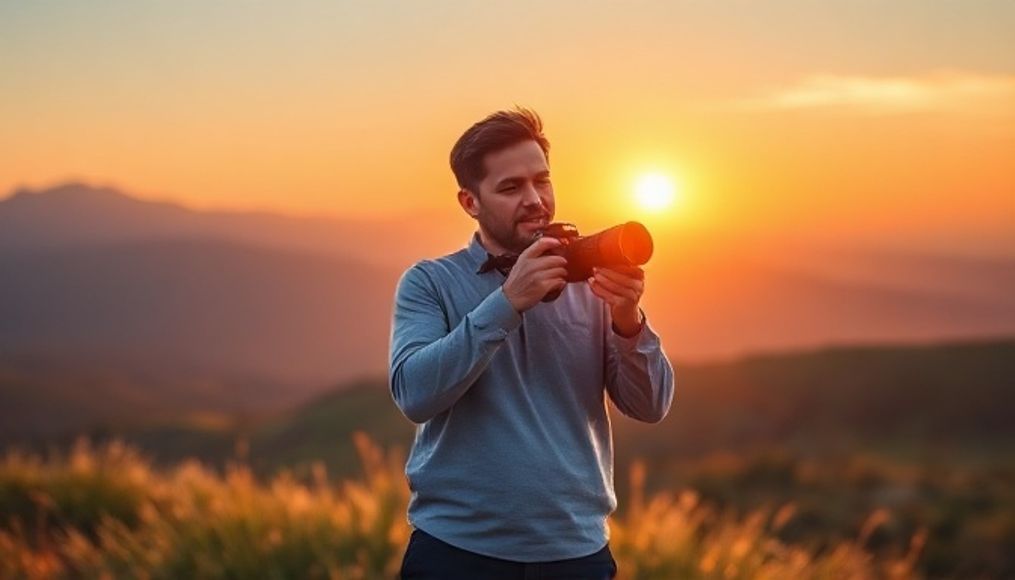
Introduction: The Magic of Landscape Photography
Landscape photography is more than just documenting a beautiful place; it's an expression of the artist's vision of nature, and their ability to convey its beauty and grandeur to viewers. Whether you're a beginner or an experienced photographer, understanding the basics will help you capture stunning images.
Chapter 1: Essential Equipment for Landscape Photography
1. Camera: The Photographer's Eye
Choosing the right camera is the first step. The camera doesn't have to be expensive, but it should provide you with enough control over the settings. DSLR cameras or mirrorless cameras are popular choices because they allow you to change lenses and have full manual control.
- DSLR Cameras: Feature high image quality and a wide range of lenses and accessories.
- Mirrorless Cameras: Lighter and more technologically advanced than DSLRs, with similar image quality.
2. Lenses: A Different View of the World
Lenses play a crucial role in shaping the image. Here are some essential lenses for landscape photography:
- Wide-Angle Lens: Ideal for capturing wide, sweeping landscapes. (16-35mm)
- Standard Lens: Used to capture landscapes naturally. (50mm)
- Telephoto Lens: Used to zoom in on distant targets and compress the perspective. (70-200mm or more)
3. Tripod: The Foundation of Stability
A tripod is essential for getting sharp and clear images, especially in low light conditions or when using slow shutter speeds. The tripod helps prevent camera shake and maintain stability.
4. Filters: Improving the Image
Filters help improve image quality in different lighting conditions. Here are some essential filters:
- Polarizing Filter: Reduces glare and reflections, and increases color saturation.
- Neutral Density Filter: Reduces the amount of light entering the camera, allowing for slower shutter speeds in bright lighting conditions.
- Graduated Neutral Density Filter: Reduces the amount of light in a specific part of the image, such as the sky, to preserve details in bright and dark areas.
Chapter 2: Camera Settings Basics
1. Aperture: Controlling Depth of Field
The aperture determines the amount of light that enters the camera and affects the depth of field. Depth of field is the area that appears clearly in the image. In landscape photography, the goal is often to achieve a large depth of field, so that the entire image is clear from front to back. To achieve this, use a narrow aperture (a large f-number, such as f/8 or f/11).
2. Shutter Speed: Freezing or Showing Motion
The shutter speed determines how long the camera sensor is exposed to light. Fast shutter speeds freeze motion, while slow shutter speeds allow motion to be blurred. In landscape photography, slow shutter speeds can be used to show the movement of water or clouds, but a tripod should be used to avoid camera shake.
3. ISO Sensitivity: Controlling Sensor Sensitivity to Light
ISO sensitivity determines how sensitive the camera sensor is to light. Low ISO (such as ISO 100) produces high-quality images with the least amount of noise, while high ISO (such as ISO 3200) allows shooting in low light conditions, but increases noise. Always try to use the lowest possible ISO to get the best image quality.
4. White Balance: Achieving Natural Colors
White balance adjusts the colors in the image to look natural. White balance can be set automatically (Auto White Balance), or you can choose a preset (such as Daylight or Cloudy), or you can adjust it manually using the Kelvin scale.
5. RAW Format: Flexibility in Editing
Shooting in RAW format gives you more flexibility in post-processing. RAW files contain all the data captured by the camera sensor, allowing you to adjust exposure, lighting, colors, and details more extensively without losing quality.
Chapter 3: Composition: The Art of Organizing Elements
1. Rule of Thirds: Dividing the Image
The rule of thirds is one of the basic rules of composition. Imagine the image divided into nine equal parts by two horizontal lines and two vertical lines. Place important elements in the image along these lines or at the intersection points to achieve visual balance.
2. Leading Lines: Guiding the Viewer's Eye
Leading lines are lines in the image that guide the viewer's eye to the focal point. These lines can be roads, rivers, fences, or any other elements that extend across the image.
3. Frame within a Frame: Adding Depth
Using a frame within a frame (such as a window, arch, or tree branches) can add depth to your photos and make them more attractive.
4. Perspective: Creating a Sense of Depth
Using perspective can create a sense of depth in the photos. This can be achieved using converging lines or elements that are graded in size.
5. Balance: Distributing Elements
Balance in the image means distributing the elements evenly. Symmetrical balance can be achieved by placing elements identically on either side of the image, or asymmetrical balance by placing different elements on either side of the image but in a way that creates visual balance.
Chapter 4: Lighting: Key to a Good Image
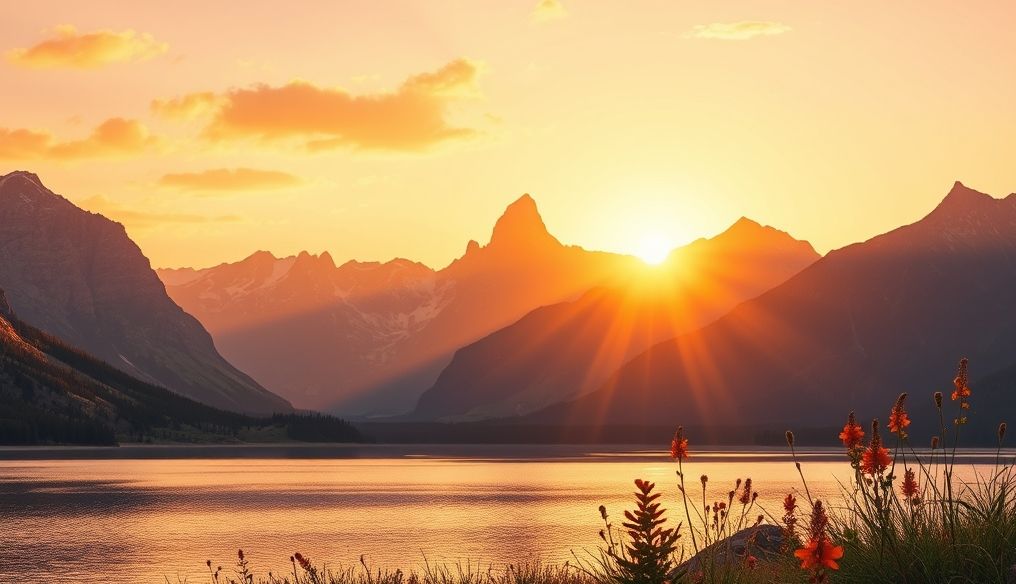
1. Golden Hour: The Magic Light
The golden hour is the period immediately following sunrise and the period immediately preceding sunset. During this period, the light is warm and soft, creating beautiful and attractive images.
2. Blue Hour: The Magic of Dusk
The blue hour is the period immediately following sunset and the period immediately preceding sunrise. During this period, the light is blue and cold, creating calm and magical images.
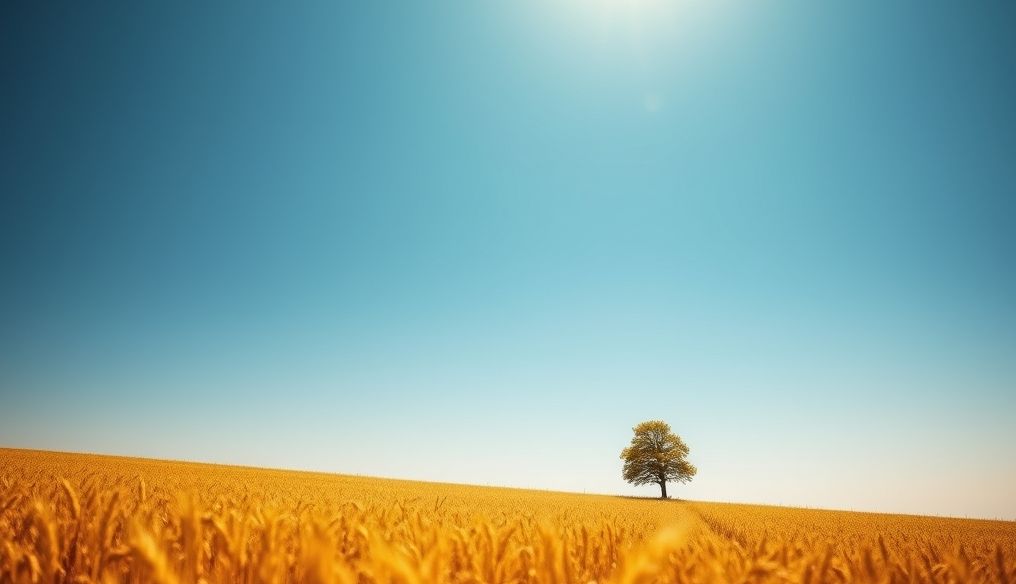
3. Midday Lighting: Challenge and Innovation
Midday lighting is strong and harsh, making it less than ideal for landscape photography. However, this problem can be overcome by using neutral density filters or by looking for shadows.
4. Weather: Adding Drama
Weather can add drama and excitement to your photos. Clouds, rain, fog, and snow can turn ordinary landscapes into stunning images.
Chapter 5: Post-Processing: The Final Touch
1. Editing Software: Your Creative Tools
There are many editing programs available, such as Adobe Lightroom, Adobe Photoshop, and Capture One. These programs allow you to adjust the exposure, lighting, colors, and details in your photos.
2. Adjusting Exposure and Lighting: Achieving Balance
Adjusting exposure and lighting helps achieve balance in the image. You can increase or decrease the exposure to adjust the brightness of the image, and adjust the lighting to adjust the contrast between the bright and dark areas.
3. Adjusting Colors: Enhancing the Atmosphere
Adjusting colors helps enhance the atmosphere in the image. You can adjust the color temperature to add warmth or coolness to the image, and adjust the saturation to increase or decrease the intensity of the colors.
4. Adjusting Details: Highlighting Clarity
Adjusting details helps highlight the clarity in the image. You can increase sharpness to highlight fine details, and reduce noise to reduce noise in dark areas.
5. Cropping: Improving Composition
Cropping helps improve the composition in the image. You can crop the image to remove distracting elements or to change the aspect ratio.
Chapter 6: Additional Tips to Improve Your Skills
1. Continuous Training: The Secret of Mastery
Continuous training is the secret of mastery in any field, including landscape photography. Go out and take pictures regularly, try new techniques, and try to learn from your mistakes.
2. Studying the Works of Other Photographers: Inspiration and Learning
Studying the works of other photographers can be a source of inspiration and learning. Look for photographers whose style you like and try to understand how they take their pictures.
3. Participating in Workshops and Training Courses: Developing Skills
Participating in workshops and training courses can help you develop your skills faster. These workshops and courses provide you with an opportunity to learn from experts and connect with other photographers.
4. Reading Books and Articles: Expanding Knowledge
Reading books and articles about landscape photography can help you expand your knowledge and understanding of this art. There are many sources available on the internet and in libraries.
5. Patience and Perseverance: The Key to Success
Landscape photography requires patience and perseverance. You may need to wait for hours to get the perfect lighting or the right weather. Don't give up if you don't succeed at first, and keep trying until you succeed.
Chapter 7: Great Places to Apply Your Skills
1. Mountains: The Greatness of Nature
Mountains offer stunning and varied landscapes. You can take pictures of towering peaks, deep valleys, and flowing waterfalls.
2. Beaches: The Meeting of Land and Sea
Beaches offer peaceful and beautiful landscapes. You can take pictures of crashing waves, golden sands, and sunlight reflected on the surface of the water.
3. Forests: A World of Green
Forests offer enchanting and mysterious landscapes. You can take pictures of towering trees, falling leaves, and sunlight sneaking through the branches.
4. Deserts: The Beauty of Aridity
Deserts offer harsh and beautiful landscapes. You can take pictures of undulating sand dunes, clear skies, and glittering stars at night.
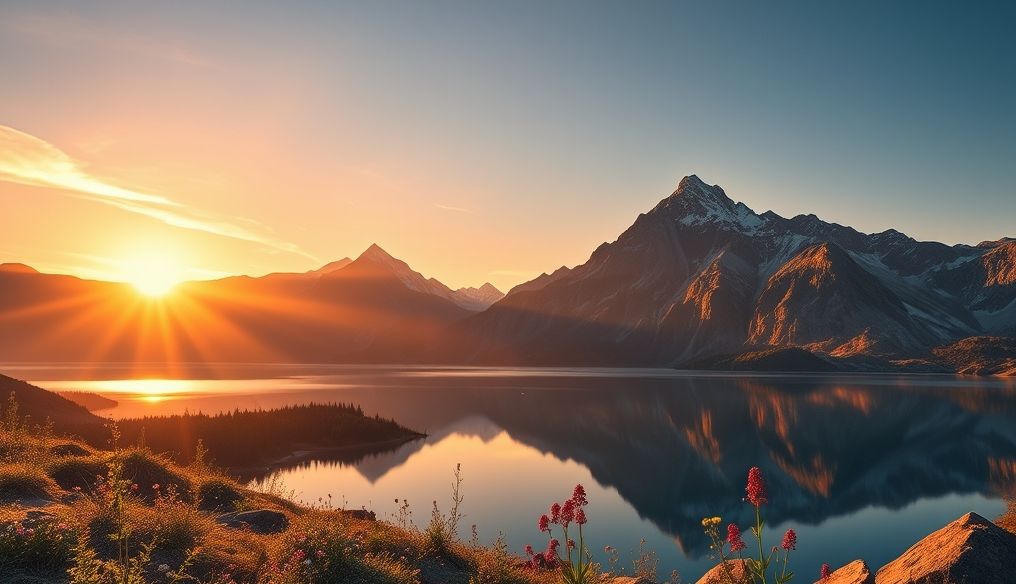
5. Lakes and Rivers: Reflections of Nature
Lakes and rivers offer peaceful and beautiful landscapes. You can take pictures of perfect reflections of trees, mountains, and sky on the surface of the water.
Chapter 8: Conclusion: An Endless Journey
Landscape photography is an endless journey of learning and discovery. Continue to develop your skills and explore new places, and you will find that this art can change the way you see the world around you.