How to Achieve Stunning Portrait Photos with a Beautifully Blurred Background?
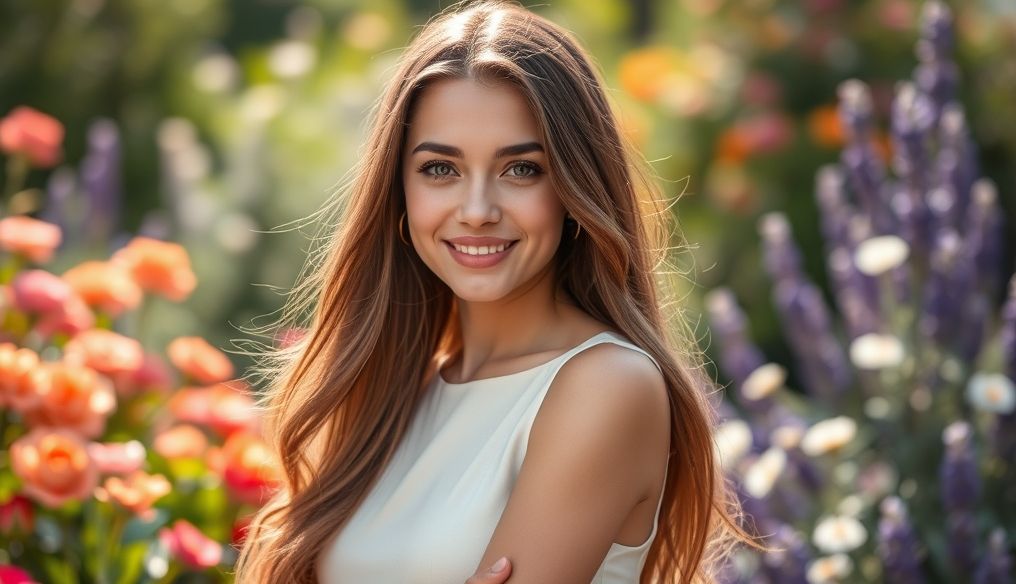
A blurred background, also known as "Bokeh," is a fundamental element in professional portrait photography. It creates depth, highlights the subject, and adds a charming artistic touch. But how can you achieve this result yourself? This article will provide you with a comprehensive guide, from understanding the basics of photography to advanced techniques.
Chapter 1: Understanding the Basics of Photography and Bokeh
Before diving into the technical details, it's important to understand some basic concepts:
- Aperture: The opening inside the lens that allows light to enter the camera. It is measured in "f-stops" (such as f/1.8, f/2.8, f/4). The smaller the number, the larger the aperture, the more light enters, and the shallower the depth of field (i.e., the more blurred the background).
- Focal Length: The distance between the lens and the camera sensor. It is measured in millimeters (mm). Lenses with a larger focal length (such as 50mm, 85mm, 135mm) produce a better blurred background than lenses with a smaller focal length (such as 18mm, 24mm).
- Distance between Subject and Background: The greater the distance between the subject and the background, the more blurred the background.
- Distance between Camera and Subject: The closer the camera is to the subject, the shallower the depth of field, and therefore the more blurred the background.
What is Bokeh?
Bokeh is not just blur; it is the way the lens renders out-of-focus areas. Bokeh can be circular, oval, or even hexagonal, depending on the lens design and the number of aperture blades. Lenses with a larger number of blades (such as 9 or 11 blades) produce smoother, more circular bokeh.
Chapter 2: Choosing the Right Equipment
To get great portrait photos with a beautifully blurred background, you need some essential equipment:
- Camera: A DSLR or Mirrorless camera is the best choice, as it allows you full control over shooting settings and lens changes.
- Lens: A lens with a wide aperture (f/1.8, f/2.8) is essential. Lenses with a focal length of 50mm or 85mm are ideal for portrait photos. You can also use lenses with a longer focal length, such as 135mm, for an even more blurred background.
Tip: If you are a beginner, start with a 50mm f/1.8 lens. It's an inexpensive, high-quality lens that produces great photos with a beautiful blurred background.
Chapter 3: Camera Settings for a Blurred Background
The correct camera settings are the key to getting the perfect blurred background:
- Shooting Mode: Use "Aperture Priority mode" or "Manual mode." In Aperture Priority mode, you can control the aperture, and the camera will automatically adjust the shutter speed to get a correct exposure. In Manual mode, you can control both the aperture and the shutter speed.
- Aperture: Choose the widest possible aperture (lowest f-stop number). For example, if your lens is f/1.8, choose f/1.8.
- ISO: Set the ISO to the lowest possible value to get a clean, noise-free image. Start with ISO 100 and try not to exceed ISO 800 unless the light is very low.
- Shutter Speed: Adjust the shutter speed so that it is sufficient to avoid camera shake. A general rule is that the shutter speed should be equal to or faster than the focal length of the lens. For example, if you are using a 50mm lens, use a shutter speed of 1/50 second or faster.
Chapter 4: Focusing on the Subject
Accurate focus on the subject's eyes is crucial. Use "Single-point AF" mode and focus on the eye closest to the camera. Make sure the subject's eye is sharp and clear, while the background is blurred.
Chapter 5: Choosing the Right Background
The background plays a big role in the final image. Choose a simple, non-distracting background. Backgrounds with solid colors or simple patterns work well. You can also use natural backgrounds, such as trees or flowers, to create beautiful bokeh.
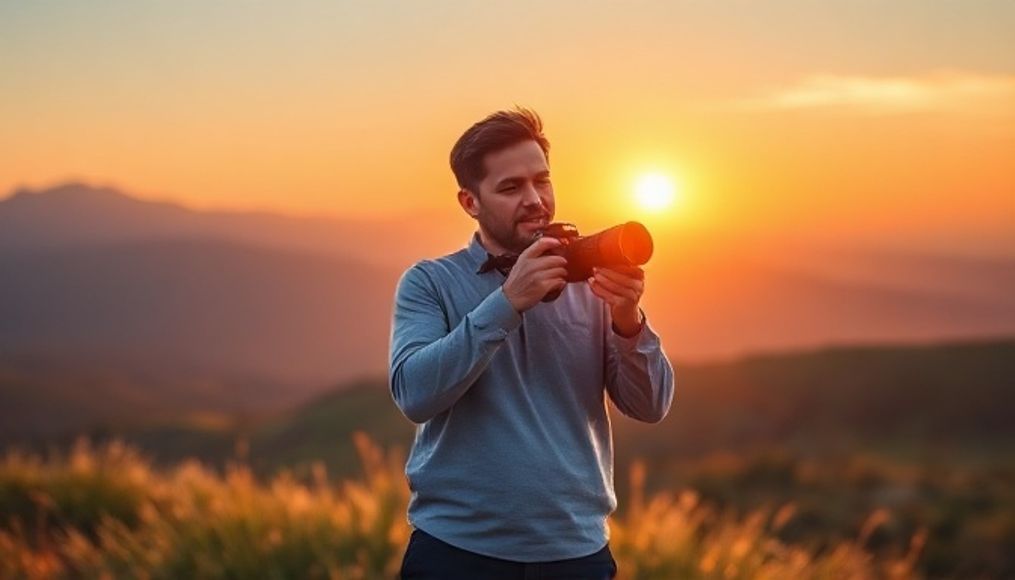
Tip: Try taking photos in backlit locations. Backlighting can create fantastic bokeh.
Chapter 6: Distance and Angle
The distance between you and the subject, the distance between the subject and the background, and the shooting angle all affect the background blur:
- Get Closer to the Subject: The closer you get to the subject, the shallower the depth of field and the more blurred the background.
- Position the Subject Farther from the Background: The greater the distance between the subject and the background, the more blurred the background.
- Experiment with Different Angles: Try taking photos from different angles to see how the background changes.
Chapter 7: Lighting
Good lighting is essential for any portrait photo. Natural light is the best option, especially the soft light in the early morning or late afternoon. Avoid shooting in direct sunlight, as it can create harsh shadows.
If you are shooting indoors, use a large window as a light source. You can also use a reflector to fill in the shadows.
Chapter 8: Photo Editing
After taking the photos, you can improve them using photo editing software such as Adobe Lightroom or Photoshop. You can adjust the exposure, contrast, colors, and sharpness. You can also add more blur to the background if necessary.
Tip: Be careful when adding blur to the background in photo editing software. Too much blur can make the image look unnatural.
Chapter 9: Practical Examples
Let's take a look at some practical examples:
- Portrait in a Garden: Use an 85mm f/1.8 lens. Place the subject in front of a tree with colorful leaves. Use an aperture of f/1.8 for a beautiful blurred background.
- Portrait in the City: Use a 50mm f/2.8 lens. Place the subject in front of a brick wall or a lit window. Use an aperture of f/2.8 for sufficient background blur.
- Portrait in the Studio: Use an 85mm f/1.4 lens. Use a white or black background. Use studio lighting to create even lighting. Use an aperture of f/1.4 for a very blurred background.
Chapter 10: Additional Tips
- Experiment with Different Shooting Modes: Don't be afraid to experiment with different shooting modes, such as "Macro mode" or "Sports mode."
- Use Lens Filters: Lens filters, such as ND filters or polarizing filters, can help you get better photos.
- Practice Regularly: The more you practice, the better you will become at taking portrait photos with a blurred background.
- Have Fun: Photography should be fun. Don't put pressure on yourself and try to enjoy the process.
Using these tips and techniques, you can capture professional portrait photos with a beautifully blurred background. Remember that practice is key. Keep experimenting and learning, and you will become a professional portrait photographer in no time.


