Introduction: Why Build a Bookshelf Yourself?
Building a bookshelf yourself is not just a simple carpentry project, it's a creative experience that gives you the ability to design a unique piece of furniture that suits your needs and space. In addition, it can be much cheaper than buying a ready-made bookshelf, especially if you use recycled materials or affordable materials.
Chapter 1: Tools and Materials Needed
Tools:
- Saw (hand or electric)
- Electric drill with different bits
- Measuring tape
- Pencil
- Spirit level (bubble level)
- Sandpaper (coarse and fine)
- Clamps
- Safety glasses
- Gloves
Materials:
- Wooden boards (according to the required dimensions) - You can use plywood, hardwood, or even recycled wood.
- Wood screws or nails
- Wood glue
- Wood filler (optional)
- Paint or varnish (optional)
Chapter 2: Determining Measurements and Design
Before you start, determine where you will place the bookshelf and measure the available space. Think about how many shelves you need and the height of each shelf. Draw a simple plan on paper to visualize the final shape of the shelf.
Tip: Leave enough space between the shelves to accommodate your largest books.
Chapter 3: Cutting the Wood
Use the measuring tape and pencil to mark the dimensions on the wooden boards. Make sure all measurements are accurate before cutting. Use the saw to cut the boards according to the specified dimensions.
Warning: Wear safety glasses and gloves to protect your eyes and hands while cutting.
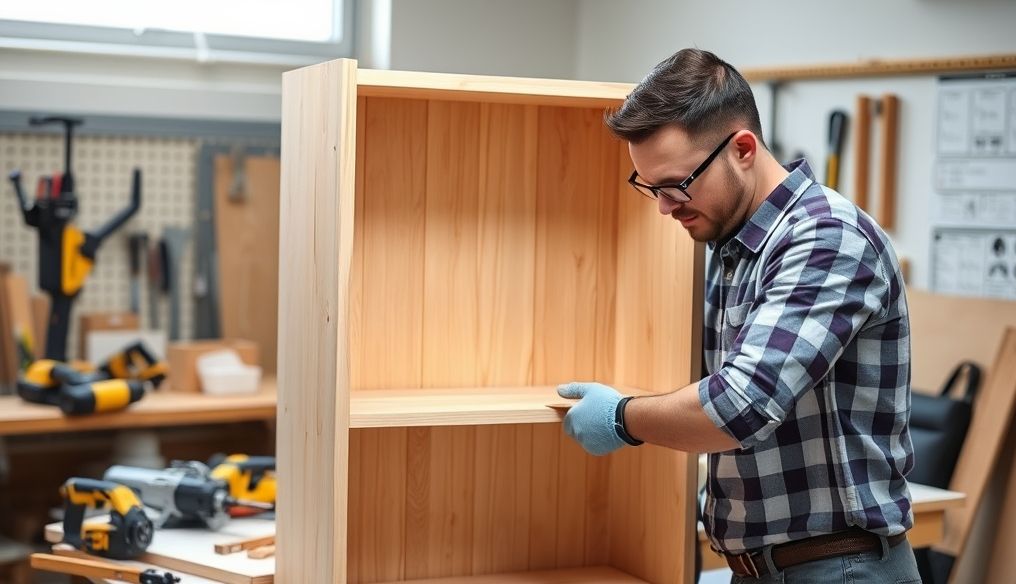
Chapter 4: Assembling the Shelf
- Apply glue to the edges of the boards that will form the sides of the shelf.
- Secure the side boards to the shelves using clamps.
- Use the drill to make pilot holes before inserting screws or nails. This prevents the wood from cracking.
- Insert the screws or nails to securely attach the shelves to the sides.
- Make sure the shelf is level using a spirit level.
Chapter 5: Finishing and Smoothing
After assembling the shelf, use coarse sandpaper to smooth rough edges and remove any burrs. Then use fine sandpaper to smooth the entire surface. If there are any gaps or holes, you can fill them with wood filler, let it dry, and then sand it.
Chapter 6: Painting or Varnishing
After sanding, clean the shelf with a damp cloth to remove any dust. You can now paint the shelf in the color you want or use varnish to protect the wood and highlight its natural beauty. Follow the manufacturer's instructions for the paint or varnish.
Tip: Apply two coats of paint or varnish for best results, and let each coat dry completely before applying the next coat.
Chapter 7: Final Touches
After the paint or varnish has completely dried, you can place the bookshelf in its place and fill it with books. You can also add decorative touches such as colorful books or small plants to add a personal touch.
Chapter 8: Additional Ideas and Modifications
- Adding a Back to the Shelf: You can add a sheet of plywood to the back of the shelf to increase its strength and prevent books from falling out from the back.
- Adjustable Shelves: You can use an adjustable shelving system that allows you to change the height of the shelves as needed.
- Adding Doors: You can add glass or wooden doors to the shelf to protect the books from dust.
- Lighting: You can add LED lighting to the shelf to highlight the books and make them more attractive.
Conclusion: Building a bookshelf yourself is not as difficult as it seems. With a little planning and effort, you can create a unique and practical piece of furniture that will serve you for many years.