Introduction: Why Build a Bookshelf Yourself?
Building a bookshelf yourself isn't just a simple woodworking project; it's an opportunity to express your creativity, save money, and get a unique piece of furniture that perfectly suits your needs. Additionally, it can be a fun and rewarding activity, especially if you enjoy DIY projects.
Benefits of Building a Bookshelf Yourself:
- Saving Money: Building a bookshelf yourself is often cheaper than buying a ready-made one.
- Customization: You can design the bookshelf to fit your space and specific needs.
- Creativity: An opportunity to express your creativity and add a personal touch to your home.
- Enjoyment: It can be a fun and rewarding project.
Chapter 1: Necessary Tools and Materials
Before you begin, make sure you have all the necessary tools and materials. This will save you time and effort later.
Tools:
- Saw: For cutting the wood. A hand saw or a power saw can be used.
- Measuring Tape: To measure the wood accurately.
- Pencil: To mark the wood.
- Square: To ensure the corners are square.
- Electric Drill: To make holes for the screws.
- Screwdriver: To tighten the screws.
- Sandpaper: To smooth the edges of the wood.
- Paint Brush: To paint or varnish the bookshelf.
- Safety Glasses: To protect your eyes from dust and debris.
- Gloves: To protect your hands.
Materials:
- Wooden Boards: Choose the type of wood you prefer. You can use plywood or hardwood.
- Screws: Choose screws suitable for the type of wood you are using.
- Wood Glue: To strengthen the joints.
- Paint or Varnish: To protect the wood and add an aesthetic touch.
Chapter 2: Designing the Bookshelf
Before you start cutting, it's important to have a clear design for your bookshelf. Consider the size of the shelf, the number of shelves, and the distance between the shelves.
Design Considerations:
- Shelf Size: Measure the space where you want to place the bookshelf.
- Number of Shelves: Determine the number of shelves you need based on the number of books you have.
- Distance Between Shelves: Make sure the distance between the shelves is sufficient to accommodate your largest books.
- Type of Wood: Choose the type of wood that fits your budget and taste.
Tip: Draw a detailed plan of your bookshelf before you start cutting. This will help you avoid costly mistakes.
Chapter 3: Cutting the Wood
Using the saw, measuring tape, and pencil, cut the wood to the required dimensions according to your design.
Cutting Steps:
- Measure: Measure the wood carefully using the measuring tape.
- Mark: Make clear marks on the wood using the pencil.
- Cut: Cut the wood carefully using the saw. Make sure to wear safety glasses to protect your eyes.
Warning: Be very careful when using the saw. Follow the saw's safety instructions and make sure you are working in a well-ventilated area.
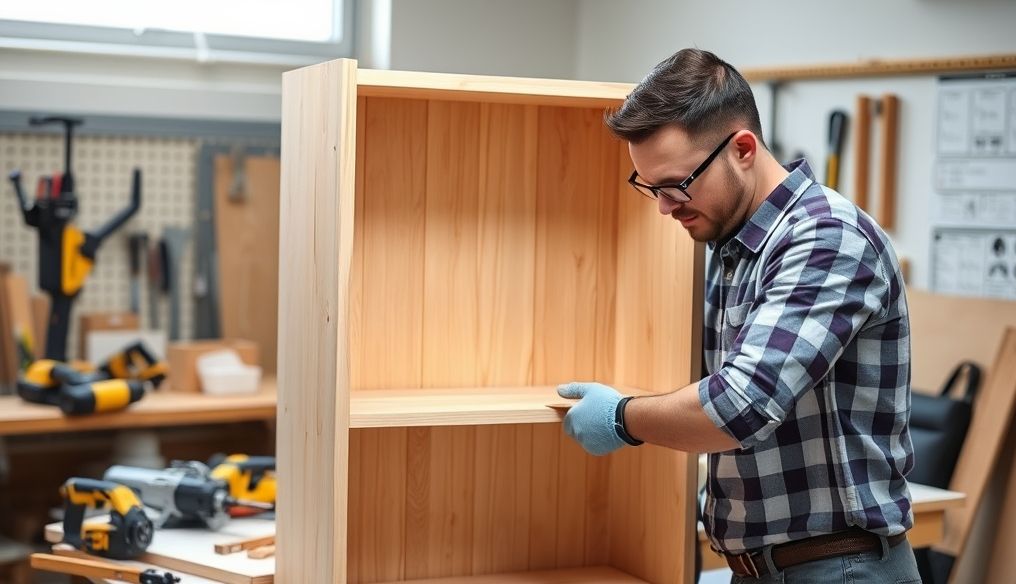
Chapter 4: Assembling the Bookshelf
After cutting the wood, you can start assembling the bookshelf. Use wood glue and screws to connect the pieces together.
Assembly Steps:
- Apply Glue: Apply a small amount of wood glue to the edges of the pieces to be joined.
- Connect: Connect the pieces together using screws. Use the electric drill to make holes for the screws before tightening them.
- Secure: Make sure all the pieces are tightly secured.
Tip: Use clamps to hold the pieces together while the glue dries. This will ensure that the joints are strong.
Chapter 5: Sanding and Finishing
After assembling the bookshelf, sand the rough edges using sandpaper. Then, paint or varnish the bookshelf to protect it and add an aesthetic touch.
Sanding and Finishing Steps:
- Sanding: Sand the rough edges using sandpaper. Start with coarse sandpaper and then switch to finer sandpaper.
- Cleaning: Clean the bookshelf from dust and dirt using a damp cloth.
- Painting or Varnishing: Paint or varnish the bookshelf using a paint brush. Follow the manufacturer's instructions for the paint or varnish.
Tip: Apply two or three coats of paint or varnish for best results. Let each coat dry completely before applying the next coat.
Chapter 6: Final Touches
After the paint or varnish has dried, you can add the final touches to your bookshelf. You can add handles or other decorations.
Ideas for Final Touches:
- Handles: Add handles to the shelves to make it easier to access the books.
- Decorations: Add other decorations to your bookshelf, such as photos or plants.
Chapter 7: Additional Tips
Here are some additional tips to make your bookshelf building project more successful:
- Plan Ahead: Plan your project carefully before you begin.
- Accuracy: Be accurate in your measurements and cuts.
- Safety: Follow the safety instructions for all the tools you use.
- Patience: Be patient. Building a bookshelf takes time.
Chapter 8: Innovative Bookshelf Ideas
Bookshelves are not limited to the traditional design. You can experiment with innovative ideas to add a unique touch to your home.
Examples of Innovative Ideas:
- Floating Shelves: Shelves that are mounted on the wall without visible supports.
- Hanging Shelves: Shelves that are suspended from the ceiling with ropes or chains.
- Corner Shelves: Shelves designed to fit into the corners of the room.
- Shelves Made from Recycled Materials: Using materials such as old wooden crates or metal pipes to create unique shelves.
Practical Example: You can transform an old wooden ladder into a unique bookshelf by painting it and attaching shelves between the ladder steps.
Conclusion: Enjoy Your Bookshelf!
Congratulations! You have built your own bookshelf. Enjoy placing your favorite books and displaying them with pride.