Introduction: Say Goodbye to Annoying Scratches on Wooden Furniture
Wooden furniture adds beauty and warmth to our homes, but it's also prone to scratches. Fortunately, most minor scratches can be easily repaired at home without the need for a professional carpenter. This article provides you with practical steps to repair minor scratches on wooden furniture, saving you money and preserving the beauty of your furniture.
Chapter 1: Identifying the Type of Scratch and Assessing the Damage
Before starting the repair, it's essential to identify the type of scratch and assess the extent of the damage. There are different types of scratches:
- Surface Scratches: Affect only the paint or varnish layer and do not reach the wood itself.
- Medium Scratches: Penetrate the paint layer and reach the wood, but are not very deep.
- Deep Scratches: Reach deep into the wood and may cause damage to the wood fibers.
To determine the type of scratch, gently run your fingernail over the scratch. If your nail slides smoothly, the scratch is superficial. If your nail catches, the scratch is deeper.
Chapter 2: Tools and Materials Needed for Repair
To repair a minor scratch on wooden furniture, you will need the following tools and materials:
- Soft Cloth: For cleaning and polishing the furniture.
- Warm Water and Mild Soap: To clean the affected area.
- White Vinegar (Optional): To remove stubborn wax or dirt.
- Olive Oil or Walnut Oil: To hide superficial scratches.
- Toothpaste (Non-Gel): To hide superficial scratches.
- Wood Touch-Up Markers: Available in different colors to match the wood color.
- Shoe Polish: In a color matching the wood color.
- Walnut: To hide light scratches on dark wood.
- Wax Filler Sticks: To fill deep scratches.
- Putty Knife: To apply the wax filler.
- Very Fine-Grit Sandpaper: To smooth the area after filling the scratch.
- Varnish: To cover and protect the repaired area.
- Small Brush: To apply the varnish.
Chapter 3: Repairing Surface Scratches Using Household Materials
Surface scratches are the easiest to repair. You can use simple household materials to hide them:
Olive Oil or Walnut Oil
- Clean the affected area with a cloth dampened with warm water and soap.
- Dry the area thoroughly.
- Apply a small amount of olive oil or walnut oil to a clean cloth.
- Gently rub the oil onto the scratch in a circular motion.
- Leave the oil for a few minutes, then wipe it off with a clean, dry cloth.
Toothpaste
- Clean the affected area with a cloth dampened with warm water and soap.
- Dry the area thoroughly.
- Apply a small amount of toothpaste (non-gel) to a clean cloth.
- Gently rub the toothpaste onto the scratch in a circular motion.
- Leave the toothpaste for a few minutes, then wipe it off with a clean, dry cloth.
Walnut
- Break a walnut into halves.
- Rub the inside of the walnut on the scratch in a circular motion.
- The walnut will release natural oils that help hide the scratch.
- Wipe the area with a clean, dry cloth.
Chapter 4: Repairing Medium Scratches Using Wood Touch-Up Markers or Shoe Polish
If the scratches are slightly deeper, you can use wood touch-up markers or shoe polish:
Wood Touch-Up Markers
- Choose a wood touch-up marker that matches the color of the wood.
- Color the scratch with the marker in a light motion.
- Wipe off the excess with a clean cloth.
- Repeat the process if necessary until the scratch disappears.
Shoe Polish
- Choose a shoe polish that matches the color of the wood.
- Apply a small amount of polish to a clean cloth.
- Rub the polish onto the scratch in a circular motion.
- Leave the polish for a few minutes, then wipe it off with a clean, dry cloth.
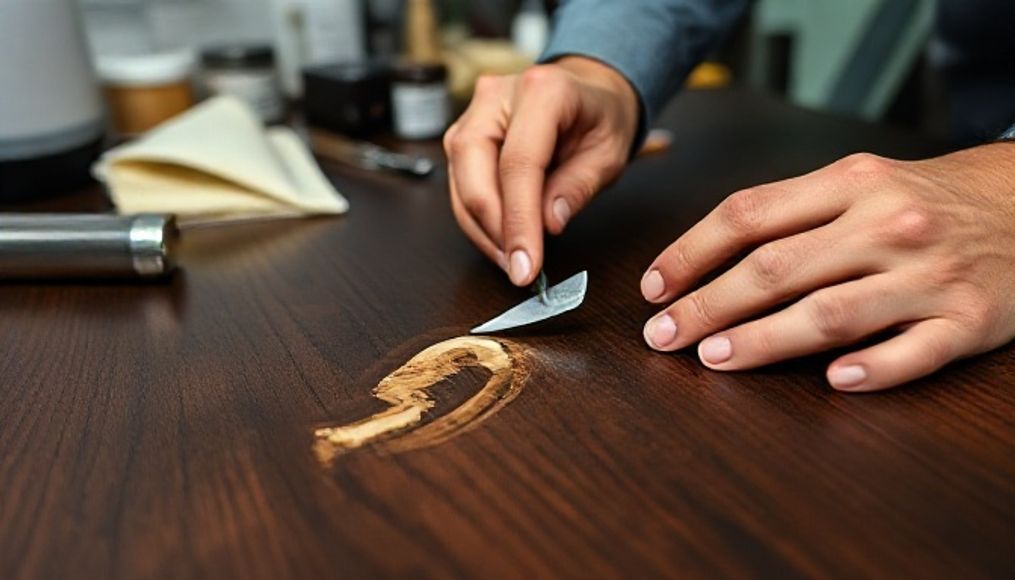
Chapter 5: Repairing Deep Scratches Using Wax Filler Sticks
Deep scratches require the use of wax filler sticks:
- Clean the affected area with a cloth dampened with warm water and soap.
- Dry the area thoroughly.
- Choose a wax filler stick that matches the color of the wood.
- Use a putty knife to fill the scratch with the wax.
- Press the wax firmly to ensure the scratch is completely filled.
- Let the wax dry completely.
- Use very fine-grit sandpaper to smooth the area.
- Wipe away the dust with a clean cloth.
- Apply a coat of varnish to protect the repaired area.
Chapter 6: Additional Steps to Improve Results
For best results, you can follow these additional steps:
- Test the Product on an Inconspicuous Area: Before using any product on the scratch, test it on an inconspicuous area to ensure it doesn't change the color of the wood.
- Use Thin Layers: When using wood touch-up markers or shoe polish, use thin layers to avoid noticeably changing the color of the wood.
- Be Patient: You may need to repeat the process several times until the scratch disappears completely.
- Use Varnish for Protection: After repairing the scratch, apply a coat of varnish to protect the repaired area from future damage.
Chapter 7: Tips for Maintaining Wooden Furniture and Avoiding Scratches
Prevention is better than cure. Here are some tips for maintaining wooden furniture and avoiding scratches:
- Use Coasters for Hot Cups and Dishes: To protect the furniture surface from heat and moisture.
- Use Tablecloths: To protect the table surface from scratches.
- Clean the Furniture Regularly: Use a soft cloth to remove dust and dirt.
- Avoid Using Harsh Chemicals: Use cleaners specifically designed for wooden furniture.
- Place Leg Protectors on the Furniture: To prevent scratches when moving the furniture.
Chapter 8: Professional Alternatives for Repairing Deep Scratches
If the scratch is too deep or you are uncomfortable repairing it yourself, you can resort to professional alternatives:
- Hire a Specialized Carpenter: A specialized carpenter has the tools and expertise to repair deep scratches professionally.
- Use Professional Wooden Furniture Repair Kits: These kits contain all the tools and materials needed to repair deep scratches and come with detailed instructions.
Conclusion
Repairing minor scratches on wooden furniture is possible and easy to do at home. By following the steps and tips mentioned in this article, you can maintain the beauty of your furniture and save money. Always remember that prevention is better than cure, so keep your wooden furniture well to avoid scratches in the future.