Introduction: War on Water Drops!
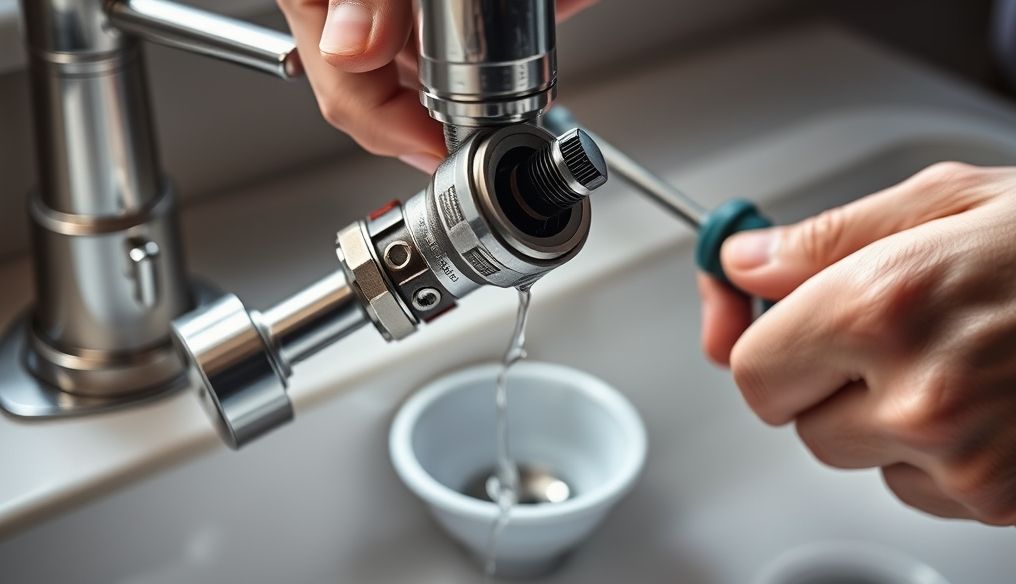
A leaky faucet isn't just an annoying sound; it's a waste of precious water and money! Slowly dripping water can accumulate into significant amounts of wasted water over the month, noticeably raising your bill. Fortunately, many faucet leaks are simple enough to fix yourself, without needing to call a professional plumber. This article will provide you with a comprehensive step-by-step guide to fixing common faucet leaks, along with tips to keep your faucet in excellent condition and prevent future leaks.
Chapter 1: Identifying the Type of Faucet and Leak
Before starting any repairs, it's essential to identify the type of faucet you have and the type of leak. There are four main types of faucets:
- Compression Faucet: This type is the oldest and most common. It features separate handles for hot and cold water and uses O-rings or washers to seal off the water flow.
- Cartridge Faucet: Features a single handle that controls both water temperature and flow. It contains an internal cartridge that controls the water.
- Ball Faucet: Similar to a cartridge faucet, but it uses a metal ball with slots to control the water.
- Ceramic Disc Faucet: Considered the newest and most durable. It features a single handle and uses two ceramic discs to control the water.
Common Types of Leaks:
- Leak from the Base of the Faucet: Often due to damaged O-rings or washers.
- Leak from the Faucet Spout: May be due to a damaged cartridge, ball, or ceramic disc.
- Leak from the Handle: Usually indicates damaged O-rings or washers inside the handle.
Chapter 2: Tools and Materials Needed
To fix a leaky water faucet, you'll need the following tools and materials:
- Adjustable Wrench: To loosen and tighten nuts and connections.
- Screwdriver: A variety of screwdrivers with flathead and Phillips heads.
- Pliers: To grip small parts.
- Utility Knife: To cut old O-rings.
- New O-rings and Washers: Make sure to buy the correct size for your faucet type.
- Plumber's Grease: To lubricate rubber parts and prevent corrosion.
- Clean Cloth or Towel: To clean parts and prevent scratches.
- Bowl or Bucket: To catch any water that may leak.
Chapter 3: Steps to Repair a Compression Faucet
- Turn off the Water Supply: Close the hot and cold water valves located under the sink.
- Remove the Handle: Look for a small screw that holds the handle in place. Loosen the screw using the appropriate screwdriver.
- Remove the Faucet Cover: Lift the faucet cover to expose the valve.
- Remove the Valve: Use the wrench to loosen the valve.
- Inspect and Replace Washers and O-rings: Inspect the washers and O-rings on the valve for any damage or wear. Replace any damaged parts with new ones.
- Lubricate New Parts: Apply a small amount of plumber's grease to the new washers and O-rings.
- Reassemble the Faucet: Reassemble the faucet in the reverse order of the previous steps.
- Turn on the Water Supply: Slowly open the hot and cold water valves.
- Check for Leaks: Check for any leaks around the faucet.
Chapter 4: Steps to Repair a Cartridge Faucet
- Turn off the Water Supply: Close the hot and cold water valves located under the sink.
- Remove the Handle: Look for a small screw that holds the handle in place. Loosen the screw using the appropriate screwdriver.
- Remove the Retaining Clip: Remove the retaining clip that holds the cartridge in place.
- Remove the Old Cartridge: Pull the old cartridge out.
- Install the New Cartridge: Insert the new cartridge into place and make sure it is properly seated.
- Reinstall the Retaining Clip: Reinstall the retaining clip.
- Reassemble the Faucet: Reassemble the faucet in the reverse order of the previous steps.
- Turn on the Water Supply: Slowly open the hot and cold water valves.
- Check for Leaks: Check for any leaks around the faucet.
Chapter 5: Steps to Repair a Ball Faucet
- Turn off the Water Supply: Close the hot and cold water valves located under the sink.
- Remove the Handle: Look for a small screw that holds the handle in place. Loosen the screw using the appropriate screwdriver.
- Remove the Cap and Dome: Loosen the cap and dome located above the ball.
- Remove the Old Ball: Lift the old ball out.
- Inspect and Replace O-rings and Springs: Inspect the O-rings and springs inside the faucet for any damage or wear. Replace any damaged parts with new ones.
- Install the New Ball: Insert the new ball into place and make sure it is properly seated.
- Reassemble the Faucet: Reassemble the faucet in the reverse order of the previous steps.
- Turn on the Water Supply: Slowly open the hot and cold water valves.
- Check for Leaks: Check for any leaks around the faucet.
Chapter 6: Steps to Repair a Ceramic Disc Faucet
- Turn off the Water Supply: Close the hot and cold water valves located under the sink.
- Remove the Handle: Look for a small screw that holds the handle in place. Loosen the screw using the appropriate screwdriver.
- Remove the Cylinder: Loosen the cylinder located above the ceramic disc.
- Remove the Old Ceramic Disc: Lift the old ceramic disc out.
- Inspect and Replace O-rings: Inspect the O-rings inside the faucet for any damage or wear. Replace any damaged parts with new ones.
- Install the New Ceramic Disc: Insert the new ceramic disc into place and make sure it is properly seated.
- Reassemble the Faucet: Reassemble the faucet in the reverse order of the previous steps.
- Turn on the Water Supply: Slowly open the hot and cold water valves.
- Check for Leaks: Check for any leaks around the faucet.
Chapter 7: Tips to Prevent Future Faucet Leaks
- Regular Inspection: Regularly inspect your faucets for any signs of wear or leaks.
- Replace Damaged Parts: Replace any damaged parts immediately to prevent the problem from worsening.
- Lubricate Moving Parts: Regularly lubricate moving parts with plumber's grease.
- Avoid Overtightening Nuts and Connections: Overtightening can damage parts.
- Use Water Filters: Water filters can help prevent the buildup of sediment that can cause faucet damage.
Chapter 8: When Should You Call a Professional Plumber?
While many faucet leaks can be fixed yourself, there are some situations that require calling a professional plumber:
- If you can't identify the cause of the leak: If you're not sure what's causing the leak or how to fix it, it's best to call a professional plumber.
- If the leak is severe: If the leak is severe and you can't stop it, call a professional plumber immediately.
- If you're uncomfortable performing the repairs yourself: If you're not confident in your ability to perform the repairs yourself, it's best to call a professional plumber to avoid damaging the faucet or causing further problems.
- If you have a complex or old faucet: Complex or old faucets may require specialized expertise to repair.
Conclusion
Fixing a leaky water faucet yourself can save you money and prevent water waste. By following the steps outlined in this article, you can easily fix many common leaks and keep your faucets in excellent condition. Always remember to turn off the water supply before starting any repairs, and replace any damaged parts immediately. If you're not sure how to fix the leak, call a professional plumber for help.
