The Art of Bokeh: A Comprehensive Guide to Capturing Captivating Portraits with Blurred Backgrounds
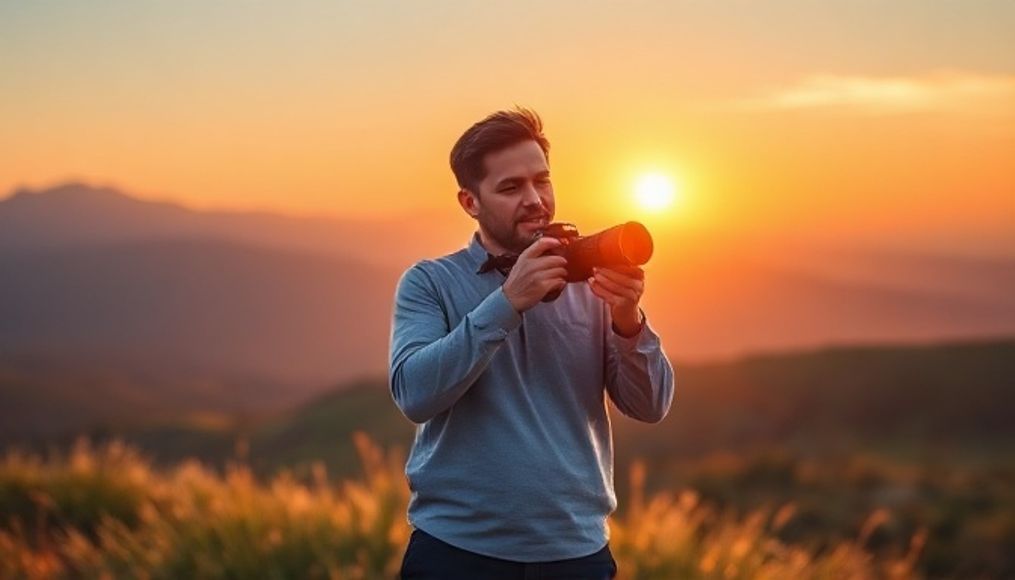
Blurred backgrounds, or "bokeh," is a Japanese term describing the quality of the blur in out-of-focus areas of an image. In portrait photography, bokeh plays a crucial role in isolating the subject and drawing the viewer's attention. This technique adds depth and aesthetics to the image, transforming ordinary shots into captivating works of art.
Chapter 1: Understanding the Basics of Bokeh
Before diving into practical techniques, it's essential to understand the fundamental principles that govern bokeh. Bokeh is primarily influenced by three main factors:
- Aperture: The wider the aperture (smaller f-number such as f/1.8 or f/2.8), the shallower the depth of field, and thus the more blurred the background.
- Focal Length: Lenses with longer focal lengths (such as 85mm or 135mm) produce more pronounced bokeh than lenses with shorter focal lengths (such as 35mm or 50mm).
- Distance Between Subject and Background: The greater the distance between the subject and the background, the more blurred the background will be.
Chapter 2: Choosing the Right Lens
The lens is the heart of the imaging system, and choosing the right lens is crucial for achieving beautiful bokeh. Here are some popular options:
- 50mm f/1.8: An excellent and affordable option for beginners. The wide aperture provides good bokeh, and it's a versatile lens.
- 85mm f/1.8 or f/1.4: This lens is considered ideal for portrait photography. It provides a suitable focal length to avoid distorting facial features, and the wide aperture produces stunning bokeh.
- 135mm f/2: A professional lens for portrait photography. It offers exceptional bokeh and excellent subject isolation.
- 70-200mm f/2.8: A versatile zoom lens that can also be used for portrait photography. It provides flexibility in changing the focal length to capture diverse shots.
Chapter 3: Camera Settings for Perfect Bokeh
After choosing the right lens, you need to adjust the camera settings correctly to get the best results. Here are some basic settings:
- Shooting Mode: Use Aperture Priority mode or Manual mode. In Aperture Priority mode, you can control the aperture while the camera automatically adjusts the shutter speed. In Manual mode, you can control both the aperture and shutter speed.
- Aperture: Choose the widest possible aperture (lowest f-number) to get the shallowest depth of field and the most background blur.
- ISO: Set the ISO to the lowest possible value to avoid noise in the image.
- White Balance: Choose the appropriate white balance for the lighting conditions. You can use the Auto setting or choose a preset like "Sunlight" or "Shadow."
- Focus Mode: Use Continuous Autofocus mode to track the subject's movement and keep it in focus.
Chapter 4: Image Composition and Location Selection
Image composition plays a significant role in the success of a portrait photo. Here are some tips:
- Rule of Thirds: Place the subject on one of the lines or intersection points in the rule of thirds grid to create a balanced and attractive image.
- Negative Space: Leave empty space around the subject to highlight it and draw attention to it.
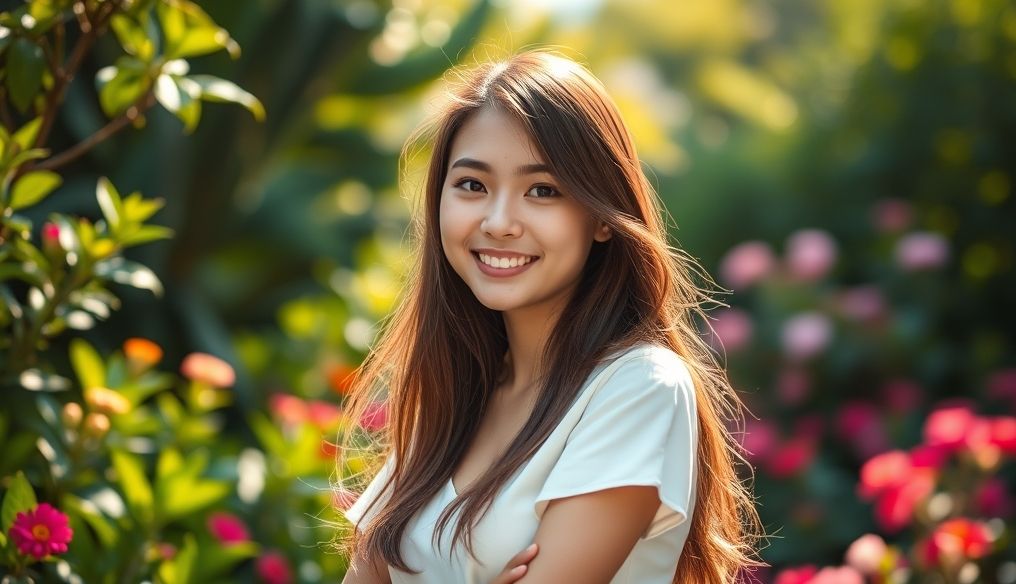
- Background: Choose a simple and non-distracting background. Avoid crowded backgrounds or those with bright colors.
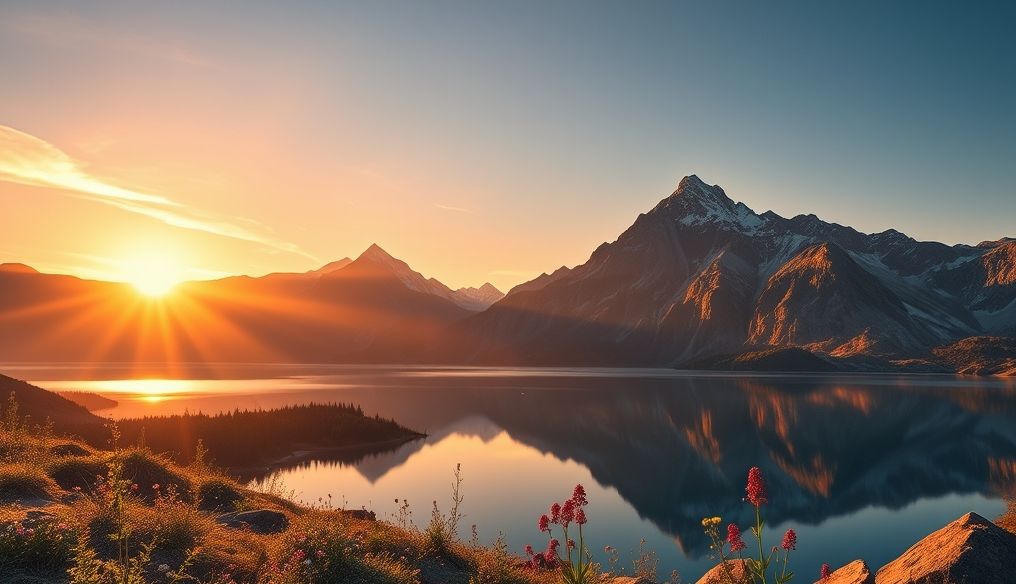
- Location: Find a location that provides good lighting and a suitable background. Gardens, parks, and historical sites can be great options.
Chapter 5: Proper Lighting
Lighting is a fundamental element in photography. Here are some tips for getting good lighting in portrait photos:
- Natural Light: Natural light is the best option for portrait photos. Avoid shooting in direct sunlight, as it can create harsh shadows. Instead, look for shade or use a diffuser to soften the light.
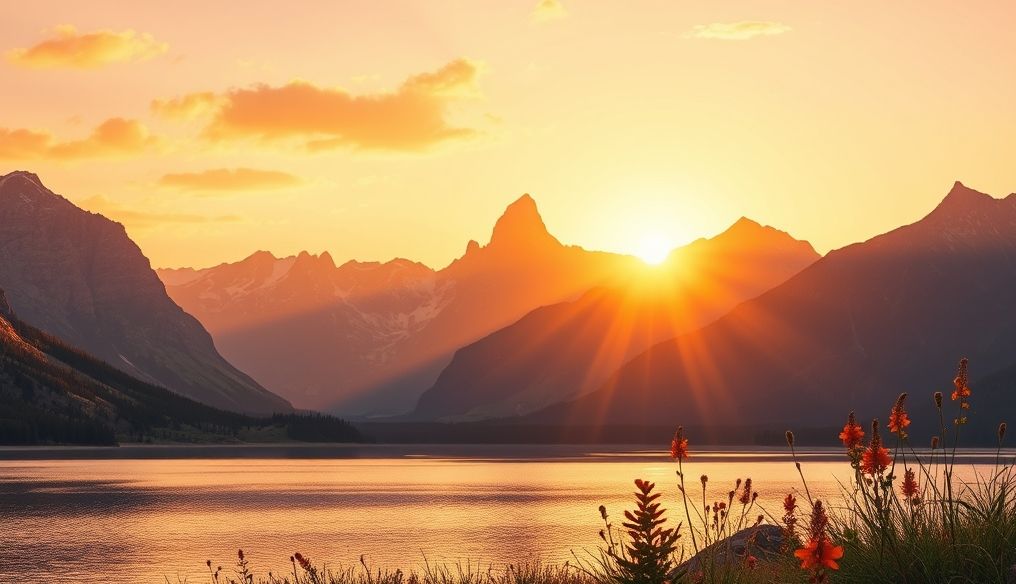
- Golden Hour: The two hours after sunrise and the two hours before sunset provide warm and soft lighting that is ideal for portrait photos.
- Artificial Lighting: If you're shooting indoors or in low-light conditions, you can use artificial lighting. Use an external flash or a softbox to provide balanced lighting.
Chapter 6: Communicating with the Subject
Good communication with the subject is essential for getting natural and expressive portrait photos. Here are some tips:
- Comfort and Confidence: Make the subject feel comfortable and confident. Talk to them and explain what you're doing.
- Guidance: Guide the subject on their posture and facial expressions. Provide positive and encouraging feedback.
- Interaction: Interact with the subject and try to capture spontaneous and natural moments.
Chapter 7: Advanced Bokeh Techniques
After mastering the basics, you can experiment with some advanced techniques to create unique and distinctive bokeh:
- Bokeh Lens: These lenses are specifically designed to produce distinctive bokeh. They feature circular aperture blades that create smooth circular shapes in the blurred background.
- Using Filters: Filters can be used to create different bokeh effects. For example, a star filter can be used to create small stars in the blurred background.
- Controlling Bokeh Shape: You can cut different shapes out of cardboard and place them in front of the lens to create custom bokeh shapes.
Chapter 8: Final Image Adjustments
After capturing the photos, you can make some final adjustments to improve them. Here are some common adjustments:
- Exposure Adjustment: Adjust the exposure to make the image brighter or darker.
- Contrast Adjustment: Adjust the contrast to increase or decrease the difference between the light and dark parts of the image.
- Color Correction: Adjust the white balance and color saturation to make the image look more natural and vibrant.
- Sharpening: Increase the sharpness of the image to make the details more clear.
- Spot Removal: Remove any unwanted blemishes or spots in the image.
By following these tips and techniques, you can achieve stunning portrait photography with captivating blurred backgrounds. Remember that practice is key to success. Keep experimenting and learning, and you will become a master of the art of bokeh.