Introduction: The Magic of Renewal in the World of Old Furniture
Have you ever looked at an old piece of furniture in your home and considered getting rid of it? Before you make that decision, pause for a moment! In the world of home renovation and repair, an old piece of furniture can be transformed into a unique work of art with a simple coat of paint and some effort.
Repainting old furniture is not just about changing the color; it's a creative journey that gives you the opportunity to express your taste and personality. It's also a sustainable way to protect the environment by reusing materials and reducing waste.
In this article, we will take you on a comprehensive tour of how to repaint and renew an old piece of furniture, from choosing the right tools and materials to applying the paint professionally and achieving a perfect finish. Let's get started!
Chapter 1: Why Repaint Old Furniture?
Before we delve into the technical details, let's talk about the reasons why repainting old furniture is a great idea:
- Saving Money: Buying new furniture is very expensive. Repainting an old piece is much cheaper.
- Protecting the Environment: Reusing furniture reduces waste and conserves natural resources.
- Expressing Yourself: You can choose colors and finishes that reflect your personal taste.
- Adding Value to Your Home: A beautifully refurbished piece of furniture can increase the value of your home.
- Enjoying Creativity: The repainting process is fun and rewarding, giving you a sense of accomplishment.
Chapter 2: Tools and Materials Needed
To ensure the success of the repainting process, you will need the following tools and materials:
- Cleaner: To remove dirt and grease from the surface of the furniture.
- Sandpaper: To smooth the surface and remove old paint. (Different grits: coarse, medium, fine)
- Wood Filler: To fill cracks and holes.
- Paint Brushes: In different sizes to suit different surfaces.
- Paint Rollers: For large surfaces to achieve a uniform paint application.
- Masking Tape: To protect areas you don't want to paint.
- Primer: To prepare the surface and secure the new paint.
- Paint: Choose the type and color you prefer (water-based paint, oil-based paint, acrylic paint).
- Sealer: To protect the new paint and add shine.
- Clean Cloth: To wipe away dust and excess paint.
- Gloves and Safety Glasses: To protect your hands and eyes.
- Screwdrivers: To remove knobs and other parts.
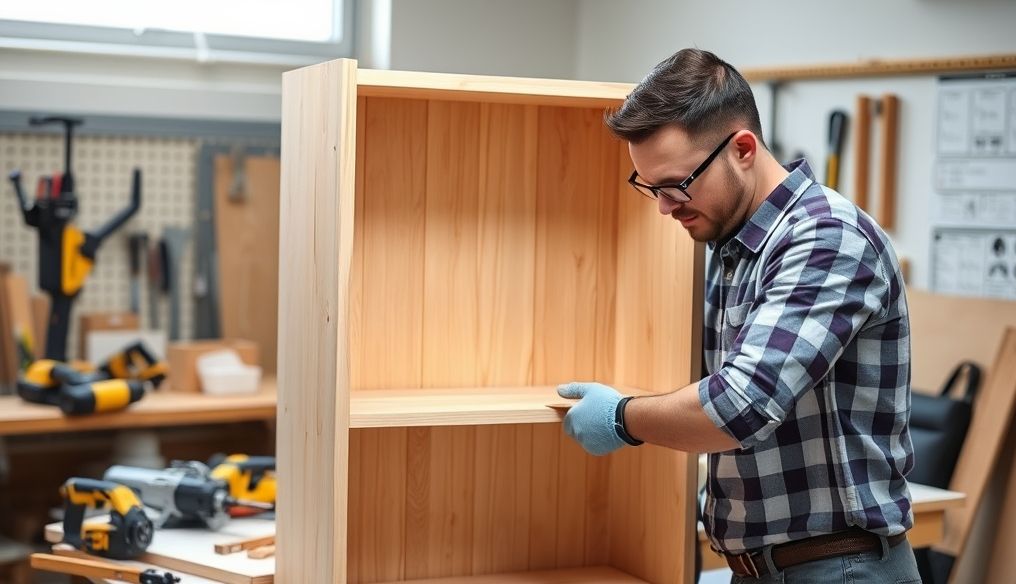
Chapter 3: Essential Preparation Steps
Good preparation is key to achieving a perfect result. Follow these steps carefully:
- Cleaning: Clean the piece of furniture thoroughly with a suitable cleaner to remove dirt and grease.
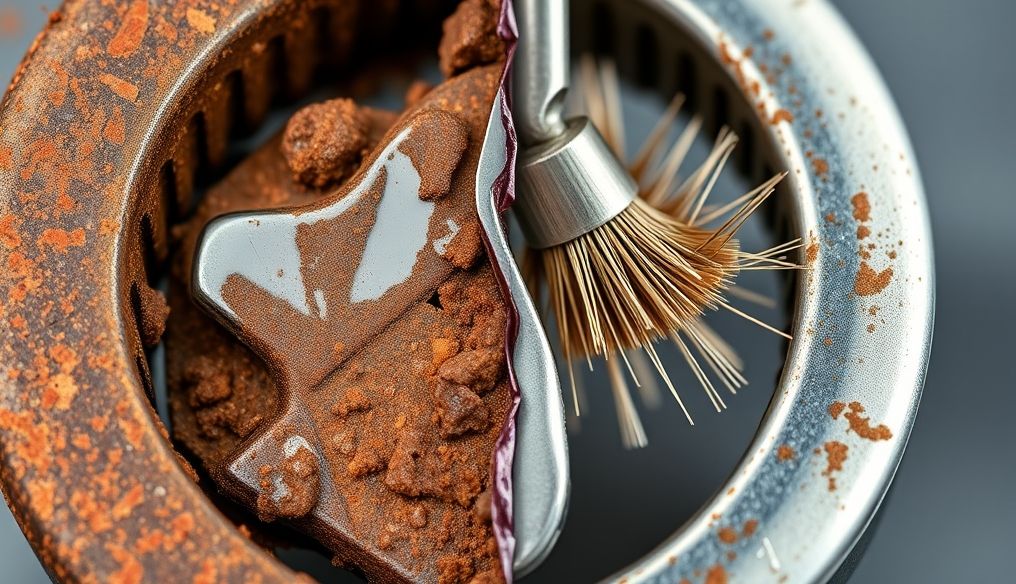
- Inspection: Inspect the piece of furniture for any damage, cracks, or holes.
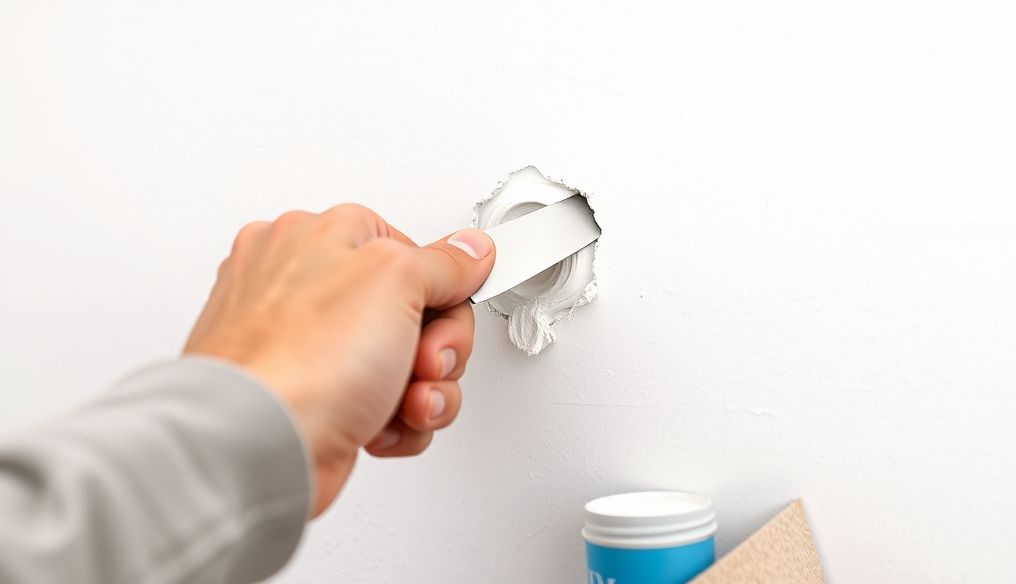
- Repair: Use wood filler to fill any cracks or holes. Let it dry completely and then sand it until the surface is level.
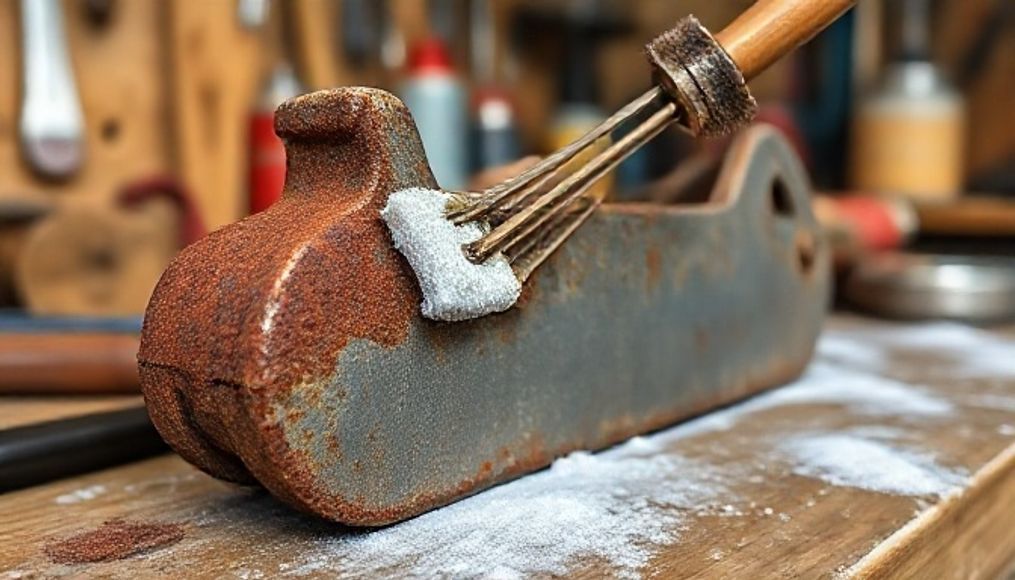
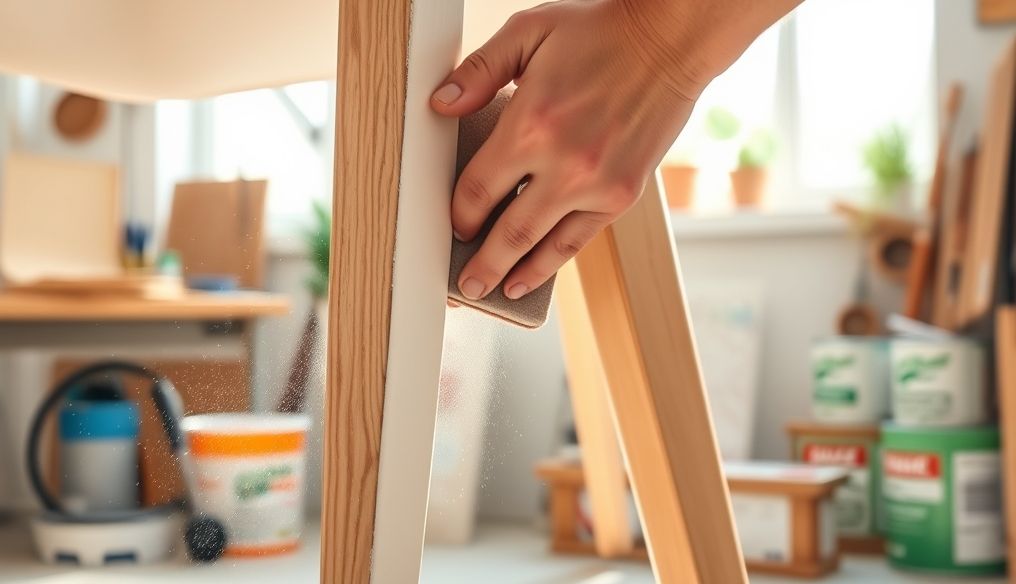
- Sanding: Use coarse sandpaper to remove old paint or any uneven layers. Then use medium and fine sandpaper to smooth the surface.
- Cleaning Again: Wipe away the dust from sanding with a clean cloth.
- Covering: Use masking tape to cover any areas you don't want to paint, such as knobs or glass.
Chapter 4: Applying Primer
Primer is a very important layer that helps to secure the new paint and unify the color of the surface. Follow these steps:
- Preparation: Shake the primer can well before use.
- Application: Apply a thin, even layer of primer using a brush or paint roller.
- Drying: Let the primer dry completely according to the manufacturer's instructions.
- Light Sanding: After the primer has dried, sand it lightly with very fine sandpaper to smooth the surface.
- Cleaning: Wipe away the dust from sanding with a clean cloth.
Chapter 5: Choosing the Right Paint
Choosing the right type of paint depends on the type of furniture and its intended use. Here are some popular options:
- Water-based paint: Easy to clean, environmentally friendly, and dries quickly. Suitable for indoor furniture.
- Oil-based paint: Durable and scratch-resistant, but it takes longer to dry and produces strong fumes. Suitable for furniture that is subject to heavy use.
- Acrylic paint: Versatile, durable, and water-resistant. Suitable for indoor and outdoor furniture.
- Spray paint: Easy to use, provides even coverage, and ideal for small or intricate parts.
Chapter 6: Applying the Paint
Now that you have prepared the surface and chosen the right paint, it's time to apply it:
- Preparation: Shake the paint can well before use.
- Application: Apply a thin, even layer of paint using a brush or paint roller. Avoid applying a very thick layer, as it may cause dripping.
- Drying: Let the paint dry completely according to the manufacturer's instructions.
- Second Coat (Optional): If you want a deeper color or better coverage, apply a second coat of paint after the first coat has dried completely.
Chapter 7: Finishing Touches and Protection
After the paint has dried completely, you can add some finishing touches to protect the paint and add shine:
- Sealer: Apply a thin layer of sealer to protect the paint from scratches and moisture.
- Polishing: Use a soft cloth to polish the surface and add shine.
- Replacing Knobs: Install new knobs to give the piece of furniture a completely new look.
Chapter 8: Professional Tips and Tricks
- Test the Paint: Before you start painting the entire piece of furniture, test the paint on a small, inconspicuous area to make sure you are satisfied with the color and finish.
- Use a High-Quality Brush: A good brush makes a big difference in the final result.
- Clean the Brush and Roller: After you have finished painting, clean the brush and roller thoroughly with water or the appropriate solvent.
- Good Ventilation: Make sure the room is well ventilated during the painting process.
- Patience: Don't rush the painting process. Let each coat dry completely before applying the next coat.
Conclusion: Rediscover the Beauty of Old Furniture
Repainting old furniture is a great way to add a personal touch to your home, save money, and contribute to protecting the environment. By following the steps and tips in this article, you can transform a neglected piece of furniture into a work of art that you can be proud of.
Feel free to experiment with different colors and finishes to express your creativity. Remember that mistakes are possible, but they are part of the learning process. Enjoy the creative journey, and you will be amazed at the results!