How Can You Transform an Old Piece of Furniture into a Modern Masterpiece?
Do you have an old piece of furniture in your home that looks dull and boring? No need to get rid of it! You can simply transform it into a unique and modern piece that adds an aesthetic touch to your home decor. Repainting and refurbishing old furniture is a great way to breathe new life into your favorite pieces, save money, and contribute to environmental conservation by reusing materials.
1. Planning and Preparation: The Foundation of Success
Before starting the repainting process, it is essential to plan and prepare well. This step ensures you get satisfactory results and saves time and effort.
1.1. Defining the Goal
What is the look you envision for the piece of furniture after refurbishment? Do you want to completely change its color, or add some decorative touches? Clearly defining the goal will help you choose the right materials and tools.
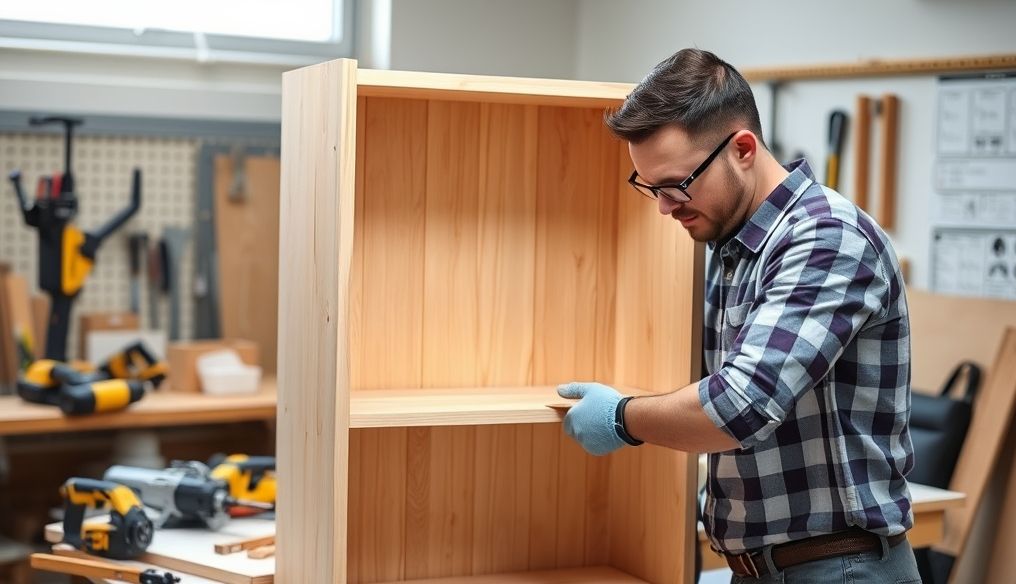
1.2. Inspecting the Piece of Furniture
Carefully inspect the piece of furniture to identify any damage or defects that need repair. Are there scratches, cracks, or loose parts? Make note of these observations so you can address them in the following steps.
1.3. Gathering the Necessary Tools and Materials
Make sure you have all the tools and materials you need before starting. These tools include:
- Sandpaper (in different grit levels)
- Wood filler (if needed)
- Paintbrushes in various sizes
- Paint rollers
- Masking tape
- Clean cloths
- Paint thinner (for cleaning brushes)
- Primer
- Final paint (in the color of your choice)
- Varnish (to protect the paint)
- Gloves and safety glasses
1.4. Preparing the Workspace
Choose a well-ventilated and adequately lit place to work. Cover the floor and surrounding furniture with protective covers to prevent paint stains.
2. Cleaning and Repairing: Preparing the Surface
A clean and level surface is key to achieving an even and beautiful paint layer. Follow these steps to prepare the surface of the piece of furniture:
2.1. Deep Cleaning
Use a damp cloth and mild detergent to clean the piece of furniture thoroughly. Remove any dirt, dust, or greasy residue. Let the surface dry completely before proceeding.
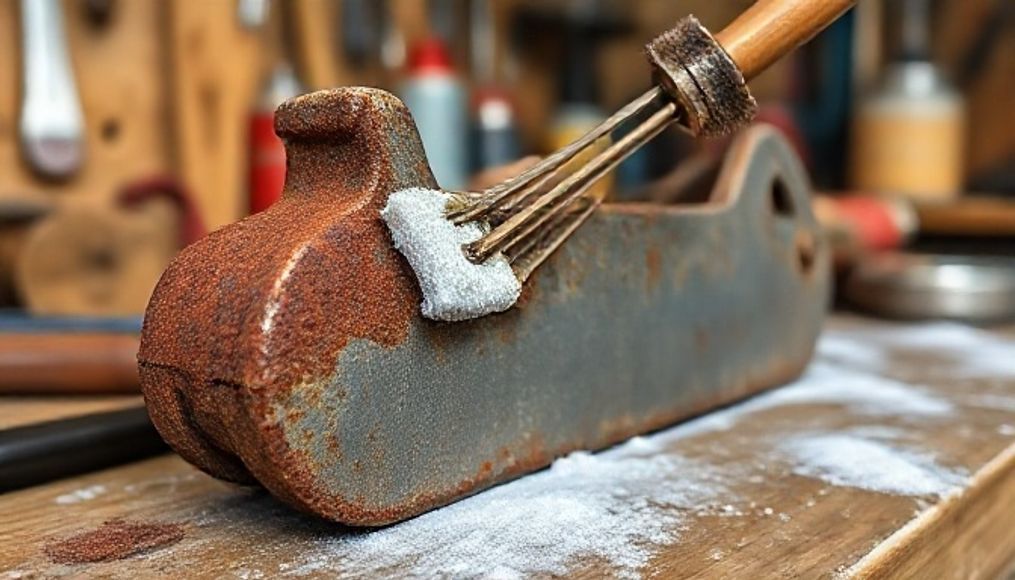
2.2. Sanding
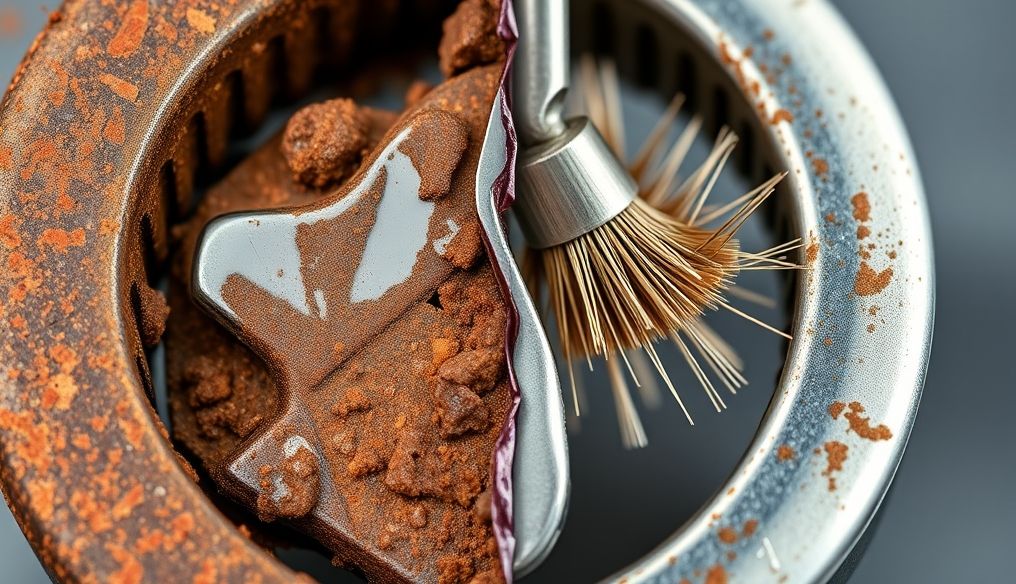
Use coarse sandpaper to remove any old, peeling, or rough paint. Then use finer sandpaper to smooth the surface. Sanding helps remove the gloss from the old paint and provides a better surface for the new paint to adhere to.
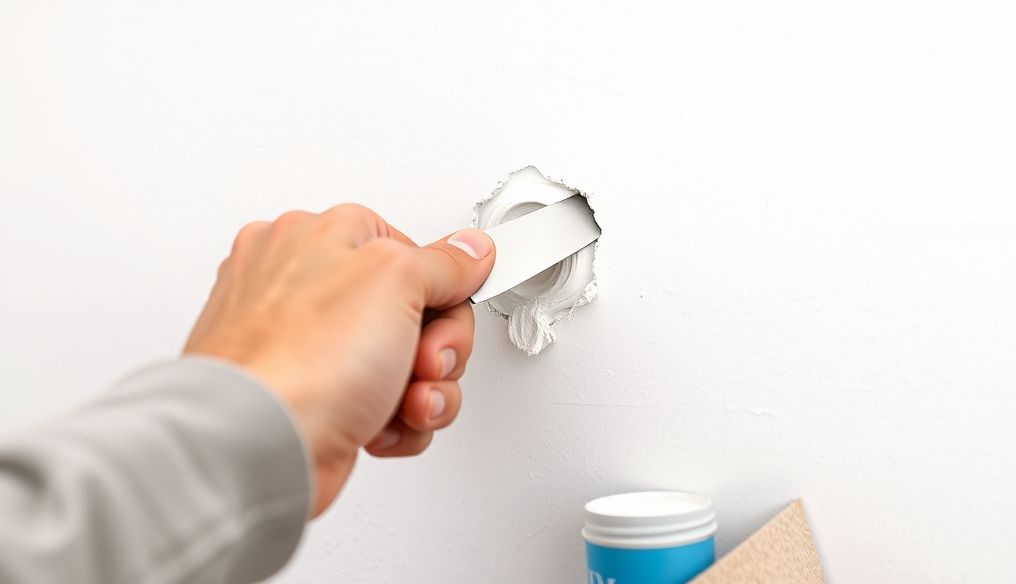
2.3. Repairing Defects
If there are any scratches, cracks, or holes in the wood, use wood filler to fill them. Let the filler dry completely and then sand it until it is level with the surrounding surface.
2.4. Removing Dust
After sanding and repairing, use a clean cloth to remove any dust or residue. You can also use a vacuum cleaner with a soft brush to clean cracks and corners.
3. Primer: Protection and Adhesion Layer
Primer is a very important layer that helps to secure the final paint and protect the wood. It also helps to unify the surface color and prevent the appearance of stains.
3.1. Choosing the Right Primer
Choose a primer specifically designed for wood. There are different types of primers, such as oil-based primer and water-based primer. Oil-based primer provides better protection for the wood, but it takes longer to dry. Water-based primer is easier to use and clean, but it may not be as effective as oil-based primer in protecting the wood.
3.2. Applying the Primer
Use a paintbrush or roller to apply a thin and even layer of primer to the entire surface of the piece of furniture. Make sure to cover all corners and cracks. Let the primer dry completely according to the manufacturer's instructions.
3.3. Light Sanding
After the primer has dried, lightly sand it using very fine sandpaper. This will help smooth the surface and remove any roughness before applying the final paint.
4. Final Paint: Adding Color and Personality
Now it's time to add color and personality to your piece of furniture. Choose a color that suits your taste and home decor.
4.1. Choosing the Right Paint
There are different types of final paint, such as acrylic paint, oil paint, and latex paint. Acrylic paint is a popular choice because it is easy to use and clean, dries quickly, and is available in different colors. Oil paint provides a more durable and glossy finish, but it takes longer to dry and requires special solvents for cleaning. Latex paint is a good option if you are looking for an environmentally friendly paint.
4.2. Applying the Final Paint
Use a paintbrush or roller to apply a thin and even layer of final paint to the entire surface of the piece of furniture. You may need to apply two or three coats to achieve full coverage. Let each coat dry completely before applying the next coat.
4.3. Innovative Painting Techniques
If you want to add a unique touch to your piece of furniture, you can try innovative painting techniques such as:
- Stenciling: Use ready-made stencils or create your own to print designs on the surface of the furniture.
- Dry Brushing: Use a dry brush to apply a thin layer of paint in a different color on the edges and corners to give an antique look.
- Washing: Use a damp cloth to wipe the paint after applying it directly to give a faded or washed look.
5. Varnish: Protection and Shine
Varnish is a transparent protective layer that protects the paint from scratches, stains, and damage caused by moisture. It also adds shine to the surface of the furniture.
5.1. Choosing the Right Varnish
There are different types of varnish, such as glossy varnish, semi-glossy varnish, and matte varnish. Choose the type that suits your taste and the look you want to achieve.
5.2. Applying the Varnish
Use a clean paintbrush to apply a thin and even layer of varnish to the entire surface of the piece of furniture. Let the varnish dry completely according to the manufacturer's instructions. You may need to apply two or three coats for better protection.
6. Finishing Touches: Small Details Make the Difference
After finishing the paint and varnish, you can add some finishing touches to complete the refurbishment process.
6.1. Replacing Handles and Knobs
Replace the old handles and knobs with new and modern ones. This will add a new touch to your piece of furniture.
6.2. Adding Decorations
Add some decorations such as ribbons, beads, or stickers to give a personal touch to your piece of furniture.
6.3. Cleaning and Polishing
Clean the piece of furniture well using a soft cloth. You can also use furniture polish to add extra shine.
7. Additional Tips for Perfect Results
- Patience is Key: Don't rush any step of the repainting process. Take your time and be precise to get the best results.
- Test the Colors: Before painting the entire piece of furniture, test the color on a small, inconspicuous area to make sure it's the color you want.
- Clean the Brushes Regularly: Clean the paint brushes regularly using the appropriate solvent to prevent paint from accumulating on them.
- Store Paint Properly: Store paint and varnish in a cool, dry place away from direct sunlight.
8. Inspiring Examples of Furniture Recycling
Here are some inspiring ideas for recycling old furniture:
- Turning an old ladder into a stylish bookshelf.
- Turning an old door into a unique coffee table.
- Turning an old wooden box into a practical storage bench.
- Turning an old mirror frame into a decorative wall art.
Repainting and refurbishing old furniture is a great way to add a personal touch to your home, save money, and contribute to environmental conservation. With a little planning and preparation, you can transform an old piece of furniture into a modern masterpiece.