Introduction: Reviving Old Furniture
Do you have an old piece of furniture in your home that looks dull and boring? Are you thinking of getting rid of it and buying a new one? Before you make that decision, consider the possibility of repainting and renovating it. Repainting old furniture is not only an economical way to update your home decor, but it's also a great way to add a unique personal touch to your furniture pieces, contribute to waste reduction, and protect the environment. In this article, we will review detailed steps to repaint old furniture and turn it into a modern masterpiece.
Chapter 1: Why Repaint Old Furniture?
Repainting old furniture has many benefits that go beyond just saving money. Here are some reasons why it's an attractive option:
- Saving Money: Buying new furniture can be very expensive. Repainting old furniture is much cheaper.
- Environmental Protection: Reusing old furniture reduces waste and conserves natural resources.
- Adding a Personal Touch: You can choose colors and patterns that reflect your personal taste and suit your home decor.
- Preserving Memories: Old furniture may hold cherished memories. Repainting it allows you to keep them while updating its appearance.
- Getting a Unique Piece: You can turn an ordinary piece of furniture into a unique work of art.
Chapter 2: Tools and Materials Needed
Before starting the repainting process, make sure you have the following tools and materials:
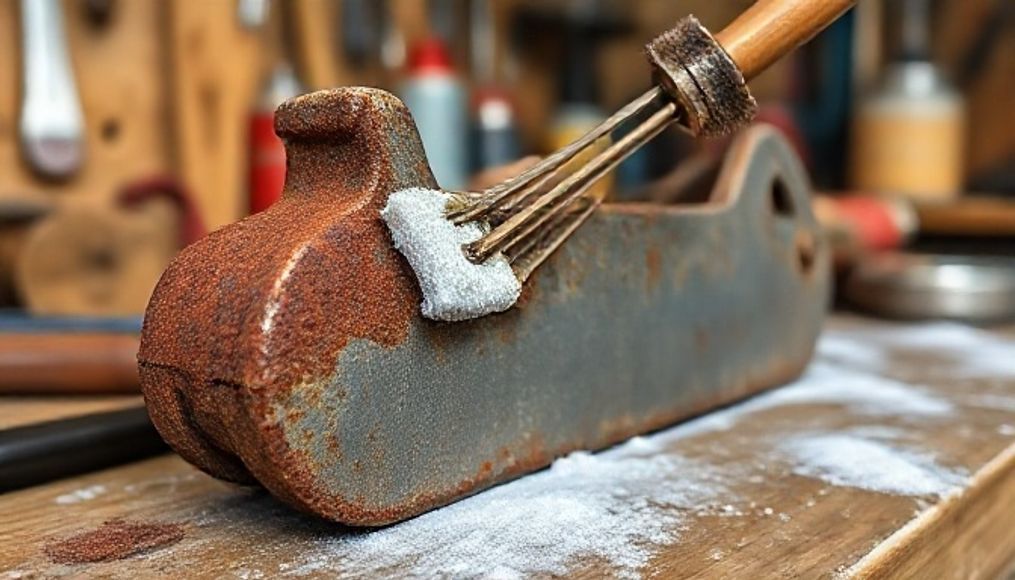
- Sandpaper: To smooth the surface of the furniture and remove old paint. Use different grit levels (coarse, medium, fine).
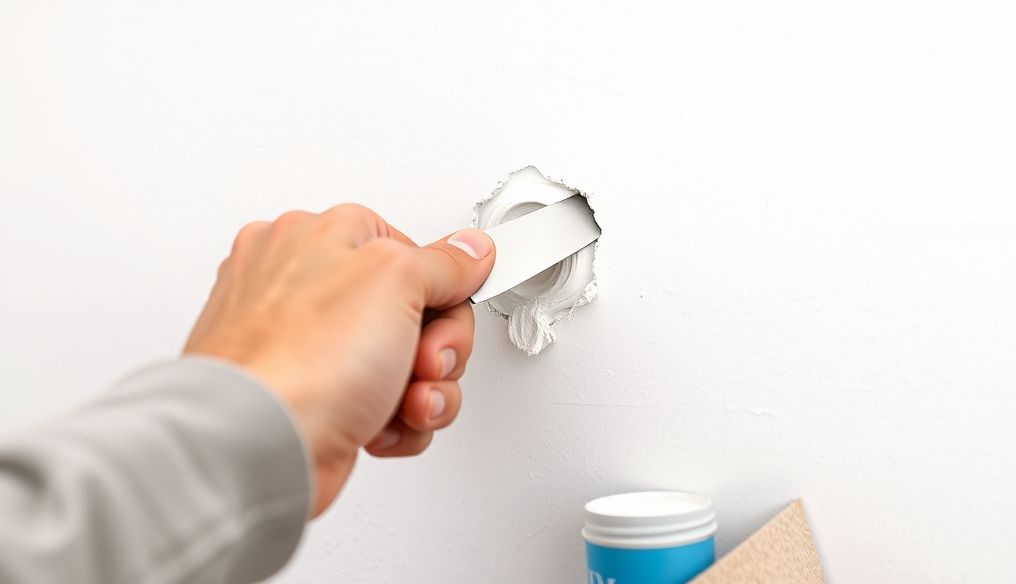
- Wood Filler: To fill cracks and holes in the wood.
- Putty Knife: To apply wood filler smoothly.
- Paint Brush: Choose a high-quality brush for best results.
- Small Paint Rollers: To cover large surfaces quickly and easily.
- Masking Tape: To protect areas you don't want to paint.
- Primer: To improve paint adhesion to the surface.
- Topcoat: Choose the appropriate type of paint (acrylic, oil-based, etc.) and the color you want.
- Sealer: To protect the paint from damage and moisture.
- Clean Cloth: To clean the furniture and remove dust.
- Gloves and Safety Glasses: To protect your hands and eyes.
- Degreaser: To remove grease and dirt from the surface of the furniture.
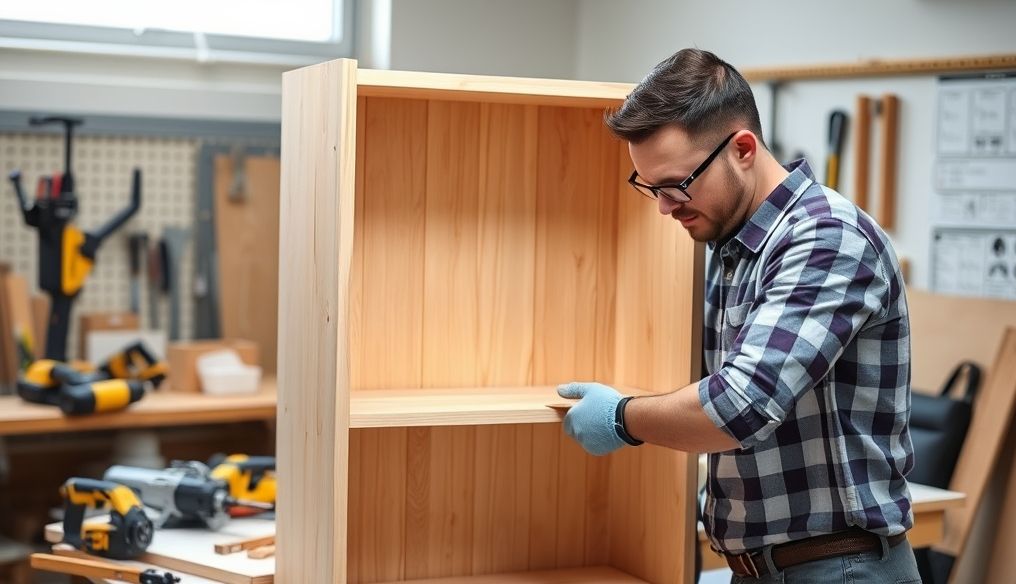
Chapter 3: Basic Preparation Steps
Good preparation is key to achieving great results. Follow these steps carefully:
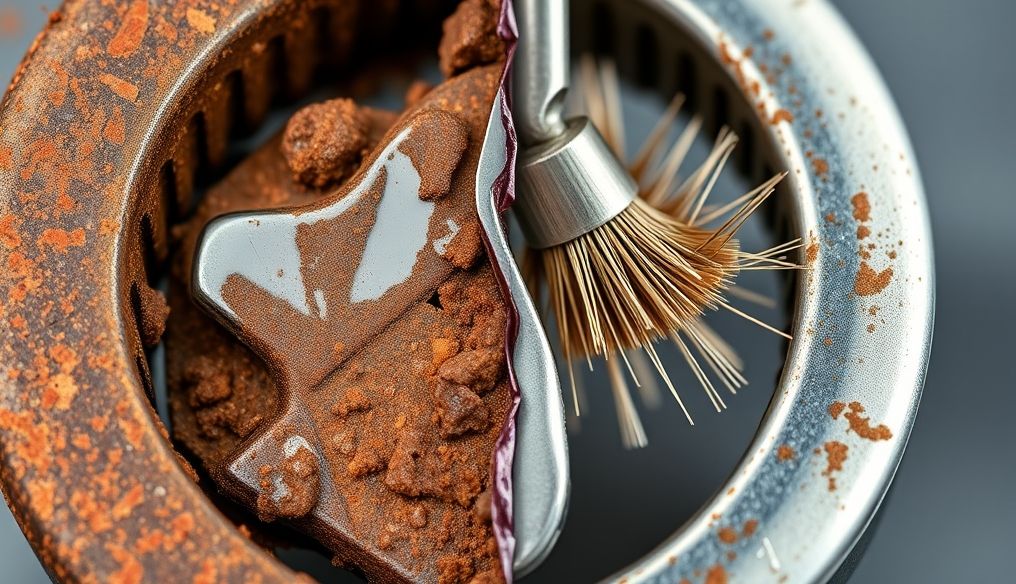
- Clean the Furniture: Use a degreaser to remove dirt and grease from the surface of the furniture.
- Repair Damage: Use wood filler to fill cracks and holes. Let it dry completely and then sand it until it is level with the surface.
- Sanding: Sand the surface of the furniture with coarse sandpaper to remove old paint. Then use medium and fine sandpaper to smooth the surface.
- Clean Again: After sanding, clean the furniture again to remove dust.
- Protect Unwanted Areas: Use masking tape to protect areas you don't want to paint, such as drawer handles or glass edges.
Chapter 4: Applying Primer
Primer helps the topcoat adhere to the surface and gives you better coverage. Follow these steps:
- Shake Well: Before use, shake the primer can well.
- Application: Use a brush or roller to apply a thin, even coat of primer to the surface of the furniture.
- Waiting: Let the primer dry completely according to the manufacturer's instructions.
- Light Sanding: After the primer dries, lightly sand it with fine sandpaper to smooth the surface.
- Cleaning: Clean the furniture again to remove dust from sanding.
Chapter 5: Applying the Topcoat
Now it's time to apply the topcoat. Choose the type of paint and color you prefer and follow these steps:
- Shake Well: Before use, shake the topcoat can well.
- Application: Use a brush or roller to apply a thin, even coat of paint to the surface of the furniture.
- Waiting: Let the paint dry completely according to the manufacturer's instructions.
- Apply a Second Coat (Optional): If you want better coverage, you can apply a second coat of paint after the first coat has dried completely.
Chapter 6: Using Special Techniques to Add a Unique Touch
To add a unique touch to your piece of furniture, you can use special painting techniques such as:
- Stenciling: Use ready-made stencils or create your own to print patterns and drawings on the furniture.
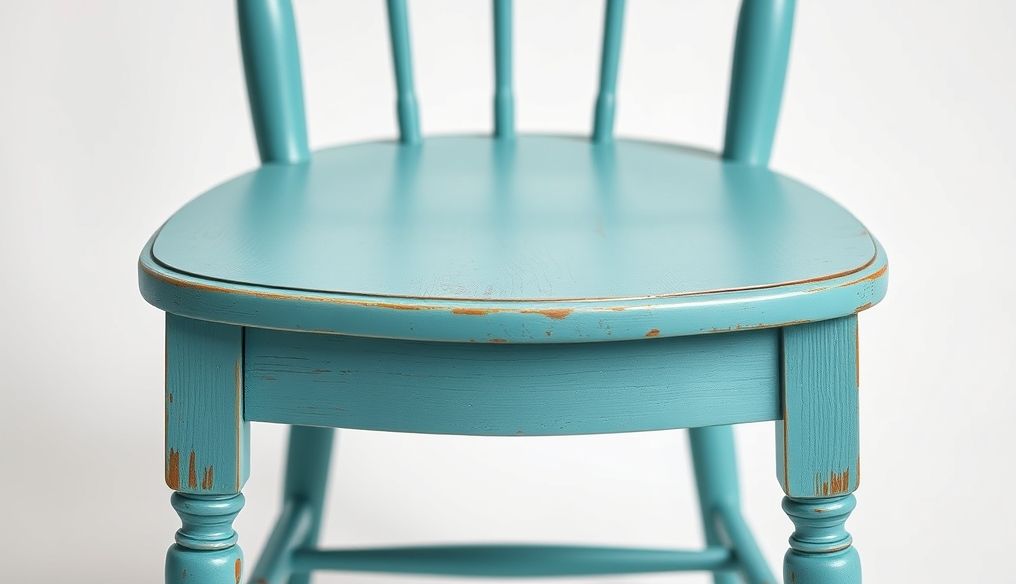
- Crackle Finish: Use a special paint that causes cracks in the topcoat, giving the furniture an antique look.
- Antiquing: Use special paint or chemicals to give the furniture an old look.
- Sponge Painting: Use a sponge to apply paint randomly, creating a unique texture.
Chapter 7: Protecting the Paint (Sealing)
To protect the paint from damage and moisture, apply a sealer. Follow these steps:
- Shake Well: Before use, shake the sealer can well.
- Application: Use a brush or clean cloth to apply a thin, even coat of sealer to the surface of the furniture.
- Waiting: Let the sealer dry completely according to the manufacturer's instructions.
- Apply a Second Coat (Optional): If you want extra protection, you can apply a second coat of sealer after the first coat has dried completely.
Chapter 8: Final Touches
After the paint and sealer are completely dry, you can add the finishing touches:
- Remove Masking Tape: Carefully remove the masking tape.
- Install Handles and Hinges: Install new or old handles and hinges.
- Final Cleaning: Clean the furniture with a clean cloth.
Conclusion
Repainting old furniture is a fun and rewarding project you can do yourself. By following these steps and tips, you can turn an old piece of furniture into a modern masterpiece that adds an aesthetic touch to your home. Remember that patience and accuracy are the keys to success in this project. Enjoy the process and be creative!