Introduction: Why Build Your Own Wooden Box?
In a world full of ready-made solutions, you might wonder: why waste my time building a wooden box? The answer is simple: quality, customization, and self-sufficiency. Building your own box gives you complete control over the materials used, the dimensions, and the design. Plus, it's a fun and rewarding project that adds a personal touch to your home.
Chapter 1: Tools and Materials Needed
Before you start, make sure you have all the necessary tools and materials. This will save you time and effort later.
- Wood: Choose the right type of wood for your project. Pine is a popular choice for beginners because of its affordability and ease of work. You can also use plywood or reclaimed wood.
- Saw: Circular saw or hand saw for cutting the wood.
- Electric Drill: With a variety of drill bits and screws.
- Measuring Tape: To measure the wood accurately.
- Pencil: To mark the wood.
- Square: To ensure the angles are square.
- Sandpaper: To smooth the edges of the wood.
- Wood Glue: To strengthen the joints.
- Screws: To secure the wood together.
- Hammer: If you are using nails.
- Paint or Varnish: To protect the wood and add an aesthetic finish.
- Paint Brush: To apply the paint or varnish.
- Safety Equipment: Safety glasses and gloves to protect your eyes and hands.
Chapter 2: Designing the Box and Determining Dimensions
Before you start cutting, it is important to determine the dimensions of the box you want. Think about the purpose of the box and where you will put it. Do you need it to store books, toys, tools, or clothes?
Once you have determined the purpose, draw a simple diagram of the box with the exact dimensions of each piece of wood. This will help you avoid mistakes during cutting.
Example: Toy storage box for children:
- Length: 80 cm
- Width: 40 cm
- Height: 50 cm
You will need two pieces of wood for the length, two pieces for the width, and one piece for the base. If you want a lid, you will need an extra piece of the same dimensions as the base.
Chapter 3: Cutting the Wood
Using the diagram you drew, start cutting the wood to the required dimensions. Make sure to measure accurately and mark clearly before cutting. Use a sharp and clean saw to get straight edges.
Tip: If you are unsure of your ability to cut accurately, you can ask the lumber store to cut the wood for you. This will save you time and effort and ensure accurate cuts.
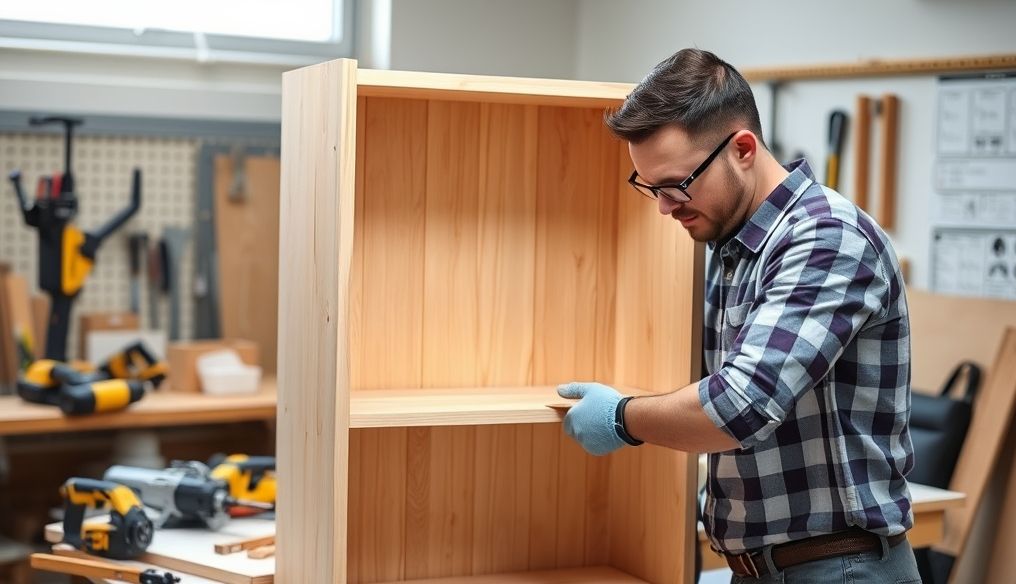
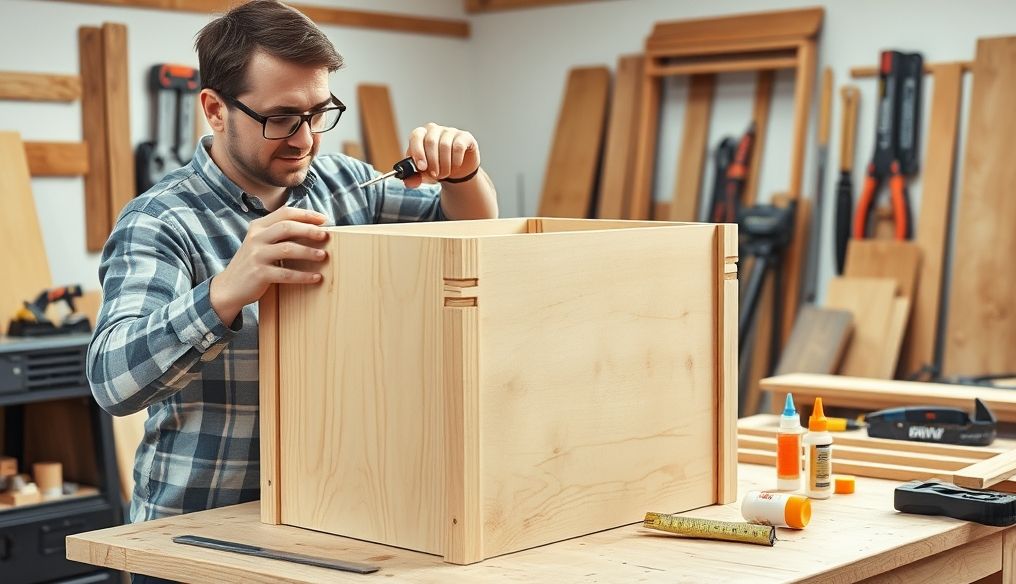
Chapter 4: Assembling the Box
After cutting the wood, it's time to assemble the box. Place the pieces of wood together and form the box. Use wood glue to secure the joints, then secure them with screws or nails.
Steps:
- Apply glue to the edges of the wooden pieces that will connect to each other.
- Hold the wooden pieces together using clamps or other fastening tools.
- Attach the screws or nails in the corners and along the edges.
- Make sure the corners are square and the box is level.
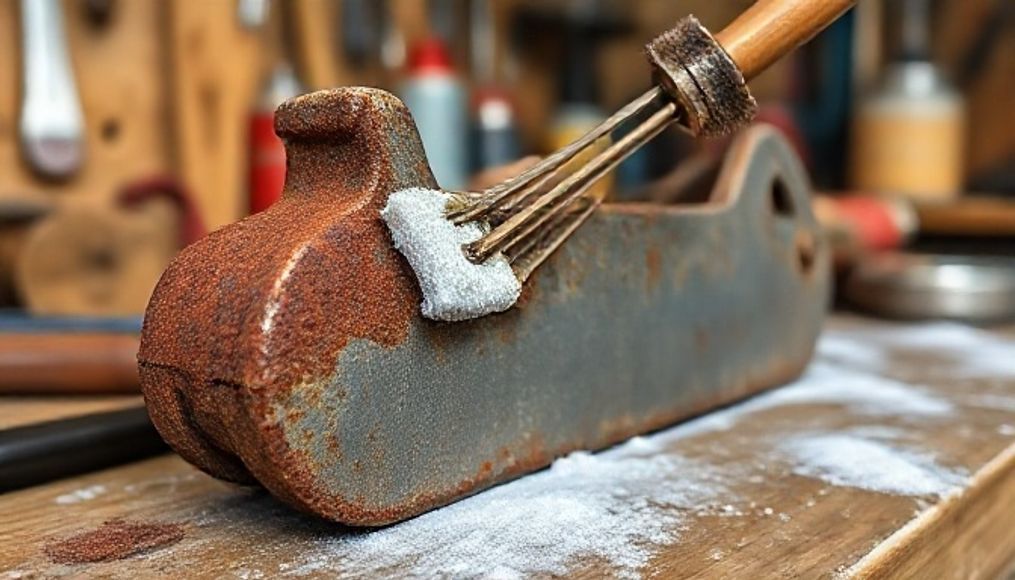
Chapter 5: Sanding the Edges
After assembling the box, use sandpaper to smooth the edges and remove any roughness. Start with coarse sandpaper and then move to finer sandpaper to get a smooth surface.
Tip: Use a piece of wood as a base for the sandpaper to get a flat and easy-to-use surface.
Chapter 6: Adding the Lid (Optional)
If you want to add a lid to the box, cut a piece of wood the same dimensions as the base. You can attach the lid using hinges for easy opening and closing.
Steps:
- Place the lid on the box and mark the location of the hinges.
- Install the hinges on the lid and the box.
- Make sure the lid opens and closes easily.
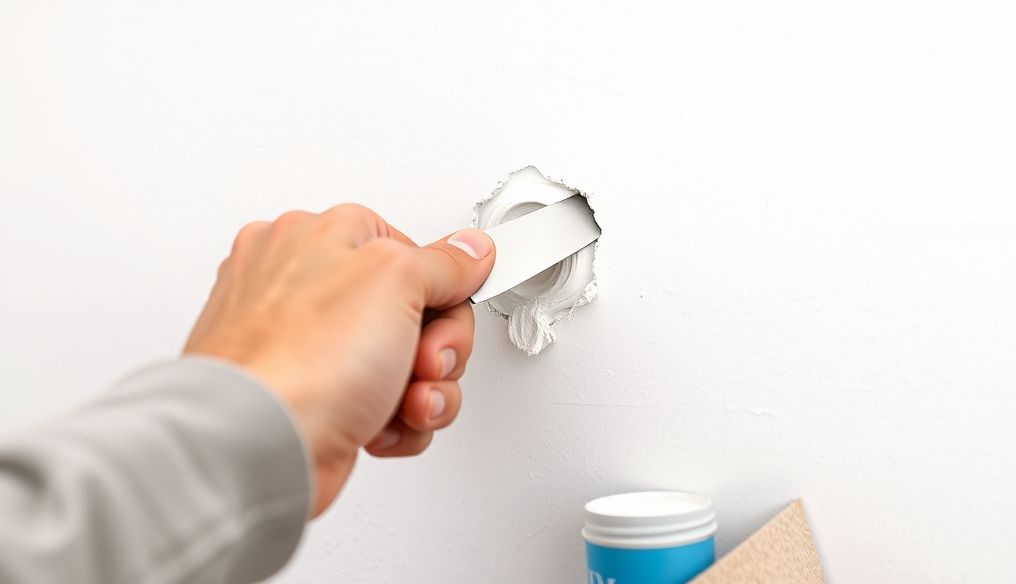
Chapter 7: Painting or Varnishing
After finishing assembling the box and sanding the edges, it's time to paint or varnish it. This will protect the wood and give it an aesthetic finish. Choose the color or type that suits your taste and home decor.
Steps:
- Clean the box from any dust or dirt.
- Apply a primer coat of paint or varnish.
- Let the primer coat dry completely.
- Apply a second coat of paint or varnish.
- Let the second coat dry completely.
Chapter 8: Final Touches
After finishing painting or varnishing, you can add some final touches to the box. You can add handles, locks, stickers, or anything else that makes it unique.
Ideas:
- Add leather handles for easy carrying of the box.
- Add locks to keep the contents of the box safe.
- Add stickers or drawings to decorate the box.
- Add an inner lining to protect the contents.
Chapter 9: Uses of the Wooden Box
Now that you have built your own wooden box, you can use it to store a variety of things. Here are some ideas:
- Store toys in the children's room.
- Store tools in the garage.
- Store books in the living room.
- Store clothes in the bedroom.
- Store shoes in the entryway.
Chapter 10: Additional Tips
Here are some additional tips to help you build a perfect wooden box:
- Use high-quality wood to ensure the durability of the box.
- Measure and cut the wood accurately to avoid mistakes.
- Use wood glue and screws or nails to secure the joints tightly.
- Sand the edges to smooth them and prevent cracking.
- Choose the paint or varnish that suits the type of wood and the intended use.
- Be patient and enjoy the process!