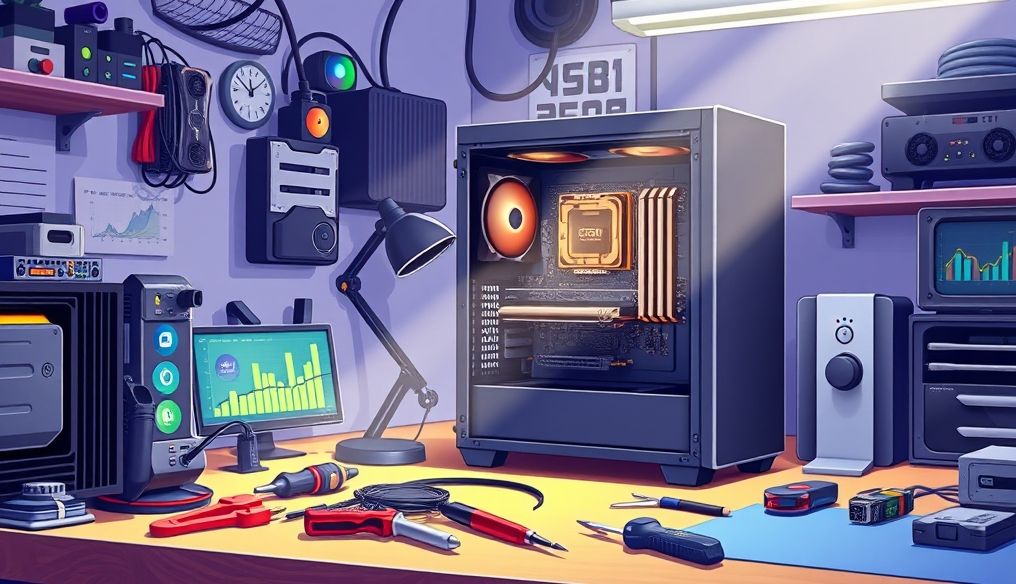
Introduction: Why Build Your Own Gaming PC?
Building your own gaming PC offers several advantages over buying a pre-built system. Here are some reasons why it's an attractive option:
- Full Customization: You can carefully choose each component to suit your budget and specific needs.
- Cost Savings: Building your own PC is often cheaper than buying a comparable pre-built machine.
- Upgradability: You can easily upgrade components in the future to keep up with the latest technologies.
- Learning Experience: Building your own PC is a fun and educational experience that gives you a deeper understanding of how computers work.
Chapter 1: Choosing the Essential Components
Before you start building your gaming PC, you need to choose the following essential components:
1.1. Central Processing Unit (CPU)
The CPU is the "brain" of the computer and plays a crucial role in gaming performance. Choose a powerful CPU from Intel or AMD, considering the number of cores and clock speed.
Tip: Look for CPUs marked with "K" from Intel or "X" or "G" from AMD, as they can be overclocked to increase performance.
1.2. Graphics Card (GPU)
The graphics card is the most important component for gaming. Choose a powerful graphics card from NVIDIA or AMD, considering the memory and clock speed. The more powerful the graphics card, the smoother and more beautiful the games will be.
Tip: Check the graphics card requirements for the games you want to play before purchasing.
1.3. Motherboard
The motherboard is the base that connects all the other components. Choose a motherboard that is compatible with your CPU and supports all the features you need, such as the number of USB ports and PCIe slots.
Tip: Make sure the motherboard supports the RAM you have chosen.
1.4. Random Access Memory (RAM)
RAM is the memory that the computer uses to store frequently accessed data. 16GB of RAM is the minimum recommended for modern games, and 32GB is better.
Tip: Choose high-speed RAM (e.g., 3200 MHz or higher) to improve performance.
1.5. Storage
Storage is where the operating system, games, and other files are stored. It is recommended to use a solid-state drive (SSD) for the operating system and games for faster loading times, as well as a hard disk drive (HDD) for storing other files.
Tip: Consider using an NVMe SSD for even faster performance.
1.6. Power Supply Unit (PSU)
The power supply unit provides power to all the other components. Choose a power supply with enough wattage to power all your components, considering extra capacity for future upgrades.
Tip: Choose a power supply with an 80+ Gold certification or higher to ensure efficiency and reliability.
1.7. Computer Case
The computer case protects all the internal components and provides ventilation. Choose a case that provides enough space for all your components and provides good airflow to keep the components cool.
Tip: Choose a case with an attractive design that suits your taste.
1.8. Cooling System
Keeping the components cool is crucial for performance and stability. You can use an air cooler or a liquid cooler for the CPU. For the graphics card, it usually has its own cooler.
Tip: If you plan to overclock the CPU, you will need a high-performance cooler.
Chapter 2: Required Tools and Equipment
Before starting the building process, make sure you have the following tools and equipment:
- Phillips head screwdriver
- Cable ties
- Thermal paste (if not provided with the cooler)
- Anti-static wrist strap
- Clean and well-lit workspace
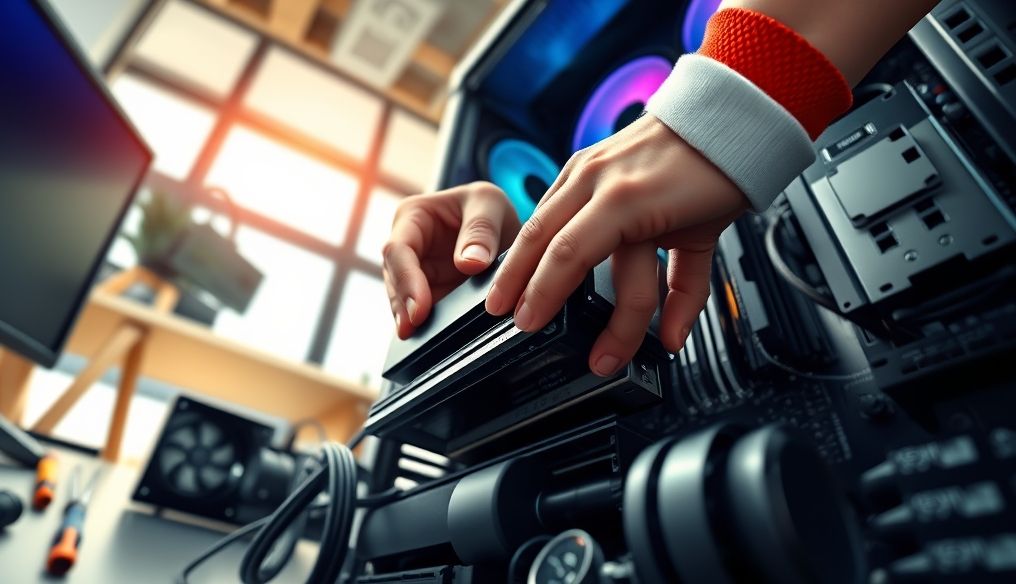
Chapter 3: Steps to Build the PC
Now that you have gathered all the components and tools, you can start building your PC. Follow these steps carefully:
3.1. Installing the CPU on the Motherboard
Open the socket lever on the motherboard and carefully align the CPU with the socket. Close the lever to secure the CPU.
3.2. Installing the CPU Cooler
Apply thermal paste to the CPU and install the cooler. Make sure the cooler is securely attached.
3.3. Installing RAM
Open the clips on the RAM slots and align the RAM with the slots. Press down on the RAM until it clicks into place.
3.4. Installing the Motherboard in the Computer Case
Place the standoffs on the computer case and install the motherboard on them. Make sure the motherboard is secured with screws.
3.5. Installing the Graphics Card
Open the clip on the PCIe slot and align the graphics card with the slot. Press down on the graphics card until it clicks into place.
3.6. Installing Storage Devices
Install the SSD and HDD in the designated slots in the computer case. Connect the SATA cables to the storage devices and the motherboard.
3.7. Installing the Power Supply
Place the power supply in the designated slot in the computer case. Connect the power cables to the motherboard, graphics card, and storage devices.
3.8. Cable Management
Use cable ties to organize the cables inside the computer case. This will improve airflow and make the computer look cleaner.
Chapter 4: Connecting Peripherals and Turning on the Computer
After finishing building your PC, connect the following peripherals:
- Monitor
- Keyboard
- Mouse
- Speakers
Connect the power cable and turn on the computer. If everything is working correctly, you will see the BIOS screen.
Chapter 5: Installing the Operating System and Drivers
To install the operating system (such as Windows or Linux), you will need an installation medium (such as USB or DVD). Follow the on-screen instructions to install the operating system.
After installing the operating system, you will need to install the drivers for all your components. You can download the drivers from the manufacturer's website for each component.
Chapter 6: Performance Testing and Tuning Settings
After installing the operating system and drivers, you can test the performance of your PC using benchmarking software such as 3DMark and Cinebench.
You can also adjust the game settings to improve performance. Experiment with different graphics settings until you find the perfect balance between performance and visual quality.
Chapter 7: Maintenance and Updates
To keep your PC performing at its best, it is important to perform regular maintenance and updates.
- Clean the computer regularly to remove dust.
- Update drivers regularly.
- Install security updates for the operating system.
Chapter 8: Tips and Tricks to Improve Performance
- Overclocking: You can overclock the CPU and graphics card to increase performance. However, be careful when overclocking, as it can damage the components if not done correctly.
- Monitoring Temperatures: Use hardware monitoring software to monitor the temperatures of the CPU and graphics card. If the temperatures are too high, you may need to improve the cooling system.
- Defragmenting the Disk: Defragment the hard drive regularly to improve performance.
- Managing Startup Programs: Disable the programs you don't need that start automatically when you turn on the computer.
Building your own professional gaming PC is a rewarding project that can provide you with an unparalleled gaming experience. By following this comprehensive guide, you can build the perfect PC that suits your budget and needs.