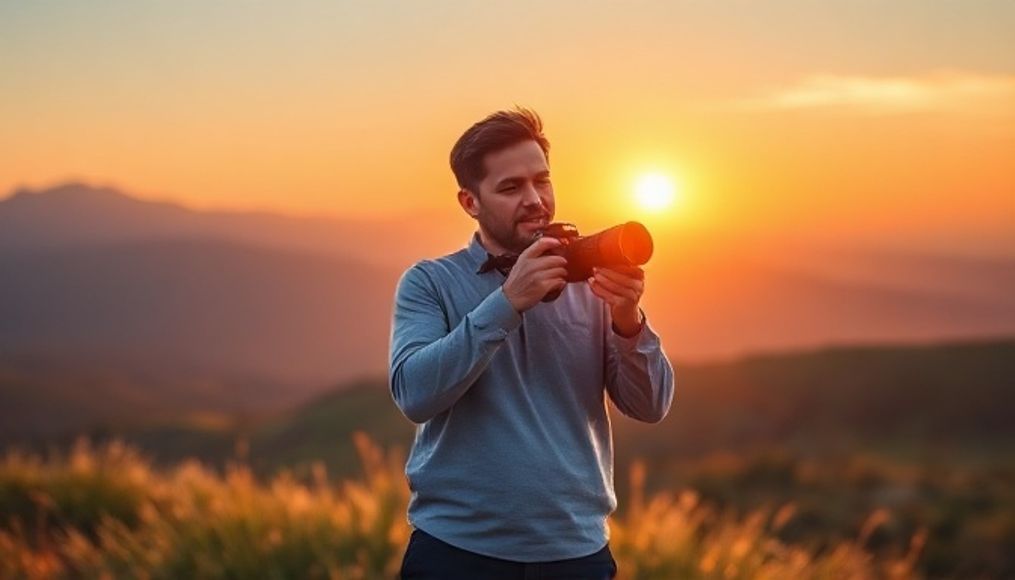
Introduction: The Magic of Bokeh in Portrait Photography
Portrait photography is an art that aims to capture the essence and personality of an individual. A beautifully blurred background, known as "bokeh," is a powerful tool to achieve this. It isolates the subject from the distracting background, drawing the viewer's attention directly to the face and its expressions. In this article, we will explore everything you need to know to create professional portrait photos with a captivating blurred background.
Chapter 1: Understanding the Concept of Bokeh
What is Bokeh?
Bokeh is a Japanese term meaning "blur" or "haze." In photography, it refers to the way a lens renders out-of-focus areas in an image, especially lights. Bokeh can be soft and dreamy, circular and defined, or even oddly shaped, depending on the lens design and aperture used.
Why is Bokeh Important in Portrait Photography?
- Subject Isolation: Bokeh helps isolate the subject from the background, making them stand out more.
- Attention Guidance: Bokeh draws the viewer's attention to the main subject in the photo.
- Aesthetic Appeal: Bokeh adds an artistic and aesthetic touch to photos, making them more appealing.
Chapter 2: Equipment Needed for Portrait Photography with a Blurred Background
Camera
Any camera with an interchangeable lens (DSLR or Mirrorless) can be used for portrait photography with a blurred background. However, cameras with larger sensors (such as full-frame sensors) tend to produce more beautiful and smoother bokeh.
Lens
The lens is the most important element in achieving beautiful bokeh. Here are some popular options:
- Portrait Lenses: These lenses are specifically designed for portrait photography, and they usually have a wide aperture (such as f/1.4 or f/1.8) and a focal length between 50mm and 135mm.
- Zoom Lenses: Zoom lenses with a wide aperture (such as 70-200mm f/2.8) can be used for portrait photography with a blurred background.
- Prime Lenses: Prime lenses are often cheaper than zoom lenses and offer excellent image quality and a wide aperture.
Other Accessories
- Tripod: Helps stabilize the camera, especially when using slow shutter speeds.
- Reflector: Used to fill shadows and add light to the subject's face.
- External Flash: Can be used to add light to the scene, especially in low-light conditions.
Chapter 3: Camera Settings for Achieving the Ideal Bokeh
Shooting Mode
It is recommended to use Aperture Priority Mode or Manual Mode for full control over the aperture.
Aperture
The aperture is the most important factor in determining the amount of blur in the background. The wider the aperture (smaller f-number), the more blurred the background. Start with an aperture of f/2.8 or wider and experiment until you get the desired effect.
Shutter Speed
The shutter speed should be adjusted to be fast enough to avoid camera shake. A general rule is to use a shutter speed of at least the reciprocal of the lens's focal length (for example, if you are using a 50mm lens, use a shutter speed of at least 1/50 second).
ISO Sensitivity
Try to keep the ISO sensitivity as low as possible to avoid noise in the image. However, if the lighting is low, you may need to increase the ISO sensitivity to compensate for the lack of light.
Focus Mode
Use Continuous Autofocus mode to track the subject's movement and keep sharp focus on their eyes.
Chapter 4: Choosing the Right Background
Look for a Simple and Uncluttered Background
The ideal background is one that doesn't draw attention away from the subject. Look for backgrounds with solid colors or simple patterns.
Use Natural Elements
Trees, leaves, and flowers can create a beautiful and natural background. Try using them to create depth in the image.
Avoid Close Backgrounds
The farther the background is from the subject, the more blurred it will be. Try to position the subject at a good distance from the background.
Exploit Lights
Small, bright lights in the background (such as street lights or Christmas lights) can create a beautiful and distinctive bokeh.
Chapter 5: Lighting Techniques to Improve Portrait Photos
Natural Lighting
Natural lighting is the photographer's best friend. Look for places with soft, diffused lighting, such as shade or overcast days. Avoid shooting in direct sunlight, as it can create harsh shadows.
Using a Reflector
A reflector can be used to fill shadows and add light to the subject's face. Place the reflector at an angle so that it reflects light onto the subject's face.
Using Flash
Flash can be used to fill shadows or add light to the scene. Use an external flash and point it towards the ceiling or wall to distribute the light evenly.
Chapter 6: Image Composition
Rule of Thirds
Place the subject on one of the lines of thirds or intersection points to create a more appealing image.
Negative Space
Leave enough space around the subject to give the image a sense of balance and calm.
Leading Lines
Use leading lines to guide the viewer's eye to the subject.
Depth
Try to create depth in the image using elements such as leading lines or overlapping elements.
Chapter 7: Image Processing to Enhance Bokeh
Editing Software
Editing software such as Adobe Photoshop or Lightroom can be used to enhance the bokeh in images. You can increase the blur, adjust colors, and add special effects.
Editing Tools
- Blur Tool: This tool can be used to increase the blur in the background.
- Selection Tool: This tool can be used to select the background and apply blur effects to it.
- Gradient Tool: This tool can be used to create a smooth color gradient in the background.
Chapter 8: Additional Tips for Stunning Portrait Photos
- Connect with the Subject: Talk to the subject and make them feel comfortable. This will help them relax and express themselves naturally.
- Take Lots of Photos: The more photos you take, the greater your chance of getting a great shot.
- Try Different Angles: Try shooting from different angles to get a unique perspective.
- Have Fun: Photography should be fun. Enjoy the process and don't be afraid to experiment.
Using these tips and techniques, you can create professional portrait photos with a captivating blurred background. Remember that practice is key. Keep experimenting and learning, and your photography skills will improve over time.