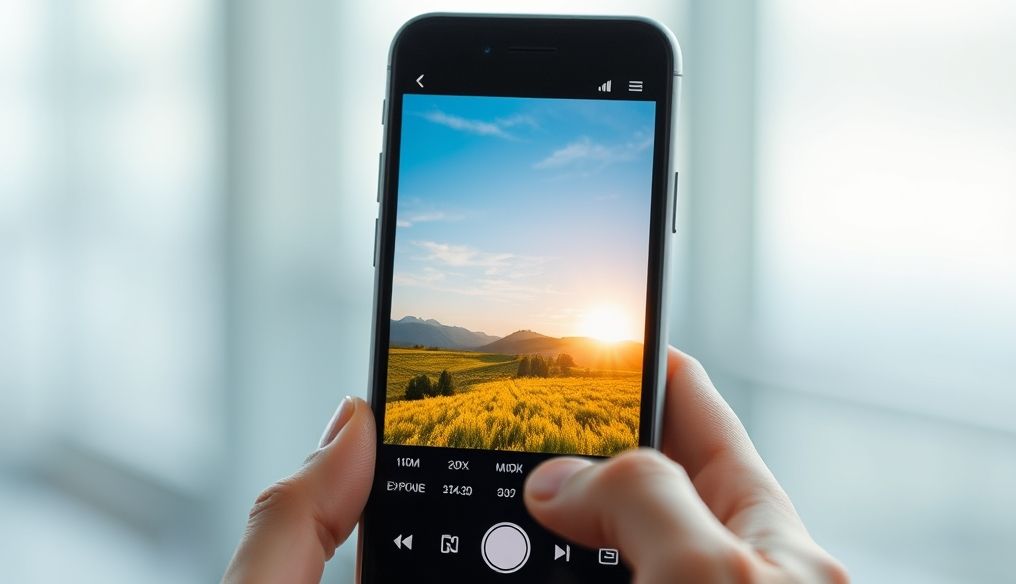
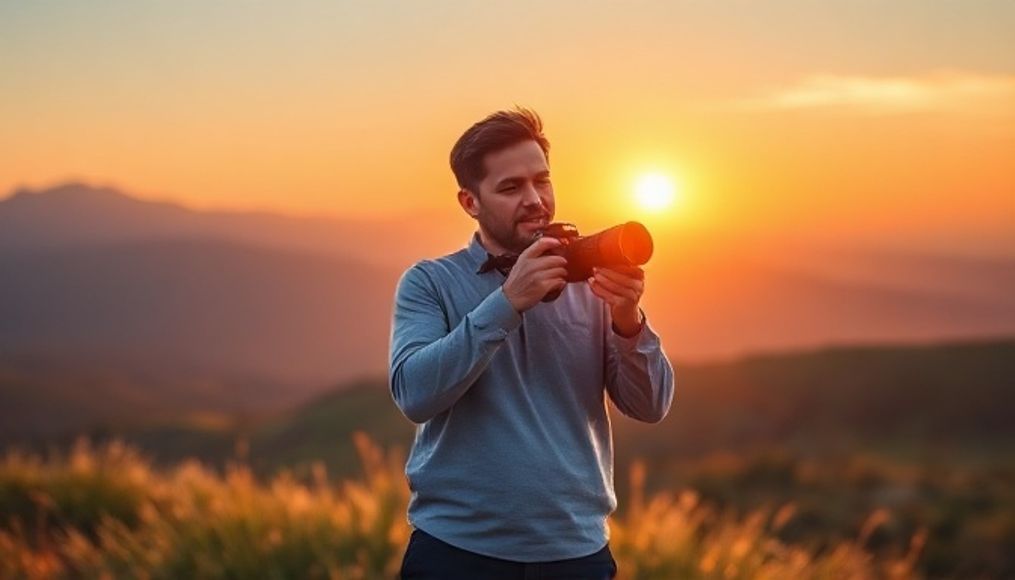
Introduction: The World of Professional Photography at Your Fingertips
Photography is no longer exclusive to professionals with expensive cameras. Thanks to incredible technological advancements, smartphone cameras can now produce high-quality images that rival traditional cameras. This article is your comprehensive guide to transforming your smartphone into a professional tool for capturing stunning photos.
Chapter 1: Understanding the Basics of Phone Photography
1.1. Exploring Your Phone's Camera Settings
Before you start taking photos, it's essential to familiarize yourself with your phone's camera settings. Look for options like:
- Pro Mode: Allows you to manually control ISO, shutter speed, white balance, and focus.
- Autofocus: Ensure it's working correctly, and you can often tap the screen to select the focus point.
- Exposure: Adjust it to increase or decrease the brightness of the image.
- HDR (High Dynamic Range): Use it to capture images with better detail in both bright and dark areas.
- Grid: Use it to apply the Rule of Thirds for a balanced composition.
1.2. Understanding Basic Photography Terms
To become a professional photographer, you need to understand some basic terms:
- ISO: The camera's sensitivity to light. Low ISO values (like 100) produce less noisy images, while high values (like 3200) allow for shooting in low-light conditions but increase noise.
- Shutter Speed: The length of time the camera's sensor is exposed to light. Fast shutter speeds (like 1/1000 second) freeze motion, while slow speeds (like 1 second) create a blurring effect.
- Aperture: The size of the opening through which light passes to the camera sensor. Wide apertures (like f/1.8) create a shallow depth of field (blurred background), while narrow apertures (like f/8) increase the depth of field.
- White Balance: Adjusts the colors of the image to look natural in different lighting conditions.
Chapter 2: Lighting is Key to Professional Photos
2.1. Understanding Different Types of Lighting
Lighting is the most important element in photography. There are different types of lighting:
- Natural Lighting: Sunlight is the best source of light. Avoid shooting in the middle of the day when the sun is at its peak, and choose the golden hours (the first hour after sunrise and the last hour before sunset) for warm, soft lighting.
- Artificial Lighting: Can be useful in low-light conditions. Use LED lights or your phone's flash carefully to avoid harsh lighting.
- Backlighting: When the light source is behind the subject, it can create dramatic images.
2.2. Tips for Using Lighting Effectively
- Avoid Direct Lighting: Can create harsh shadows and lose detail.
- Use Reflectors: To fill in shadows and distribute light evenly.
- Experiment with Different Angles: To determine the angle that highlights the best features of the subject.
Chapter 3: Composition: The Art of Arranging Elements in the Photo
3.1. Rule of Thirds
The Rule of Thirds is one of the most important rules of composition. Imagine the image divided into nine equal parts by two horizontal and two vertical lines. Place important elements in the image along these lines or at the points of intersection for a balanced and visually appealing image.
3.2. Leading Lines
Use lines (like roads, rivers, or walls) to guide the viewer's eye to the focal point in the image.
3.3. Symmetry and Patterns
Look for symmetry and patterns in your surroundings and use them to create visually appealing images.
3.4. Negative Space
Use the empty space around the subject to highlight it and create a sense of calm and balance.
Chapter 4: Focus: Ensuring Image Clarity
4.1. Different Focusing Techniques
- Autofocus: The default mode on most phones.
- Manual Focus: Allows you to precisely control the focus point.
- Selective Focus: Used to create a shallow depth of field and highlight the subject.
4.2. Tips for Getting Sharp Focus
- Keep Your Hand Steady: Use a tripod if necessary.
- Clean the Camera Lens: Dust and smudges can affect image quality.
- Tap the Screen to Select the Focus Point: Make sure the subject is the point being focused on.
Chapter 5: Using Add-on Lenses for Phones
You can expand the capabilities of your phone's camera with add-on lenses. There are different types of lenses available:
- Wide-Angle Lens: For capturing wide landscapes.
- Telephoto Lens: For zooming in on distant subjects.
- Macro Lens: For capturing very close-up images of small objects.
Chapter 6: Photo Editing Apps: A Professional Touch
Photo editing is an essential part of the professional photography process. There are many apps available for editing photos on smartphones:
- Snapseed: A free and powerful app that offers a wide range of tools.
- Adobe Lightroom Mobile: A professional app that provides precise control over settings.
- VSCO: An app known for its stylish and distinctive filters.
6.1. Basics of Photo Editing
- Exposure: Adjust the brightness of the image.
- Contrast: Adjust the difference between the bright and dark parts of the image.
- Saturation: Adjust the intensity of the colors.
- Sharpness: Adjust the clarity of details.
Chapter 7: Different Types of Phone Photography
7.1. Landscape Photography
Use a wide-angle lens and the Rule of Thirds to capture stunning landscapes.
7.2. Portrait Photography
Use a wide aperture to create a shallow depth of field and highlight the face.
7.3. Street Photography
Be patient and capture candid moments in everyday life.
7.4. Food Photography
Use natural lighting and experiment with different angles to show the food in the best light.
Chapter 8: Additional Tips for Getting Professional Photos
- Keep the camera lens clean.
- Use a tripod to avoid camera shake.
- Update the operating system and camera apps regularly.
- Don't be afraid to experiment and explore the capabilities of your phone's camera.
Conclusion
Professional photography with a smartphone is not just a dream, but a tangible reality. By following the tips and techniques mentioned in this article, you can turn your smartphone into a powerful tool for capturing stunning photos that express your artistic vision.


