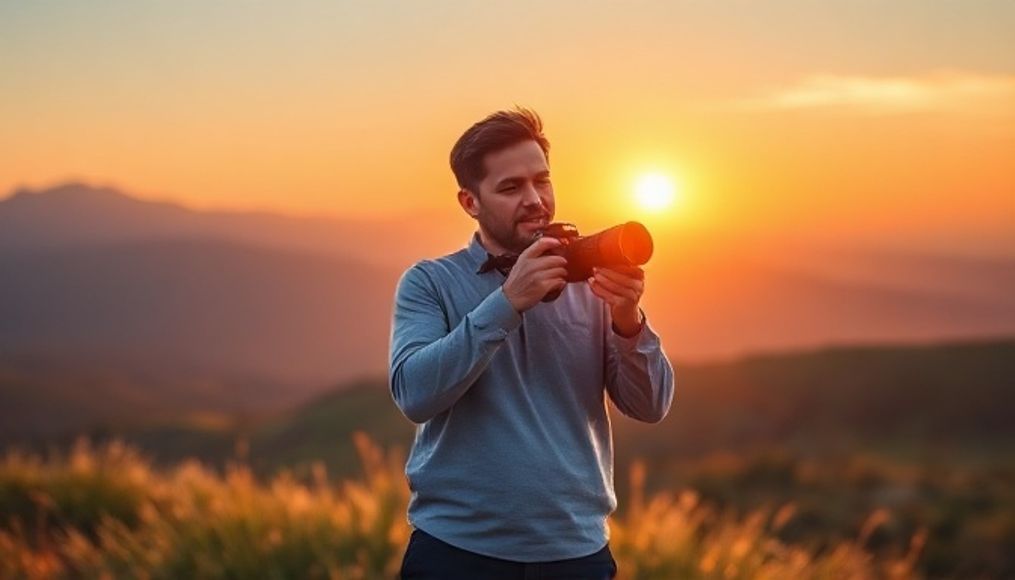
When is Natural Light Ideal for Photography?
Natural light is the foundation of good photography. It creates a unique atmosphere and highlights the details of the image naturally. However, not all times of day are the same in terms of lighting. Some times offer soft, romantic lighting, while others create harsh shadows and exposure challenges.
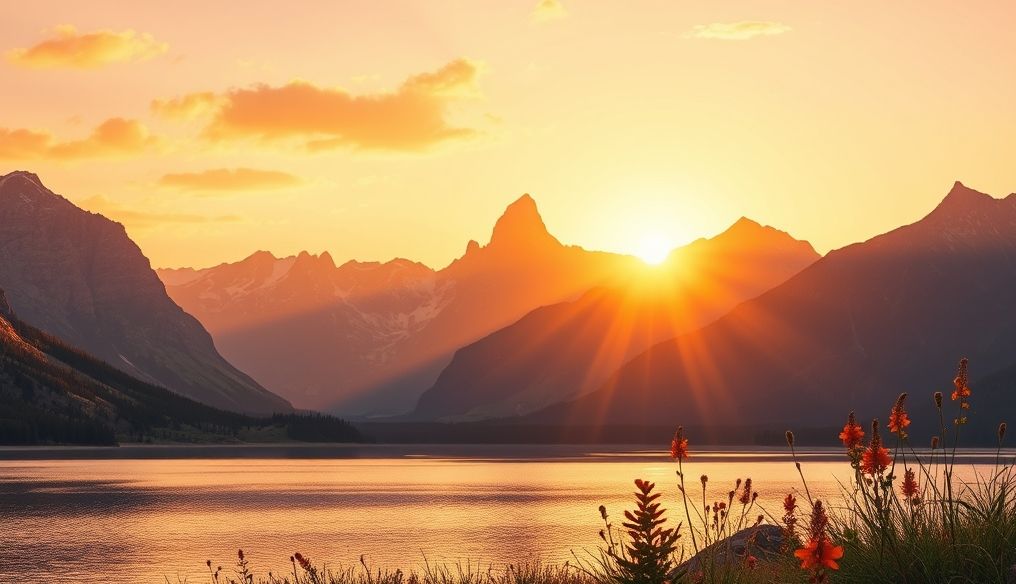
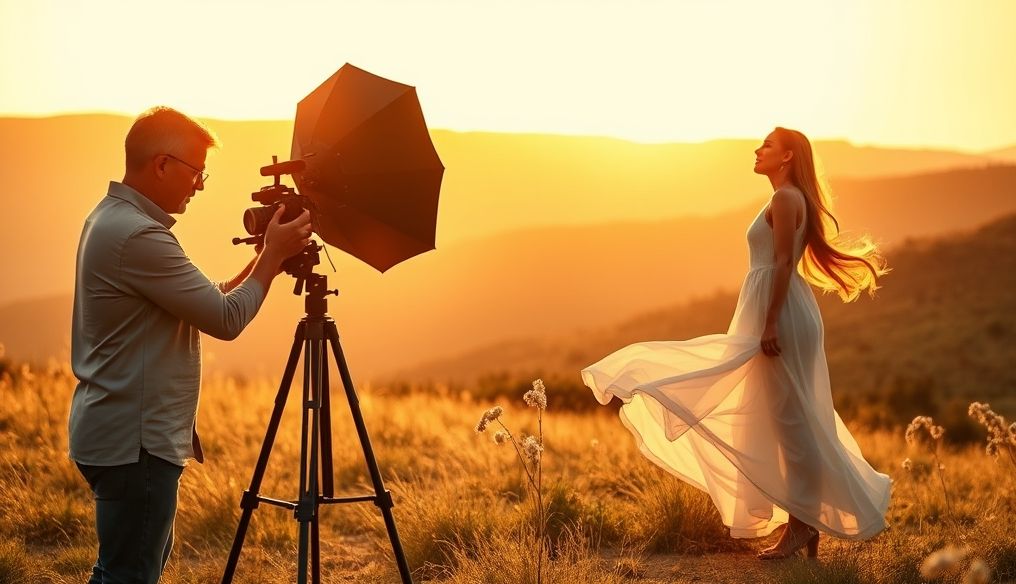
1. The Golden Hour: The Magic of Sunrise and Sunset
The golden hour is the short period of time just after sunrise and just before sunset. During this time, the light is warm, golden, and soft, creating magical and romantic images. The low angle of the sun reduces harsh shadows and provides even lighting on the subject.
- Pros: Warm and golden light, soft shadows, romantic atmosphere.
- Cons: Short time period, may require advance planning.
- Tips: Use a reflector to fill in shadows, experiment with different angles to make the most of the light.
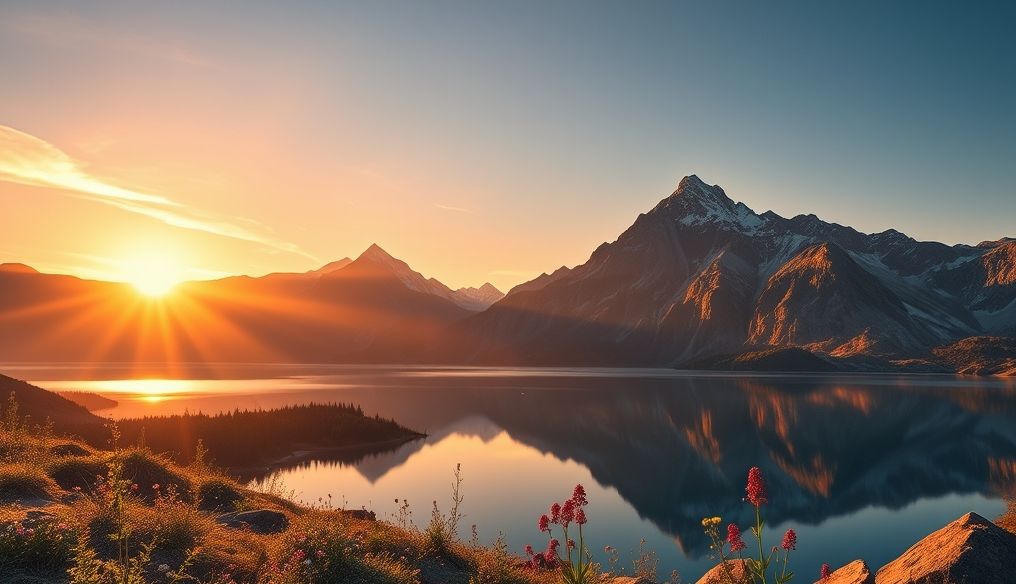
2. The Blue Hour: The Beauty Before Sunrise and After Sunset
The blue hour is the period of time just before sunrise and just after sunset. During this time, the light is cool and blue, creating calm and dramatic images. The sky is colored with deep blue and purple hues, adding an artistic touch to the photos.
- Pros: Cool and blue light, colorful sky, calm and dramatic atmosphere.
- Cons: Requires the use of a tripod due to low lighting, may need to adjust white balance.
- Tips: Take photos of urban landscapes with street lighting, experiment with long exposures for stunning light effects.
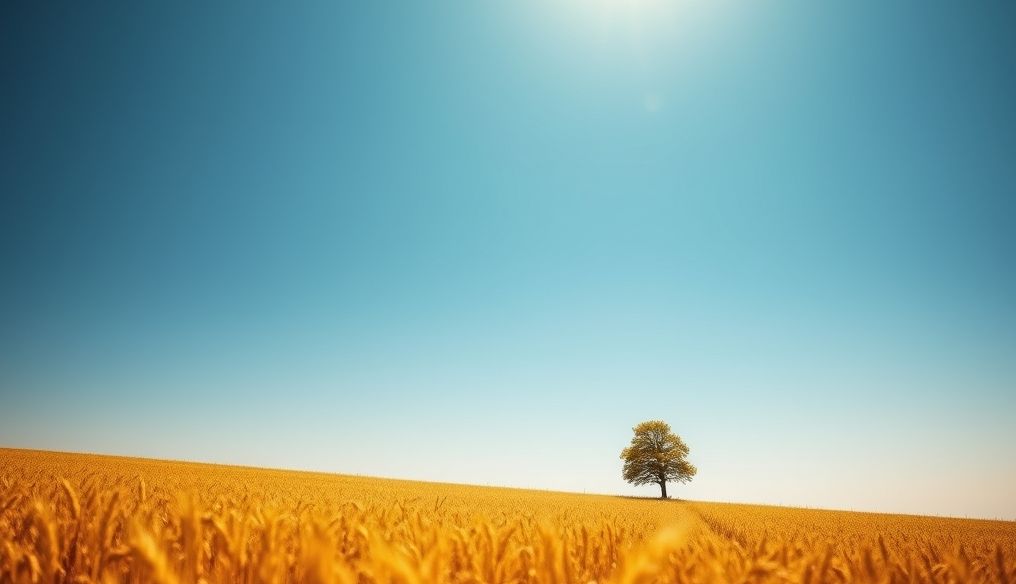
3. Midday: Challenges and Harsh Shadows
At midday, when the sun is at its highest point in the sky, the light is strong and direct, creating harsh and unattractive shadows. This time is considered the least favorable for photography, especially for portraits.
- Pros: Abundant light (but mostly undesirable).
- Cons: Harsh shadows, uneven lighting, may cause discomfort to the model.
- Tips: Look for shade (such as the shadow of a tree or building), use a diffuser to soften the light, avoid shooting directly into the sun.
4. Cloudy Days: Soft and Ideal Light
Cloudy days provide soft and even lighting that is ideal for photography, especially for portraits. The clouds act as a natural diffuser for light, reducing harsh shadows and creating natural-looking images.
- Pros: Soft and even light, no harsh shadows, ideal for portraits.
- Cons: The lighting may be a little low, you may need to increase the ISO.
- Tips: Use the appropriate white balance, look for open spaces to make the most of the light.
5. Indoor Lighting: Taking Advantage of Windows and Doors
When shooting indoors, windows and doors can be used as natural light sources. Place the subject near the window for soft and attractive lighting.
- Pros: Natural lighting indoors, control the amount of light using curtains.
- Cons: Lighting may be limited, you may need a reflector to fill in shadows.
- Tips: Use sheer curtains to soften the light, avoid shooting directly at the window, use a reflector to fill in shadows.
6. Using Reflectors and Diffusers
Reflectors and diffusers are essential tools for photographers working with natural light. The reflector reflects light onto the subject to fill in shadows, while the diffuser softens harsh light.
- Reflectors: Available in different colors (gold, silver, white) to adjust the color of the light.
- Diffusers: Reduce harsh shadows and create soft lighting.
- Tips: Use a gold reflector for warm light, use a diffuser on sunny days to soften the light.
7. White Balance: The Key to Natural Colors
White balance is a setting on the camera that adjusts the colors in the image to look natural. It is important to set the white balance correctly for accurate colors.
- Presets: Cameras come with preset white balance settings (such as daylight, cloudy, shadow).
- Custom White Balance: White balance can be adjusted manually using a gray card.
- Tips: Experiment with different white balance settings, use a gray card for accurate colors.
8. Understanding the Direction of Light
The direction of light plays a crucial role in the shape of the image. Front lighting illuminates the subject directly, while side lighting creates shadows and increases depth, and back lighting creates a silhouette or halo around the subject.
- Front Lighting: Illuminates the subject directly, reduces shadows.
- Side Lighting: Creates shadows and increases depth, highlights texture.
- Back Lighting: Creates a silhouette or halo around the subject, ideal for creating dramatic atmospheres.
- Tips: Experiment with different directions of light, use back lighting to create attractive silhouettes.
9. Practical Applications: Different Types of Photography
The best times of day for photography vary depending on the type of photography:
- Portraits: Cloudy days or the golden hour.
- Landscapes: The golden hour or the blue hour.
- Architectural Photography: Cloudy days or the golden hour.
- Product Photography: Indoor lighting with windows or cloudy days.
10. Conclusion: Natural Light is the Key to Stunning Photos
Natural light is a powerful tool in the hands of the photographer. By understanding the best times of day for photography and using the appropriate tools, you can capture stunning images that express your artistic vision.
Remember: Continuous practice is the key to mastering the art of natural light photography. Enjoy the experiment and discover your own style!